What To Collect Now | Vintage Books
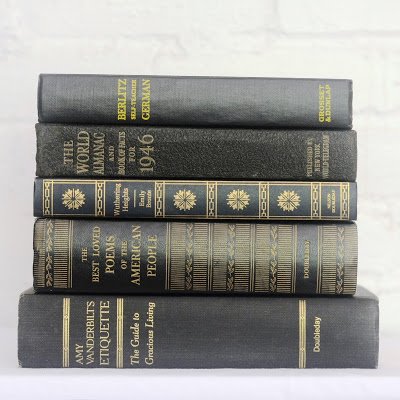
While I'm sure most of you are purging your books, now is the perfect time to define a collection of old, well read hardbacks! Books, while wonderful to read, also make for great conservation pieces, add color to any bookshelf and are instant decor for your coffee table. Like any collection, the key is to be organized in your search and have a defined purpose to eliminate (or in my case minimize) unnecessary purchases. Buy titles you love, and for those you simply plan to use as decor, keep to a theme by selecting a color palette or specific subject to ensure your collection coordinates.
__________________________________________________________
When collecting old books I've set the following ground rules:
$2 or less, most have been purchased for $1, and rarely do I go over the $2 limit.
Must be published on or before the 1960's
I prefer to buy older hardbacks.
LOVE, READ, USE, I have to love it and I must have a plan to either read or use it ~ pages from vintage books can also make great
framed art!
Here's some ideas to get you started:
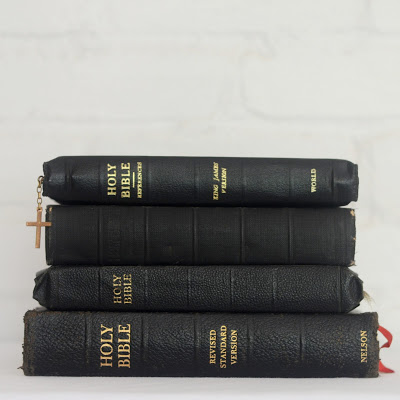
Keep to similar subject or topic matter:
The Holy Bible
________________________________
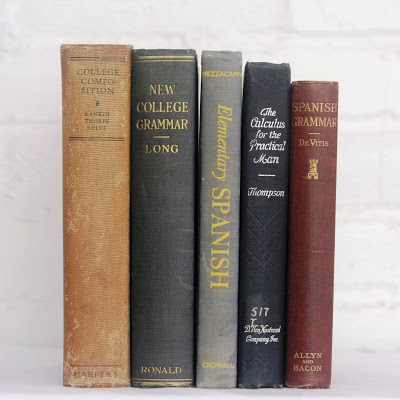
Vintage Textbooks
________________________________
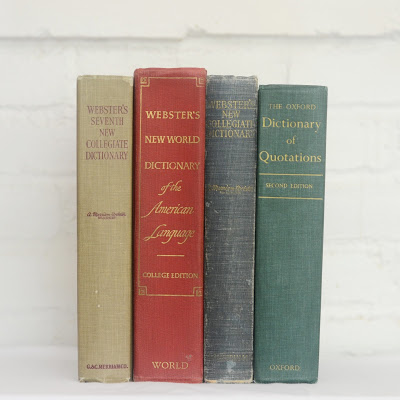
Vintage Dictionaries
________________________________
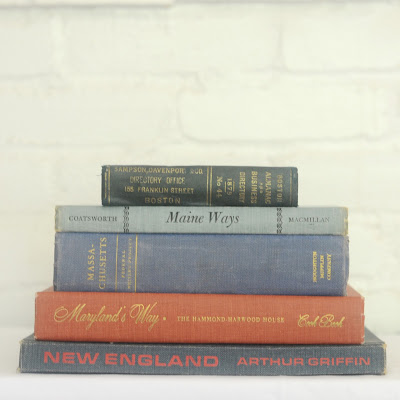
Travel or History Books | New England
________________________________
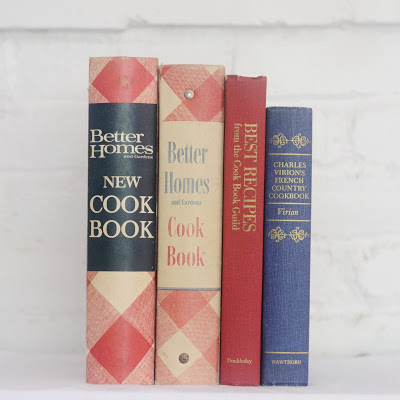
Vintage Cookbooks
________________________________
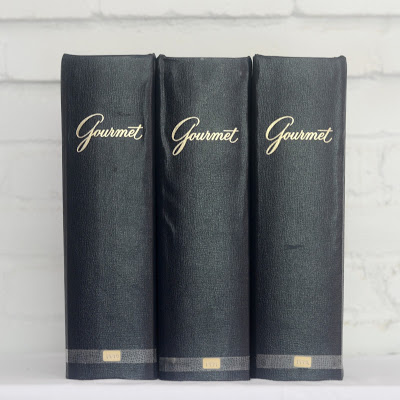
Vintage Magazine Collections
________________________________
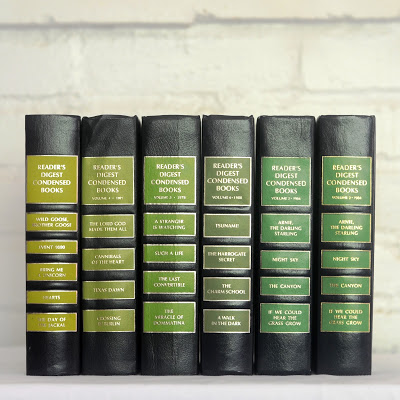
Vintage Reader's Digest
________________________________
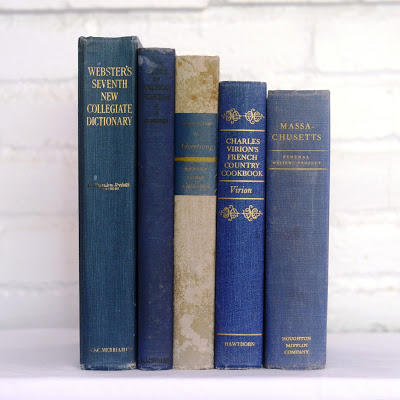
By Color:
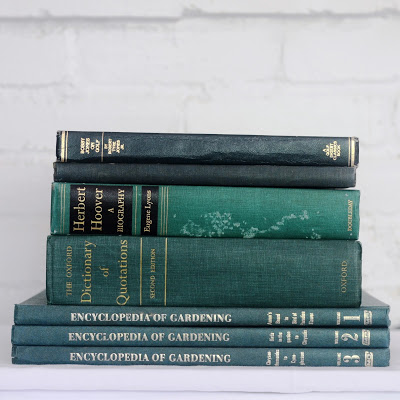
Green
________________________________
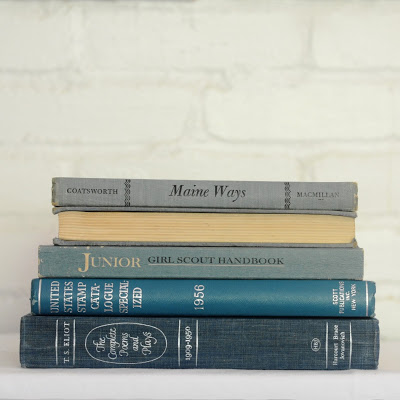
Teal | Light Blue
________________________________
Royal Blue
________________________________
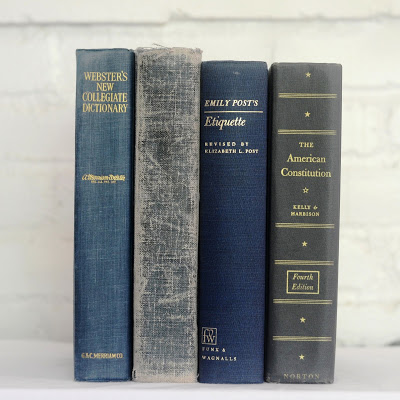
Navy | Slate
________________________________
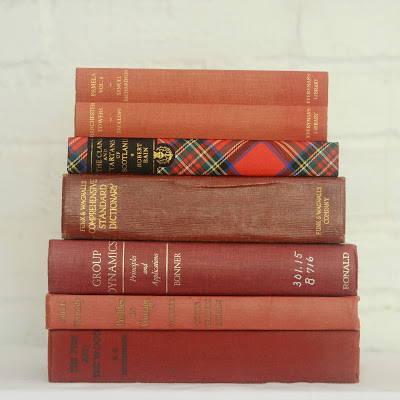
Red
________________________________
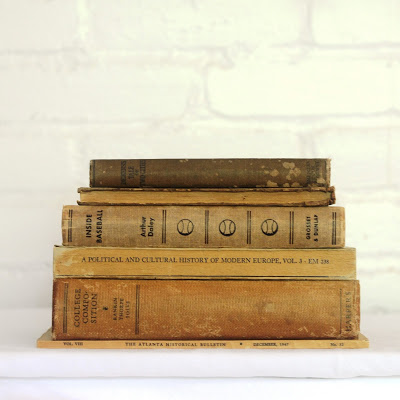
Neutral
________________________________
Black