Mail Organization

If you're like me you still receive most of your bills the old fashion way, along with plenty of junk mail and the occasional magazine or catalog.  In just a couple of days its amazing how much mail can accumulate and before you know it it's taken over your life.    
The key to keeping the clutter down is to designate a space (a messy pile on the kitchen counter doesn't count) and implementing a simple filing system. 

I'm a huge fan of Magazine Holders, they keep paper and clutter out of sight, 
but also allow easy access.  Manila folders are cheap and effective, 
throw a label on it for simple filing.
Once you've designated your mail center stick to these tasks daily.  
1. Don't allow junk mail into your home!  Before you step through the door, toss any unwanted mail in your recycling bin.  2. Masses of un-opened mail can be daunting!  
So open it all up and toss any unwanted envelopes etc. into recycling.
 3. File your contents in your designated mail center.  
This ensures anything you plan to keep or read later stays neat & organized.

Photo Christmas Cards by Minted

It's hard to believe summer's quickly coming to an end!  
With the kids heading back to school and cool fall weather about to start, 
now's the perfect time to go through your summer camera roll and pick the perfect pic for the family Christmas Card.  I mean, seriously, how AWESOME would you feel to get this major to-do done?!  Here are some of my favorite Minted Photo Christmas Cards:
1.2.3.4.5.6.7.8.9.10.11.12.13.

Not only does Minted have super cute designs to choose from, but their find it fast tool makes choosing the best design for your pic as easy as one, two & done!  Click on the photo below to try it now ~ you could have your Christmas Cards designed & purchased before bed time!
Not quite ready to finalize your Holiday Cards?  Be sure to check out Minted's other great options, from Bridal Shower Invites to Birth Announcements, Stationary to Art Prints,
 and much much more!


This post is sponsored by Minted, however all opinions & ideas are my own.

How To Restore Wood Bowls

I love collecting old wood bowls, but typically find them in despair.  So whether you collect vintage wooden bowls or have a set you've neglected, in five simple steps you can take it from drab to fab!  I started with this Munising Salad Bowl:
It was extremely dry and lacked luster, but I liked it's simplicity
 and knew with a little tlc it could be a beautiful piece. 
1.  Wash with warm water and a mild dish detergent.  
*Never soak the piece for too long*  
Rinse with warm water when finished.
2.  Use a dishtowel to dry off any excess water, 
then leave the piece to air dry fully.
3.  For stains and minor scratches mix course salt and lemon juice 
to form an exfoliating paste.  
4.  Rinse again in warm water, dry with a dishtowel and allow to fully air dry.
5.  Take a soft cloth and apply food safe mineral oil to your wood bowl ~ applying in circular motions.  Continue to add mineral oil until the piece no longer absorbs it.  If the wood is extremely dry you may want to apply mineral oil a couple more times over the next few days.
Don't you love how the wood grains begin to pop and the color...gotta love the color!
To maintain clean when necessary and apply food safe mineral oil when needed.

Munising Wooden Bowl

While running errands earlier today, I decided to stop by a local thrift store where
 I found this 9 inch wooden bowl.  It was marked $4 and the shop was having 25% off, so for $3 I decided to take it home.  The Munising Woodenware Company was in business from 1911-1955 and located in Michigan's Upper Peninsula, in the town, Munising, MI.  Local maple trees were typically used and their goods were often sold in department stores.  Based on this bowls marking's, it was probably produced in the 1940's.  
To see how I restored this vintage wooden bowl, check back tomorrow!


"Look Who's Popular"
???
If you've seen this on my blog today, I'm sorry for the inconvenience.
I've fixed the problem with Photobucket, now just waiting for it to update.

#SillyBlogGlitch

Haven 2013 | Speakers & Sessions

This year's Haven Conference had an impressive lineup of speakers and too many sessions to count!  The weekend was kick started by Ana White's Passion is Product keynote address.  Her outlook on blogging and dedication to her readers proves why she's one of the best in the business ~ oh and she's super sweet too!

From there, decisions had to be made about what sessions to attend ~ and with so many good ones, it was really hard to narrow it down!!
 Jen from I Heart Organizing along with Chris from Just a Girl gave some great pointers in their I Heart Organize session.  Whether you're looking for an organizational overhaul or simply need some tips go check out their blogs for some amazing ideas!
 By far the funnest session I attended was Designing Out of the Box with Mandi from Vintage Revivals,  Lindsay from Makely Home & Ashley from The Handmade Home.  These three are not only some of the most creative women out there, but they're all extremely down-to-earth mom's who kick some serious buns in the color department!  
Things then got serious with Brooke from All Things Thrifty & her brother Court from The Blog Builders.  Their discussion on Paving the way with SEO was eye opening and gave new insight on the business of blogging!
 Keeping to the business side of things Erika from BluLabel Bungalow & Kelly Peterson from Hearst discussed the ins & outs of the magazine industry.  For those of you in the Atlanta area seeking an interior designer be sure to contact Erika ~ she knows what she's doing!!
 The closing address was a call to action ~ we laughed ~ we cried ~ it.was.amazing! 
More on that later!

I also attended Annie Sloan Unfolded, a hand's on workshop using Chalk Paint and another session on Advertising with Rhoda, Beckie & Cassity.

 There were still so many sessions I wish I could have attended ~ two in particular were The Friend Zone with Sherry from YHL & Katie from Bower Power & Hands on Design Advice with Emily from Emily A. Clark & Kristin from The Hunted Interior.

So until next year...


Recipe | Chicken Kebabs With Yogurt Marinade

I love summer and all the food that comes with it!  After seeing a lot of yogurt marinades lately ~ who knew you could marinade with yogurt?!  I came across this amazing sounding recipe.  But with most recipes I find I typically don't have all the ingredients and will improvise with what I've got.  Do you do that?  This recipe called for Aleppo Peppers, but suggested using crushed red peppers as a substitute.  It also called for tomato paste, which I was out of, so I just threw in some smashed cherry tomatoes.  If you like spicy foods I highly recommend you check out the original Bon Appetit Recipe, but just in case you too don't have everything, I included our makeshift version below.  
 For Our Marinade
In a large bowl, place 2 teaspoons crushed red pepper, 2 teaspoons paprika & a dash of cayenne.  Mix in 2 tablespoons of warm water and let stand until paste forms, about 5 minutes.  Add 6 oz of  plain Greek yogurt, 3 tablespoons olive oil, 2 tablespoons 
red wine vinegar, 5 smashed cherry tomatoes, 2 teaspoons salt & 1 teaspoon black pepper.  Whisk until blended.  To the marinade, then add 4 cloves of smashed garlic and lemon rounds from one lemon.  Add your chicken, cover and refrigerate for an hour.
On The Grill
We used metal skewers for our chicken kebabs, and for last night's dinner also grilled white onions, red & green peppers.  Cook chicken and veggies on medium-high heat for about 8-10 minutes, or until done rotating as needed.  Serve with lemon wedges & enjoy!

What summer recipes do you love?

Organization | #smallvictories


Happy Monday!
Why is it always so hard to get back into everyday life after vacation?
Feeling a little slower than normal, I'm happy for the little wins & small victories.
While I'm sure you don't care to see me cleaning sinks and scrubbing floors I've been posting a few of the funner & simplier organization projects onto Instagram.  

Jewelry Organization
Small boxes were used as dividers to organize bracelets, rings & earrings.  They neatly fit in my top drawer for organized storage.  I hung some of my favorite necklaces on canvas for easy access and instant art.  To see my inspiration for this project click here.
____________________________________________________

 Closet Organization
Let me be very clear when I say Brian is a very organized person, 
but when life gets chaotic so does your closet!
I took 45 minutes to re-organize his clothes, keeping like items together then hung by color.  Sweaters, henleys, shorts and denim were folded and stacked neatly.  
To see how to fold a shirt using a magazine as a folding board, click here!
 ____________________________________________________

Makeup Organization
Awhile back my husband built me a behind-the-door vanity.  
With having only one bathroom, that thing has changed our life!
An acrylic shelf serves as my counter-top and acrylic spice racks from The Container Store hold and organize my makeup and hair products.  
A mirror and stool allow me to sit while blow drying my hair and 
the extra space means no more fighting over our single bathroom sink.

What small victories have you accomplished lately?


July 4th | Festive Table Setting

With summer in full swing, what better way to celebrate than with a festive 4th of July party!  Blue and white checkered fabric was used for a tablecloth, vintage napkins served as place mats and sparklers marked each place setting.  Matchsticks were covered with an american flag printout and centerpieces included fresh blueberries and recently picked hydrangeas.  An old potato sack was pinned to a near by Magnolia tree and a wooden star was lit with a string of white lights.  No matter how you celebrate this 
July 4th, we're wishing you and yours a very safe and happy holiday!
   
 
__________________________________________________________________


Front Porch

In gearing up for the 4th of July ~ neighborhood parades, bbq's and fireworks ~ it was only fitting to add a little comfort & color to the front porch.  To create this country cottage look old tobacco sticks were tied together to create a star, blue hydrangeas and dusty miller fill galvanized buckets and blue pillows adorn rocking chairs.  
All that's missing now is a glass of ice tea and a sparkler in hand!

Yard Sale | Ideas & Tips

How To Throw A Successful Yard Sale
This month we finally threw our first yard sale!  
We really had no idea what to expect ~ how to price things? how to make creative yet functional displays?  But with a little research and an organized plan our yard sale turned out to be a bigger success than we hoped for!  Here's some of the things we learned along the way and the ideas we'll be sure to use again next time!
________________________________________________________________

Expect Early Birds
Brian and I wanted plenty of time to set up and knew Early Birds were sure to arrive before start time, so we decided on a 8am-1pm sale, thinking maybe some people would show up at the earliest at 7:30am.  The night before we set up our tables and display stations and the following morning woke up at 5am with the idea that we would enjoy coffee, price some last minute additions, take showers and still have everything set up and ready to go by 7:15am.  Boy were we WRONG!
We started taking things outside at 6:10am, thinking we were ahead of schedule.  The first cars started to drive by at 6:30am ~ it was still dark outside ~ and by 6:45am we had our first 'customer'.  I kid you not when I say it was booming by 7:15am and by 8am the first rush was gone and more than half our stuff had sold!  
Would we allow earlier birds again?  ABSOLUTELY!!  The goal is to sell stuff, right?  So why turn them away?  We decided to stay firm on our prices during the first hour, and really only negotiated with those buying a lot of items.  
It also helped that we were prepared which leads us to the next section:
________________________________________________________________

Plan Ahead
Start at least one month in advance!  This will give you plenty of time to go through your stuff and decide what you'll be selling and getting rid of.  A few weeks out start requesting paper bags when you check out at the grocery store and begin saving your newspapers.  Our stash of paper bags along with newspapers came in very handy to wrap breakable items and bag up people's buys.  Decide on a tentative date, but be flexible around weather.  We ended up pushing back our sale two weeks in a row due to a rainy forecast.  Tag as you go!  This came in very helpful, as I rounded up items, I went ahead and placed tags on them with brief descriptions (i.e. Black Lamp with Shade).  I held off on pricing, and dedicated one day to price everything at once.  The day before run to the bank for change ~ think small bills with plenty of $1 and quarters if necessary.  The night before, set up tables and displays and be sure to wake up extra early the day of.
________________________________________________________________

Advertise
No one will show up if they don't know about it!  
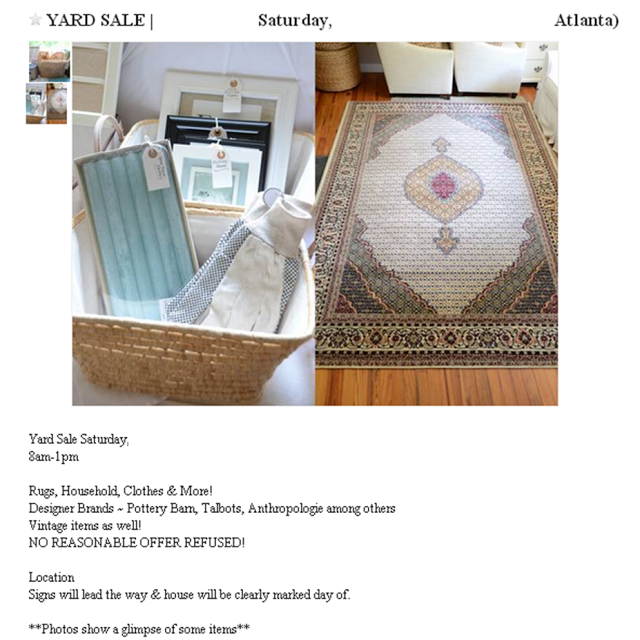
There are so many options out there for free advertisement.  We posted an ad on Craigslist the Wednesday before and another one on Friday.  Be sure to 
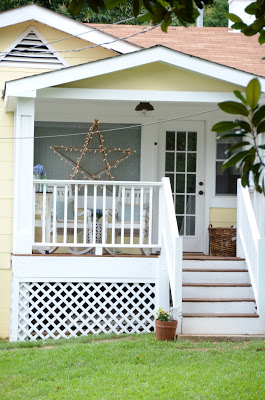
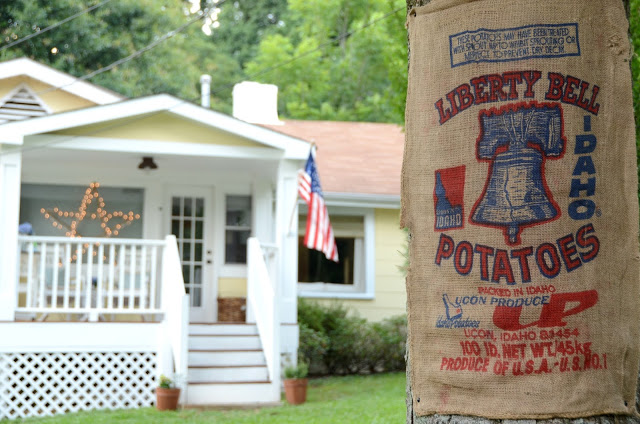
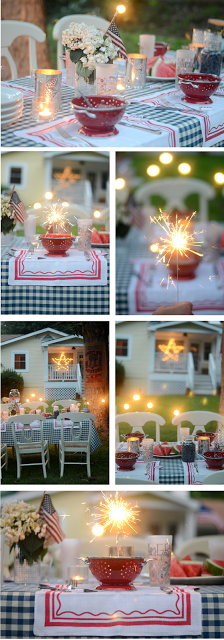
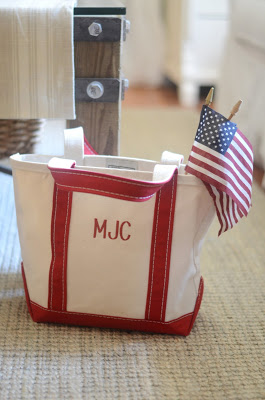
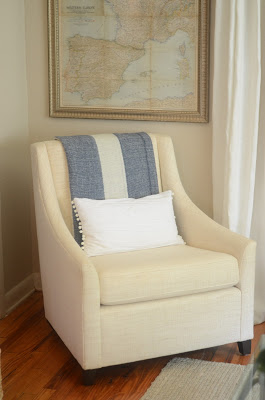
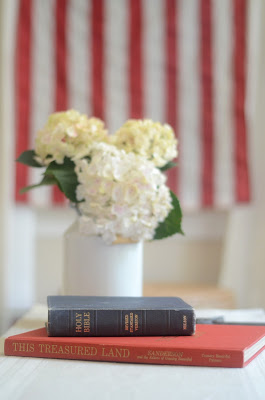
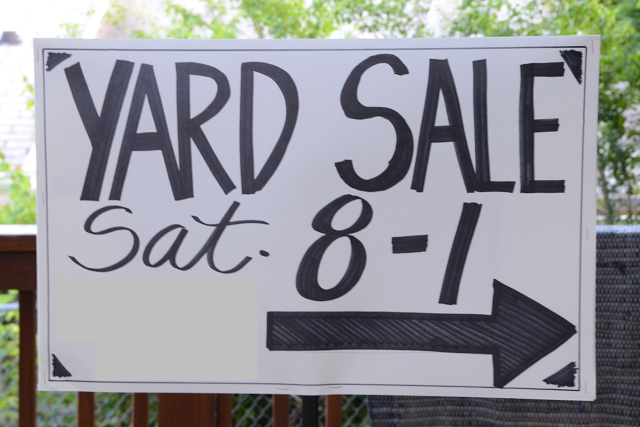
add enticing photos along with an address or street name.  Here's what ours looked like:
We also made signs that we posted throughout the neighborhood and at major intersections (be sure to check out your local rules & regulations before posting signs) .  Make all your signs alike, so people can easily follow them to your location.  Keep wording minimal and font BIG.  We kept ours simple in black and white.
Our signs ended up costing us about $1.60 each to make, using white poster board, black markers and garage sale stakes.  While we kept our advertising minimal, other options include posting ads on social media ~ reach out to your friends and family via Facebook & Twitter and advertise in your local newspapers for a small fee.
________________________________________________________________

Price To Sell
First things first ~ set your expectations & goals!
You're not going to make money off of stuff.  For example that picture frame you bought from Target for $12.99 isn't going to sell for $15.  In fact, it probably won't even sell for $5, even though it's brand new with tags still on it.  If you're not willing to sell your Grandmother's Heirloom Dresser for $20, then you may want to consider other selling avenues, like Craigslist, Ebay or consignment shops.  Truth of the matter is people shop yard sales for huge bargains and deep discounts, and honestly they don't care that you spent $12.99 for a picture frame ~ they want it for $1!
Our philosophy?  Only sell items you would easily and happily give away to goodwill, keeping the mentality that 50 cents is better than nothing.  This way you're not disappointed or upset at how little your items may actually go for.
________________________________________________________________

Yard Sale Pricing Guide
Think 10-20% of retail ~ go higher for new or perfect condition items and lower for used and worn.     Keep prices consistent, with like items similar.  For example most of our small housewares were $5 and under.  We didn't want to fuss with small change, with the exception of magazines, priced 25 cents, all items were initially marked $1 or more.  Individually price your merchandise!  This leaves no room for questions and frees you up from continuously answering how much is this?  Leave room for negotiating!  Expect for people to offer less on an item, in fact we recommend encouraging it!  As people walked up our drive we greeted them with 'Good Morning, see something, feel free to make an offer".  Build that expectation into the price.  For example I had a large basket I would have happily taken $7-$8 for; I marked it $10 and received a $9 offer ~ done!  
Don't haggle over every single item.  For those people purchasing multiple items, I went ahead and gave offers on the whole ~ if they came up to me with $23 of stuff, I'd respond, "Ok, total is $23, how's $20 sound?".  If people overhear you're willing to give discounts on multiple purchases they'll pick up more stuff!  Don't be afraid to put FREE on it!  Broken tools or items that could possibly be throwaways (we're not talking obvious trash here), try to give it away, you never know what someone may have a use for.  
CLEAN your merchandise!  I'm not saying spend hours of your time cleaning stuff, but you'd be surprised what a little dusting can do.  For example I had a black table lamp with a white lamp shade that had been collecting dust in my attic, frankly it looked dirty and old.  30 seconds of dusting and lint rolling & that guy looked brand new!  It probably only would have sold for a couple bucks, but by making it look cared for it was one of the first things to sell and went for $8!   
________________________________________________________________

Display Ideas
Decide ahead of time where you want to place your departments ~ yes I said departments! The more organized your yard sale the easier it is to shop!  Don't throw and cram a bunch of random stuff onto one table.  Organize it in the same way a store would:  household items, furniture, jewelry, clothing, tools, kid stuff ~ you get the idea.  Here's what I realized, the Early Birds and hardcore yard sale shoppers want to go through your stuff as quickly as possible and get on to the next yard sale.  While they love the thrill of the hunt, the serious ones aren't going to spend a lot of time going through an unorganized pile of junk.  So, by organizing and separating departments they're more likely to buy more stuff and they're more likely to pay top dollar for it! 
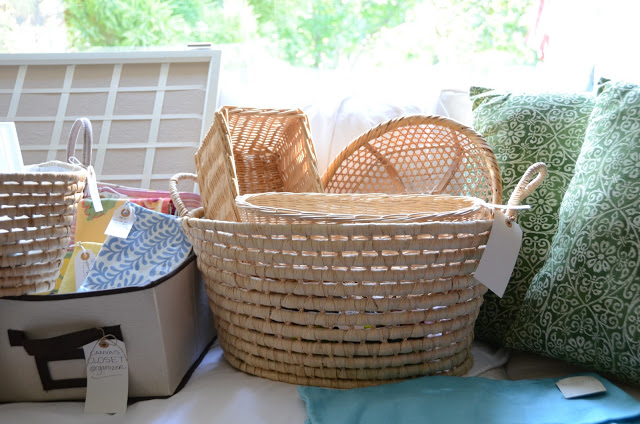
Place enticing items near your mailbox ~ similar to a store window!  We placed a vintage school desk, colorful pillows and large baskets.  As people drove by, they were sure to stop.  For the main setup we used tables and displays throughout our yard creating a huge L-shape ~ we had a man table that included tools, golf balls and old electronics.  Then it led into our clothing department ~ a garment rack hung nicer, gently used items, many of which I steamed ahead of time (again, by doing this I was surprised at how much they sold for, most of my casual dresses sold for $10-$12).  A small table had t-shirts and pants folded on it.  Jewelry, purses and scarves were displayed on Pegboard which was leftover from our Mudroom.  We attached the pegboard to our porch with zip ties and then hung accessories from it.  We strung twine from our porch to a tree creating a clothesline that hung linens and dish towels.  A long table displayed baskets, candles, picture frames and other housewares.  Keep shopper's hands' free!! This is by far the best retail trick to use!  If you see someone holding a pile in their arms, offer to hold it behind your 'register' i.e. your porch or under a table.  With hands free they're more likely to pick up more stuff!
________________________________________________________________

Best Advice I Received
Was from my mom, which, if I'm completely honest, she pretty much said everything above!  She was great at reminding me that the end goal was to get rid of stuff!  If things are marked high, people won't even bother negotiating, they'll quickly get back in their cars and go on to the next one.  If prices are reasonable they're more likely to buy and buy more.  What would you rather?  Sell one item for $10 or ten items for $1 each?  Again, the goal's to get rid of stuff!
________________________________________________________________

We don't have big ticket items like furniture?  
Is a Yard Sale still worthwhile?
We didn't have any furniture other than a small ottoman, and besides some rugs most everything was priced $10 and under.  You have to weigh your options and keep in mind there is quite a bit of time and work that goes into throwing a yard sale.  If you only have a few things it may not be worth your time.  Either donate those items or store them in your attic for a future yard sale.
________________________________________________________________

So How Much Did We Make?
Our goal was $100 ~ anything less and we figured it wouldn't have been worth the effort and time.  We were secretly hoping to make $150 and would have been thrilled to break the $200 mark.  Drumroll please....we ended up making $512!!  I'm still tickled over this!  Our most expensive item sold for $45 and most everything else sold for $5 and under.  In the end the leftovers only amounted to two small bags which we dropped off at Goodwill.  
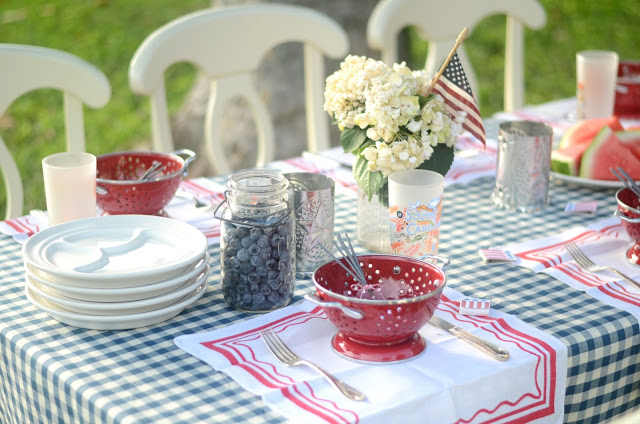
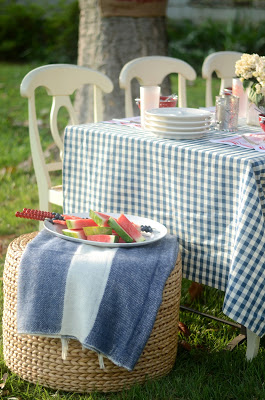
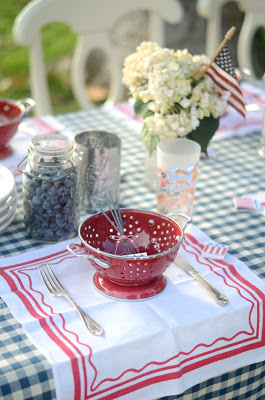
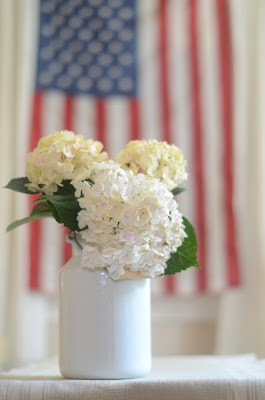
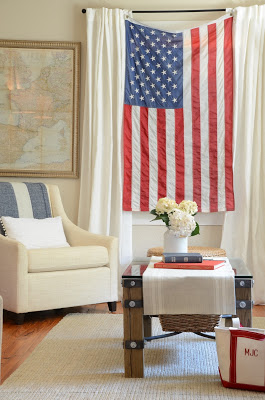
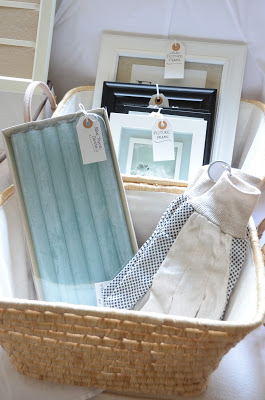
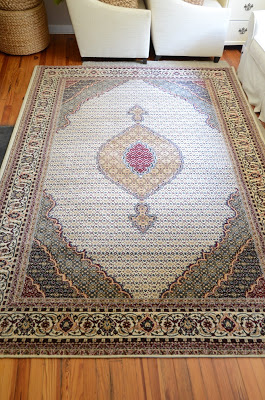
Needless to say we were thrilled with the outcome and plan to someday do another one.  The sale itself went so quick that I never had a chance to snap so photos.  Here are some additional pics I had placed on Craigslist.  And FYI, the pictures must have helped because most people said they found us through Craigslist and multiple people showed up to buy the rug pictured below.

Low Country Boil

Low Country Boil | Frogmore Stew | Shrimp Boil
No matter what you call it, this is by far my favorite summertime meal!
And with July 4th just a week away (I know I can't believe it either), this is a great alternative to a traditional BBQ.  The recipe is easy and accuracy isn't necessary ~ add or remove ingredients depending on your personal taste.  Serving should be casual and clean up a breeze ~ lay down newspaper, cover with white Kraft paper and pour your bounty directly on the table.  Provide guests with an offering of dipping sauces: lemon butter, cocktail & tarter sauce.  Serve with dinner rolls and french bread, and of course this meal wouldn't be complete with a local beer or sweet ice tea!
____________________________________________________

Recipe | Serving for 4-6
6 quarts of water
1/2 cup of Old Bay Seasoning
4 Lemons, cut into wedges
1lb New Red Potatoes
1lb Hot Cajun Smoked Sausage
4-6 ears of Corn
2lbs King Crab Legs
2lbs Large Shrimp unpeeled

In an 8 qt pot (we love this one with it's interior basket), bring water Old Bay and 2 lemons cut into wedges to a boil.  Add potatoes and cook for 15 minutes.  Add Cajun sausage, cook 5 minutes.  Add corn and crab and cook 5 minutes.  Add shrimp and cook until done, about 3-5 minutes.  Remove from heat, drain water, serve & enjoy!


Hot Water Tank

 Well, kind of like magic.
As we mentioned yesterday, our water heater flooded the laundry room over the weekend and as we suspected, it rusted out the bottom, creating a leak.  
The only solution is to replace the entire unit.
Initially we were under the impression that our insurance would cover the cost, but with any coverage there's always fine print.  While the water heater is covered, any code updates are not.  And the first thing out of the technician's mouth was 
"This entire thing isn't to code!"
Gotta love these older homes!  Frankly, we weren't surprised to hear him say this.  In our situation, the gas and water lines would have to be re-done and new lines brought into the laundry room from our crawl space.    
Price tag, $1,600 out of pocket.
We also inquired about upgrading to a tankless water heater.  We assumed it would still be placed in the laundry room, but he advised us to put it in the crawl space.  
This way we'd have more space in the laundry room and 
it would prevent additional gas and water lines to be installed.
Price tag, $3,800.
To be completely honest this isn't what we planned or wanted to spend our rainy day fund on.  But isn't that how it typically turns out?
So after weighing the pros and cons and discussing the finances, we've decided to go with the tankless water heater.  We will receive a payout from our insurance company and because tankless are more energy efficient we will be able to take advantage of a specific tax credit.  After all is said and done, it's a $1,200 difference between the two.  
For now, we plan to put off other home improvements to offset the cost.  
In the meantime, we're pretty excited about the extra corner space 
we'll gain in the laundry room!


The Misadventures of Home Ownership

I hope everyone had a good weekend!
Let's just say ours won't go down as the best weekend we've ever had.
We knew when we bought our older home that it would come with plenty of pros,
 like buying in a neighborhood we otherwise couldn't afford and allowing us to make upgrades as we saw fit.  By DIYing most of them, we're able to save money and invest sweat equity into our property.  But with any fixer-upper there are plenty of cons,  
and in the past three years we've really been quite lucky in that department.
Until...

...a week ago our air condition stopped working.  The symptoms:
The outside unit and thermostat were working just fine, but there was no air flow throughout the house.  We first tried turning off power to the house to ensure it wasn't a simple fix.  When that didn't work, we assumed it was a problem with the fan.  A quick call to our home owners insurance, a couple days wait, and then a five minute fix by a technician.  It ended up being the capacitor.  
Price tag ~ the $75 service fee, our co-pay with insurance.
AC back on, no biggie, right?

Then a couple days later, on Thursday evening, Brian and I returned home from work to find the house temp in the upper 80's!  Symptoms this time around:
The thermostat seems to be working, but now the outside unit isn't turning on and of course no airflow whatsoever.  Another phone call to our home owners insurance, this time, we'd have to wait through the weekend ~ currently waiting now.  

Yesterday, we finally decided to beat the heat and run some errands ~ we pretty much hung out in the freezer section of our grocery store for quite sometime.  
When we arrived home we were greeted by a flooded laundry room.  The good news ~ 
we haven't done any renovations in there, so no need to cry over spilt milk.  And thank goodness my dad is an awesome handy man!  We made an emergency call to him and described the situation.  He advised we turn the pilot light off, turn off the valve that brings water into the tank and then attach our hose to the bottom spigot to drain any remaining water.  From first glance we think the bottom rusted out and therefore the massive leak.  By turning off the water heater, we now only have cold water, but with the AC out, do we really need hot water?! ha

So, I write this with ice pack in hand and a glass of cold water, 
while waiting on two technicians!
Gotta love this old house!

We know most of you have been there, done that!
We'd love for you to share those stories with us in the comments below!

Antique Hutch

Recently I updated our house tour and never gave additional details on our newest furniture addition.  The antique hutch was found at City Antiques in Roswell, GA.  
What sold us on the piece was it's phenomenal condition, including the original glass, 
and we loved that it happened to be on the smaller side for a two piece hutch.  When we purchased the hutch, someone had white washed it, with some intentional distressing, however, it still had some ware and the cool white tone (more blue/grey white) wasn't working against our Benjamin Moore Hush painted walls.  
After debating between paint or spray paint, we decided to go with our favorite, 
See our how to below:
Before painting any piece of furniture 
first take off all hardware and remove any drawers.
 We used a medium grit sandpaper to smooth our surface 
and then used a dusting sponge to clean and clear the piece of any dirt or dust.
 
When painting outside, use a painters canvas or plastic to protect the grass, 
and use wooden boards to help prop up furniture.
While sometimes a tedious task, taping is key to ensure a good job ~ don't skip this step!
 If you're not planning on painting the inside of the piece, 
don't forget to tape and/or cover those spaces as well. 
 Once the piece is ready, use steady gradual strokes to spray the piece, 
keeping each coat thin and allow significant drying time between coats. 
 The top of the hutch (right side) is painted.
 Nerd Alert ~ my absolute favorite thing about painting?!
Removing the tape!!! 
Give the piece plenty of time to fully dry before moving it indoors, 
nothings worse than a set of fingerprints on a newly coated piece!  
And there you have it!  Our quick update for a vintage hutch!