Build the Perfect Gift this Holiday Season!

This post is sponsored by The Home Depot

Michelle Cannon Smith

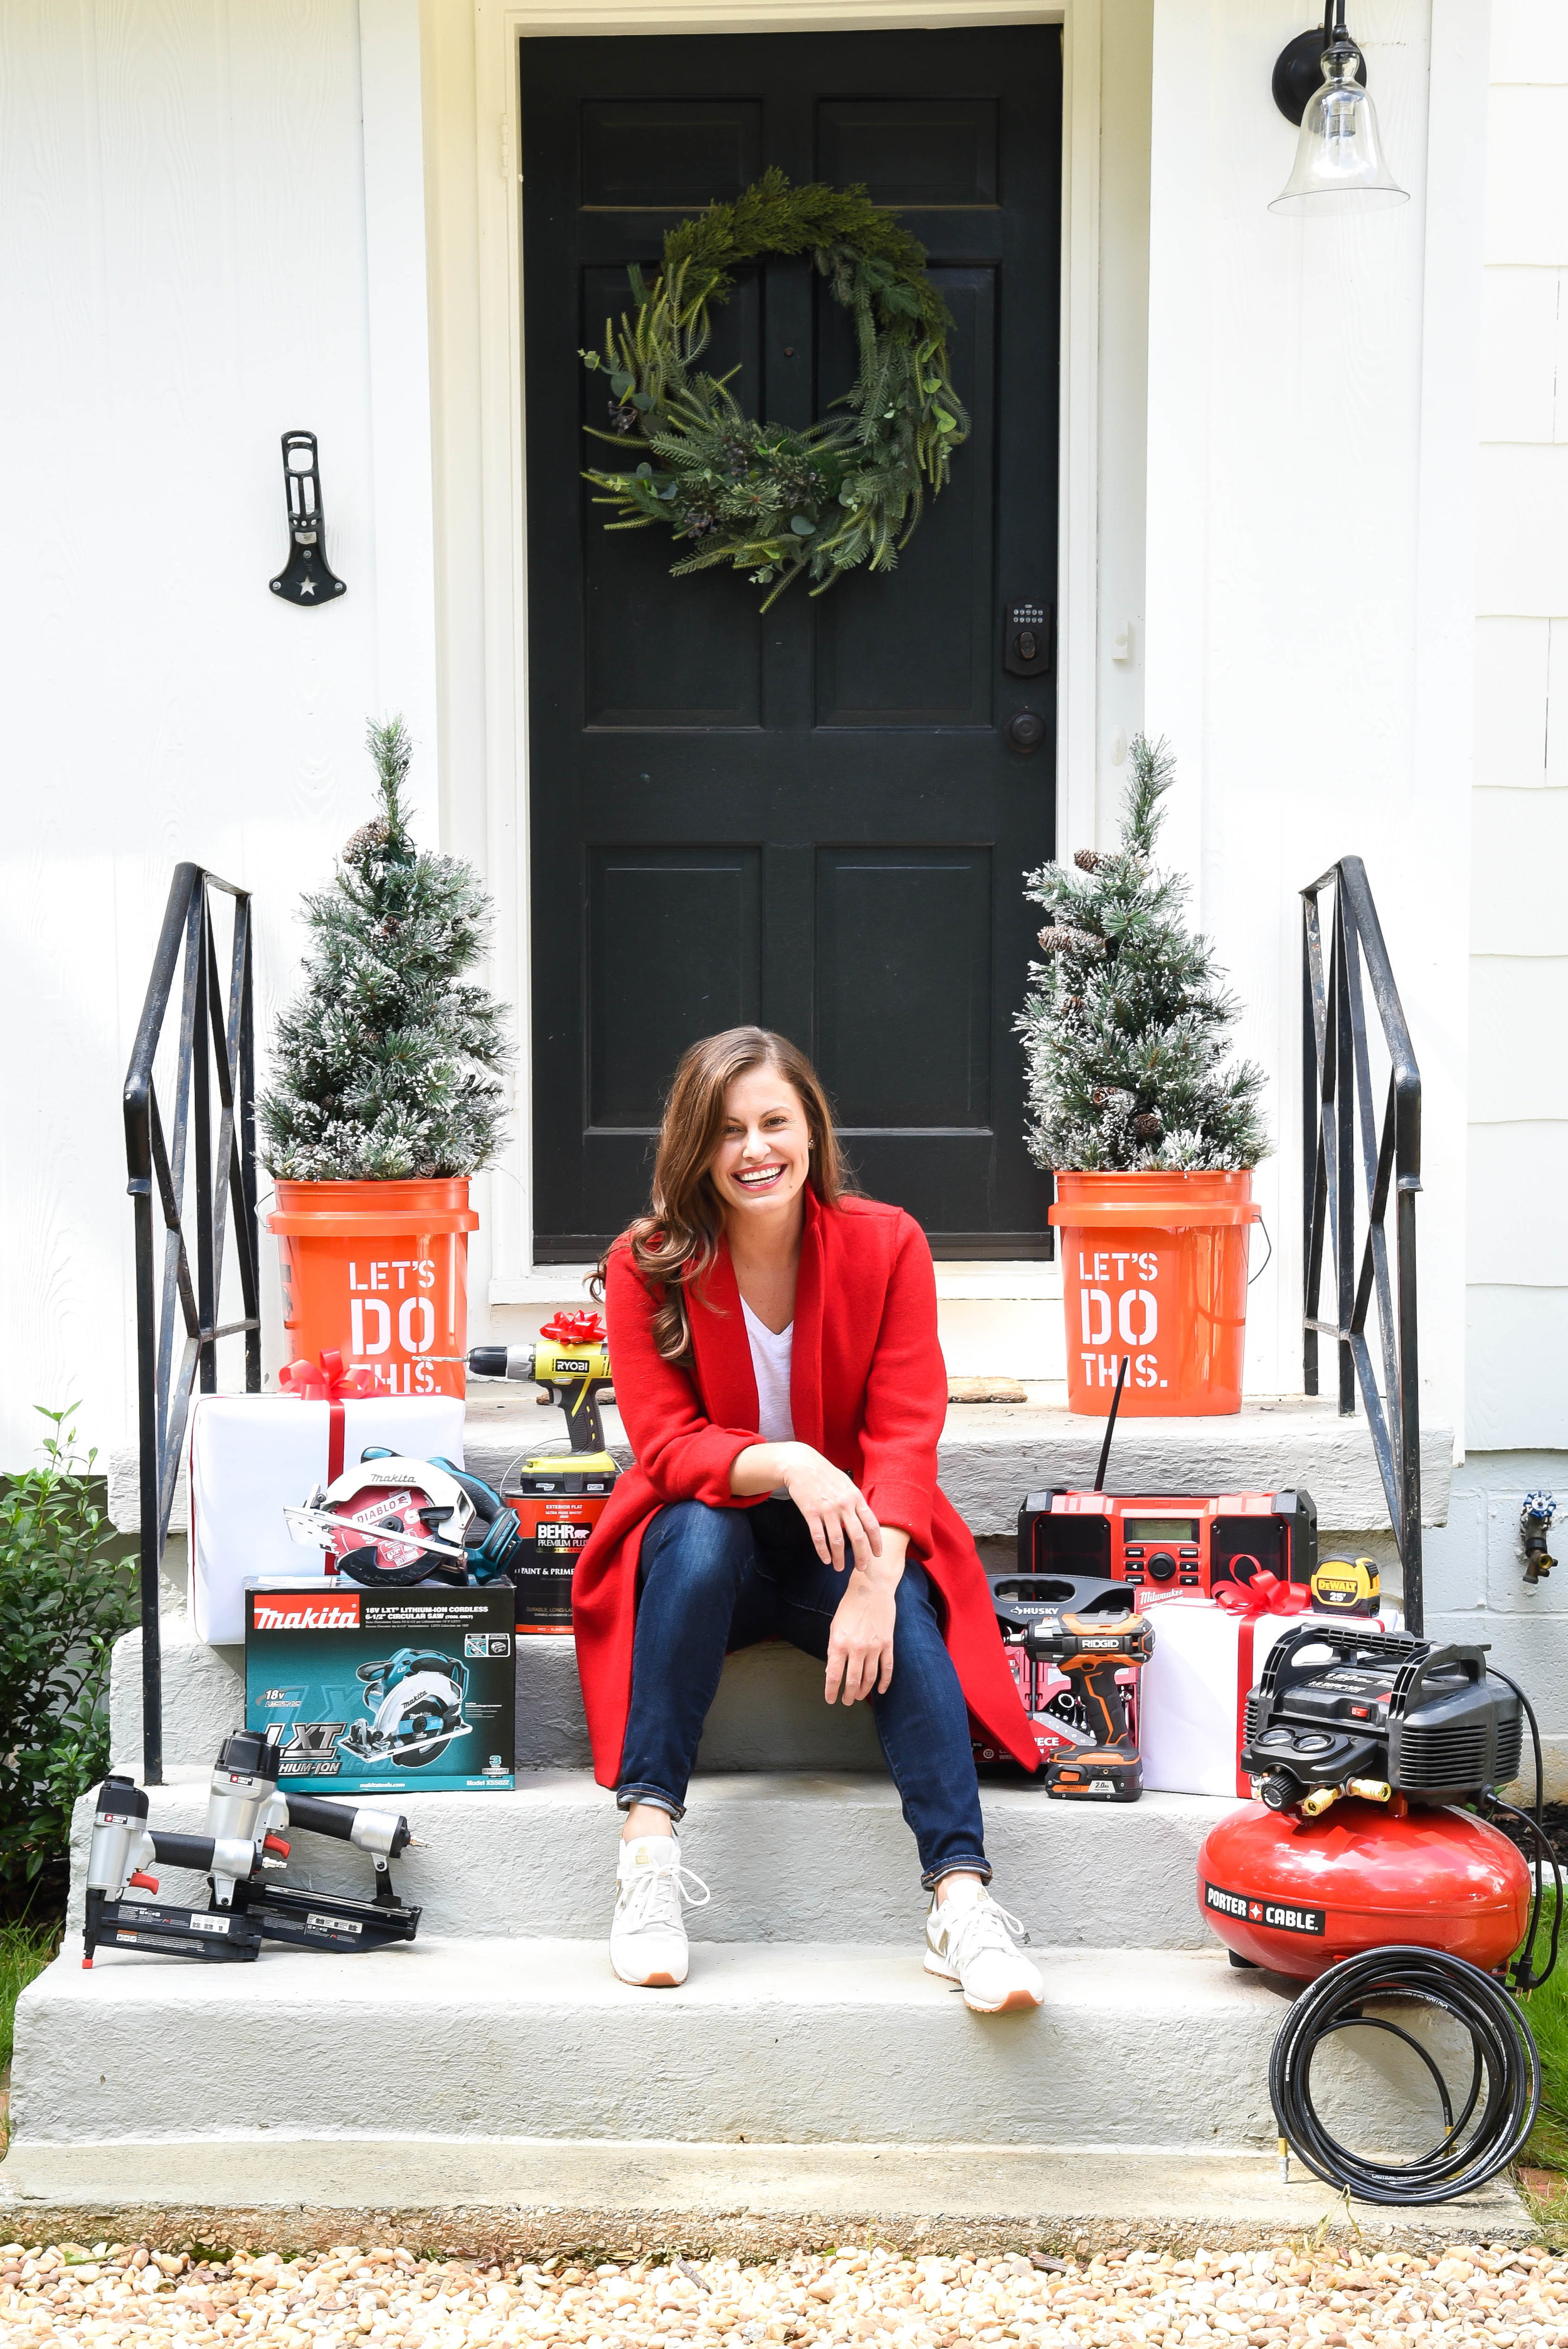
Hello Friends!  Just like that, it’s about to be the most wonderful time of year again!  And this year, we’re bringing things back to basics.  It’s the simple things that matter most.  Time spent decorating the tree, the smell of baking cookies and simple acts of joy!  This season’s all about giving, and for parents, there’s nothing sweeter than seeing happiness on your child’s face.  So, that’s why this year, we’re beyond excited to partner with The Home Depot to create a truly special surprise!

Makita Christmas Present

For those of you that have followed along, you know that this past year has proven to be one that was filled with great sadness as well as much joy.  And one thing I’ve learned, is that a strange thing happens when you’re met with great loss.  Gratitude.  This year, I’m extremely grateful!  Grateful for my family.  Grateful for this life.  And grateful for you!  I hope this little space of ours continually inspires.  And I so look forward to sharing all the things we have planned for 2018.  But in the meantime, we’re pausing to enjoy the present!  And I hope this holiday season, you too do the same!

Michelle Cannon Smith for Home Depot
Ryobi Christmas Present

Because after all that’s what this season is all about.  Doing things you love with the people you love!  And for me, that’s why this holiday partnership with The Home Depot means so much!  It was an opportunity for Brian and I to once again, get back to the thing we love most!  Spending time together, tools in hand, putting a vision into place!  For us project time is always the best time!  We learn, we love, we grow!  And this project turned out to be one of our all time favorites, because it was for the holidays and because it was for our kids!  Hand made, with love!

Home Depot Holiday

Now, head over to The Home Depot Blog to see the truly special thing we created for P & K!  Hands down it was the best, (pre-holiday) Holiday surprise!  And truth be told, it’s the gift that keeps on giving, all 365 days of the year, trust me...you don’t want to miss this!

Love, Michelle

Michelle Cannon Smith

I acknowledge that The Home Depot is partnering with me to participate in this holiday campaign (the “Program”).  As part of the program I am receiving compensation in the form of products and services, for the purpose of promoting The Home Depot.  All expressed opinions and experiences are my own words.  My post complies with the Word of Mouth Marketing Association (WOMMA) ethics code and applicable Federal Trade Commission Guidelines.

P & K | A Shared Toddler Big Kid Room

Shared Kid Room

Wood Dump Truck, Hape   |   Colorful Wood Blocks, Grimms   |   Wood Digger Truck, Hape


They grow up so fast!!!  OK, well, mine aren't quite headed off to college.  But boy oh boy, I'm not sure where the past two years have gone.  Well, to be completely truthful, the past year and a half!  After moving last year, we've put most of the renovating / decorating on the back burner.  And after loving our twins' nursery in our last house (photo below), I knew it was beyond time, to start creating a more suitable space for both P & K.

Boy Girl Twin Nursery

Liberty Crib, Serena & Lily  |  Dahlia Chandelier, Pottery Barn Kids  |  Glider, Pottery Barn Kids


For starters, we recently transitioned out of cribs (insert super sad face).  We debated using the toddler conversion that was included with our cribs, but ultimately were desperate for more floor space in their tiny bedroom (110 sq. ft.)  So, to maximize space, but also wanting to fit two twin size mattresses we decided on bunk beds.

Ikea Bunk Bed

Knowing good and well, that bunks for toddlers isn't always the most practical, we planned for two things...one, we looked for a unit that was shorter than a standard bunk height (therefore, we bought the Ikea Mydal) and two, we plan to diy this budget friendly bunk ($169) into an awesome cottage / castle  / fort for our kiddos.  So, inspired by the look of this and this, we hope to finalize and create our design in the upcoming months.  In the meantime, our kiddos love sharing the bottom bunk, and P has even spent a few nights on the top.

**Something To Note:  If you're considering the Ikea Mydal, know that the rails do not go high enough to safely secure a traditional twin mattress, you need to plan on purchasing a twin that is 5 inches in height or less.  We didn't realize this until we were at the store, so out of convenience we went with Ikea Minnesund Foam Mattress, $89.  So far, it's getting the job done and works for the kids.  Had we thought it out more, I'm thinking I may have gone with this one instead.  Anyways, just a heads up!

Playroom Table, Pottery Barn Kids

In the space where the second crib had resided, we put in a round play table (ours we got on major major clearance and is now sold out ~ but you can find similar ones herehere & this budget friendly one here).  Paired with these chairs, this space is perfect for puzzles, blocks and drawing!

Reading Nook

I lOVE that my kiddos can now sit for more that just board books!  With their current favorites being this, this, this & this!  So, to encourage their love of reading, a reading nook was on the top of my list for their new space.  For shelves we went with a popular Ikea hack.  At just $3.99 a piece, Ikea's "BEKVAM" spice racks make for the perfect children's bookshelves.  We painted ours white, and hung a total of 6 units.  Easy, Peasy!  A diy poster from their second birthday party, this framed art and this animal head, bring more color to the space.  For chairs I came across these children's loungers from TJMaxx, they were a steal at $35 a piece.  Similar styles can be found here and here.  There's nothing I love more than hidden storage!  These storage ottomans have stood the test of time and come in all kinds of great colors.  Perfect for hiding larger toys or corralling loose ends!

Toddler Room Toy Storage

And to solve our major storage issue, we installed two Billy Bookcases from Ikea, both with height extensions, to corral and organize all the toys.  The ultimate plan is to make these into 'built ins'.  But in the meantime, they're perfectly functional with the addition of storage bins and baskets that store and hide all of P & K's toys.

One final thing to note, the rug can be found here.   Color is Swedish blue.  We had it in their nursery and kept it in this space.  It's cotton and has held up well to all of our wear and tear!  I highly recommend a significant rug pad underneath (we bought and love this one), as this rug is by no means plush.  But I love that it's lightweight and can easily be washed and hung outside, tackling all those stains that are unavoidable with babies and toddlers!

So, there you have it.  The current state of P & K's room.  There's still walls to be painted, a new light to be installed, the bunk design to finish and execute and another wall that needs to be designed (thinking making it a multi use space, displaying / hanging dress up clothes, while also making it a wall to display their art).  So, while this is no way a completed space, I'm so happy it's finally a cheerful, functional bedroom for my growing toddlers!


____________________________________________________________________________

And on one final note...I'd like to address (and thank!) all the outpouring of love and support from my last post.  I'd be lying if I said the past two years have not been hard.  In searching for some measure of peace, I've taken the past few months (and frankly, last year) away from the internet and away from creating.  I miss this little space I've created here and I look forward to sharing more of our simple life with you!  So, thanks for sticking around and thank you to the many many many of you who took the time to reach out through email and comments and messages the past few months.  It truly means more to me than you know!  LOVE, LOVE, LOVE you!  

love, michelle

Ikea Expedit

Ikea Expedit

We still can't believe that more than 100,000 of you have checked out our Ikea Expedit Project!  What originally was supposed to be a temporary fix for our organizational needs has now served our home for a whopping 2 years!  It works as our family's command center ~ organizing keys, mail, files + crafts.  We were (and still are) humbled to think that a simple addition of a chalkboard would spark so many re-pins on Pinterest.  Read on to see how a measurement mishap turned into one of our best projects to date! 

After taking measurements of the empty space behind our front door, we opted to purchase 3 individual Expedit Shelving Units.

To our dismay, we realized our measurements were off by 5" and didn't love that it practically stuck out past our door frame.  After about an hour of debating whether or not to return the whole thing, we had the idea to turn the end unit 90 degrees.

This allowed the entire unit to fit perfectly due to the fact that the cubes are more rectangular than square.  Then to conceal the blank side we added a chalkboard.  

We taped off our edges using 3M ScotchBlue Painter's Tape and taped down old cds to round the corners ~ gave it a couple coats of chalkboard spray paint from Home Depot and voila!  Our very own custom Ikea Expedit.

After completing this project, we received a lot of requests for a buying guide. Again, thanks for taking the time to check out our blog and best wishes for creating your own organizational area!

We purchased 3 individual Expedits, added a chalkboard and styled with the following:

{1}  West Elm Basket

{2}  Industrial Pulley

{3}  Ikea Magnetic Board

{4}  Ikea Magazine Rack

{5}  DIY Chalkboard

{6}  West Elm Vase

{7}  Anthropologie Camera Album

{8}  Crate and Barrel Wire Baskets

{9}  Pottery Barn Magazine File

{10}  Large Clip Was A Gift

{11}  Ikea Woven Baskets

{12}  West Elm Magazine File + Storage Box

{13}  Pottery Barn Baskets