
Warm weather now means patio season is in full swing. And lately our patio makeover is the most searched thing on our site and if you’ve been around awhile you remember last year we painted the fence white - you can see that transformation and all the details in this post here! So this year, we decided to add to our favorite space to turn it into the ultimate rock patio garden & kitchen! We planted some of our favorite edibles in containers to make this space inviting, cozy and functional. So whether you have all the space, a backyard deck / patio, front steps or a tiny apartment balcony, I’m sharing all my tips for what and how we grow a container garden! Keep reading below…
All too often and so frequently through Instagram, so many of you share that you’re overwhelmed and don’t know where to begin. Containers are the perfect easiest place to start! For myself, that’s what started my gardening journey on a very tiny apartment balcony. So, when people share with me that they don’t have a huge yard or a lot of space, I too know from experience, that the joys of gardening are not reserved for those with yard access. And I hope this posts encourages you to give gardening a try. Start small. And grow (pun intended) from there!
What To First Grow In Containers?
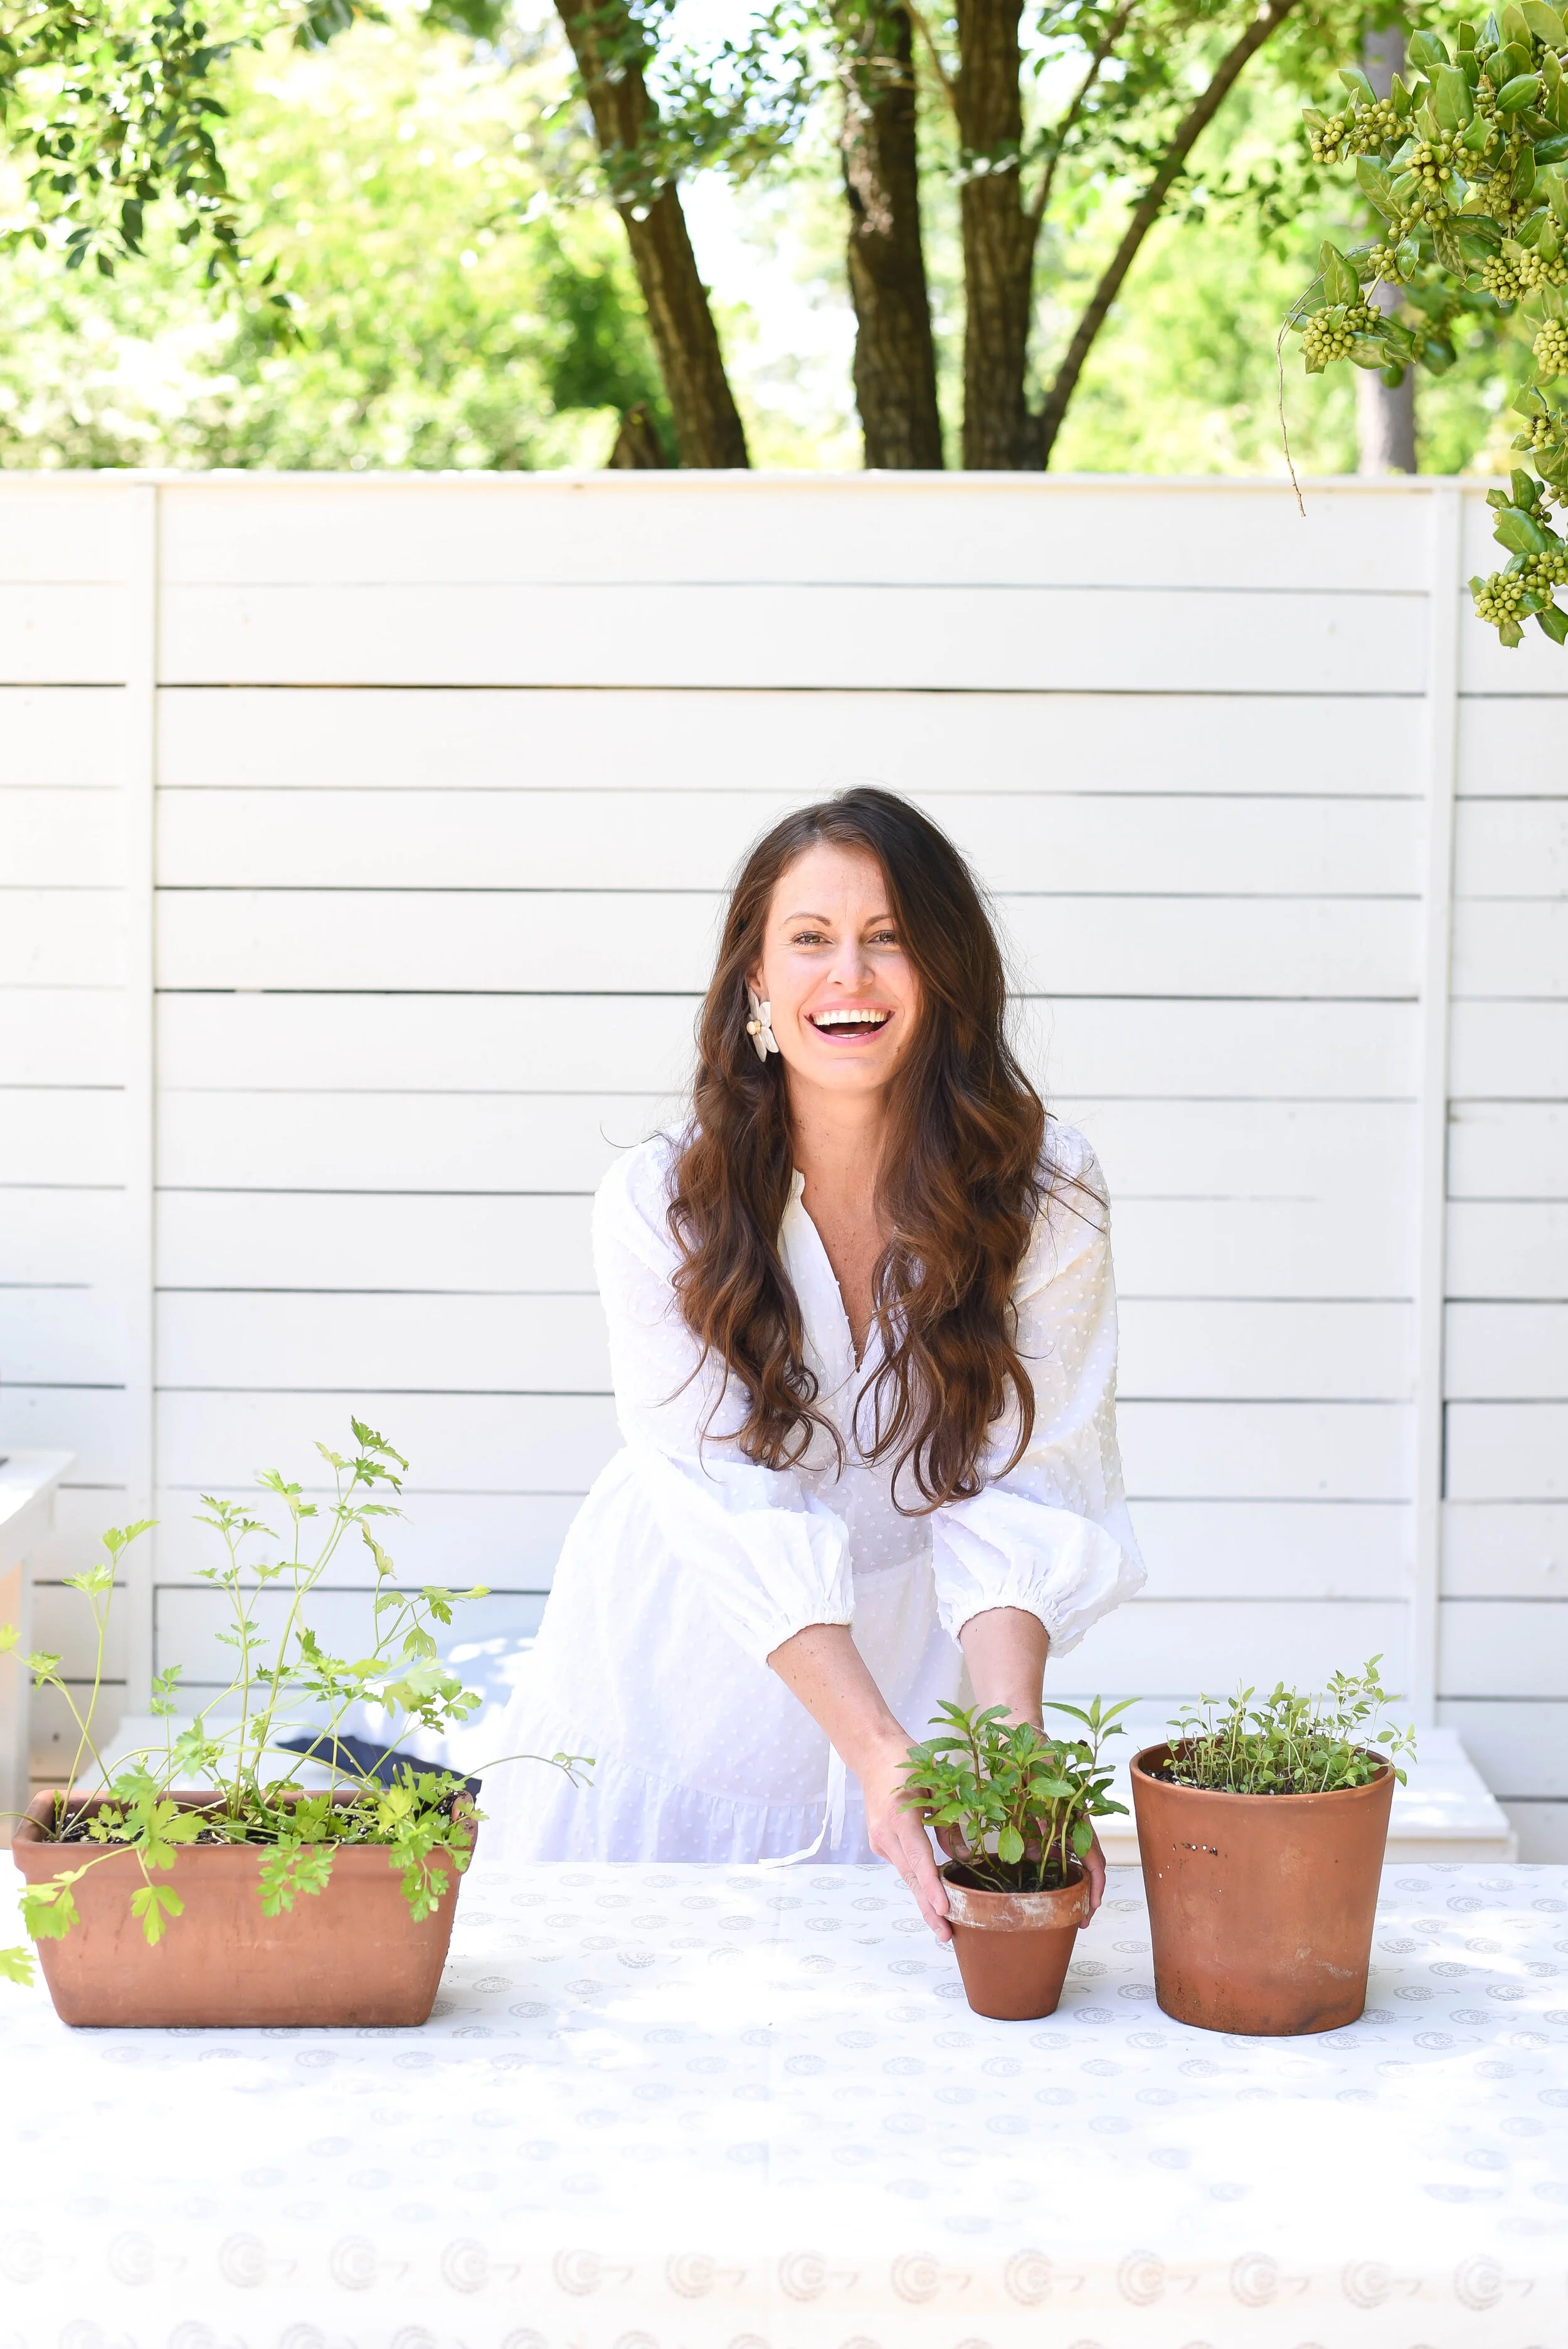
Again, I’m a lazy gardener, growing in a somewhat small space. I truly believe that you need to LOVE what it is your growing and what you grow needs to give you back multiple functions in joy! For me that means fragrant herbs, they smell good, look good and of course can add flavor in your cooking! Looking for where to start? Plant things like mint, or oregano. They’re perennials in most planting zones (perennials plants mean they grow back each year), and these particular herbs are quite hardy to grow. My kids eat our mint by the boatloads. Fresh, picked directly off the plant! And the more you pick, the more it grows! Not fans of those herbs? No problem. Grow an herb you love to eat! In summer I love all the basil covered pizzas!! And nothing beats fresh basil, this purple being my all time favorite! I also love growing flowers, again, their fragrance, color and beauty all bring joy to the space! Plus flowering herbs and plants encourage and bring in your pollinators and for that reason is why when planting groupings I always choose to plant these varieties!
MAJOR GROWING TIP:
I LOVE cilantro. Taco Nights just aren’t the same without it! For the longest time, I would buy cilantro from a nursery, enjoy it for a hot minute and then it would die. Black thumb struck again! OR DID IT?! Cilantro has one of the shortest life spans out there…and once I understood this, my cilantro growing game was forever changed. So how to get a continuous crop of Cilantro?! Grow it from seed! Seriously so easy. I plant a few seeds in a container, allow to grow two weeks, then plant a few more. This is called succession planting (essentially growing by seed continuously to ensure a continuous harvest). So, by the time my first batch is starting to fade…I have a whole new crop coming up for me to enjoy. I just keep planting seeds, in the same container every few weeks. And for this reason, this is why Cilantro is the ONE plant I think EVERYONE should be growing from seed :) You can find my favorite seeds here!
What Size Container Do I need?
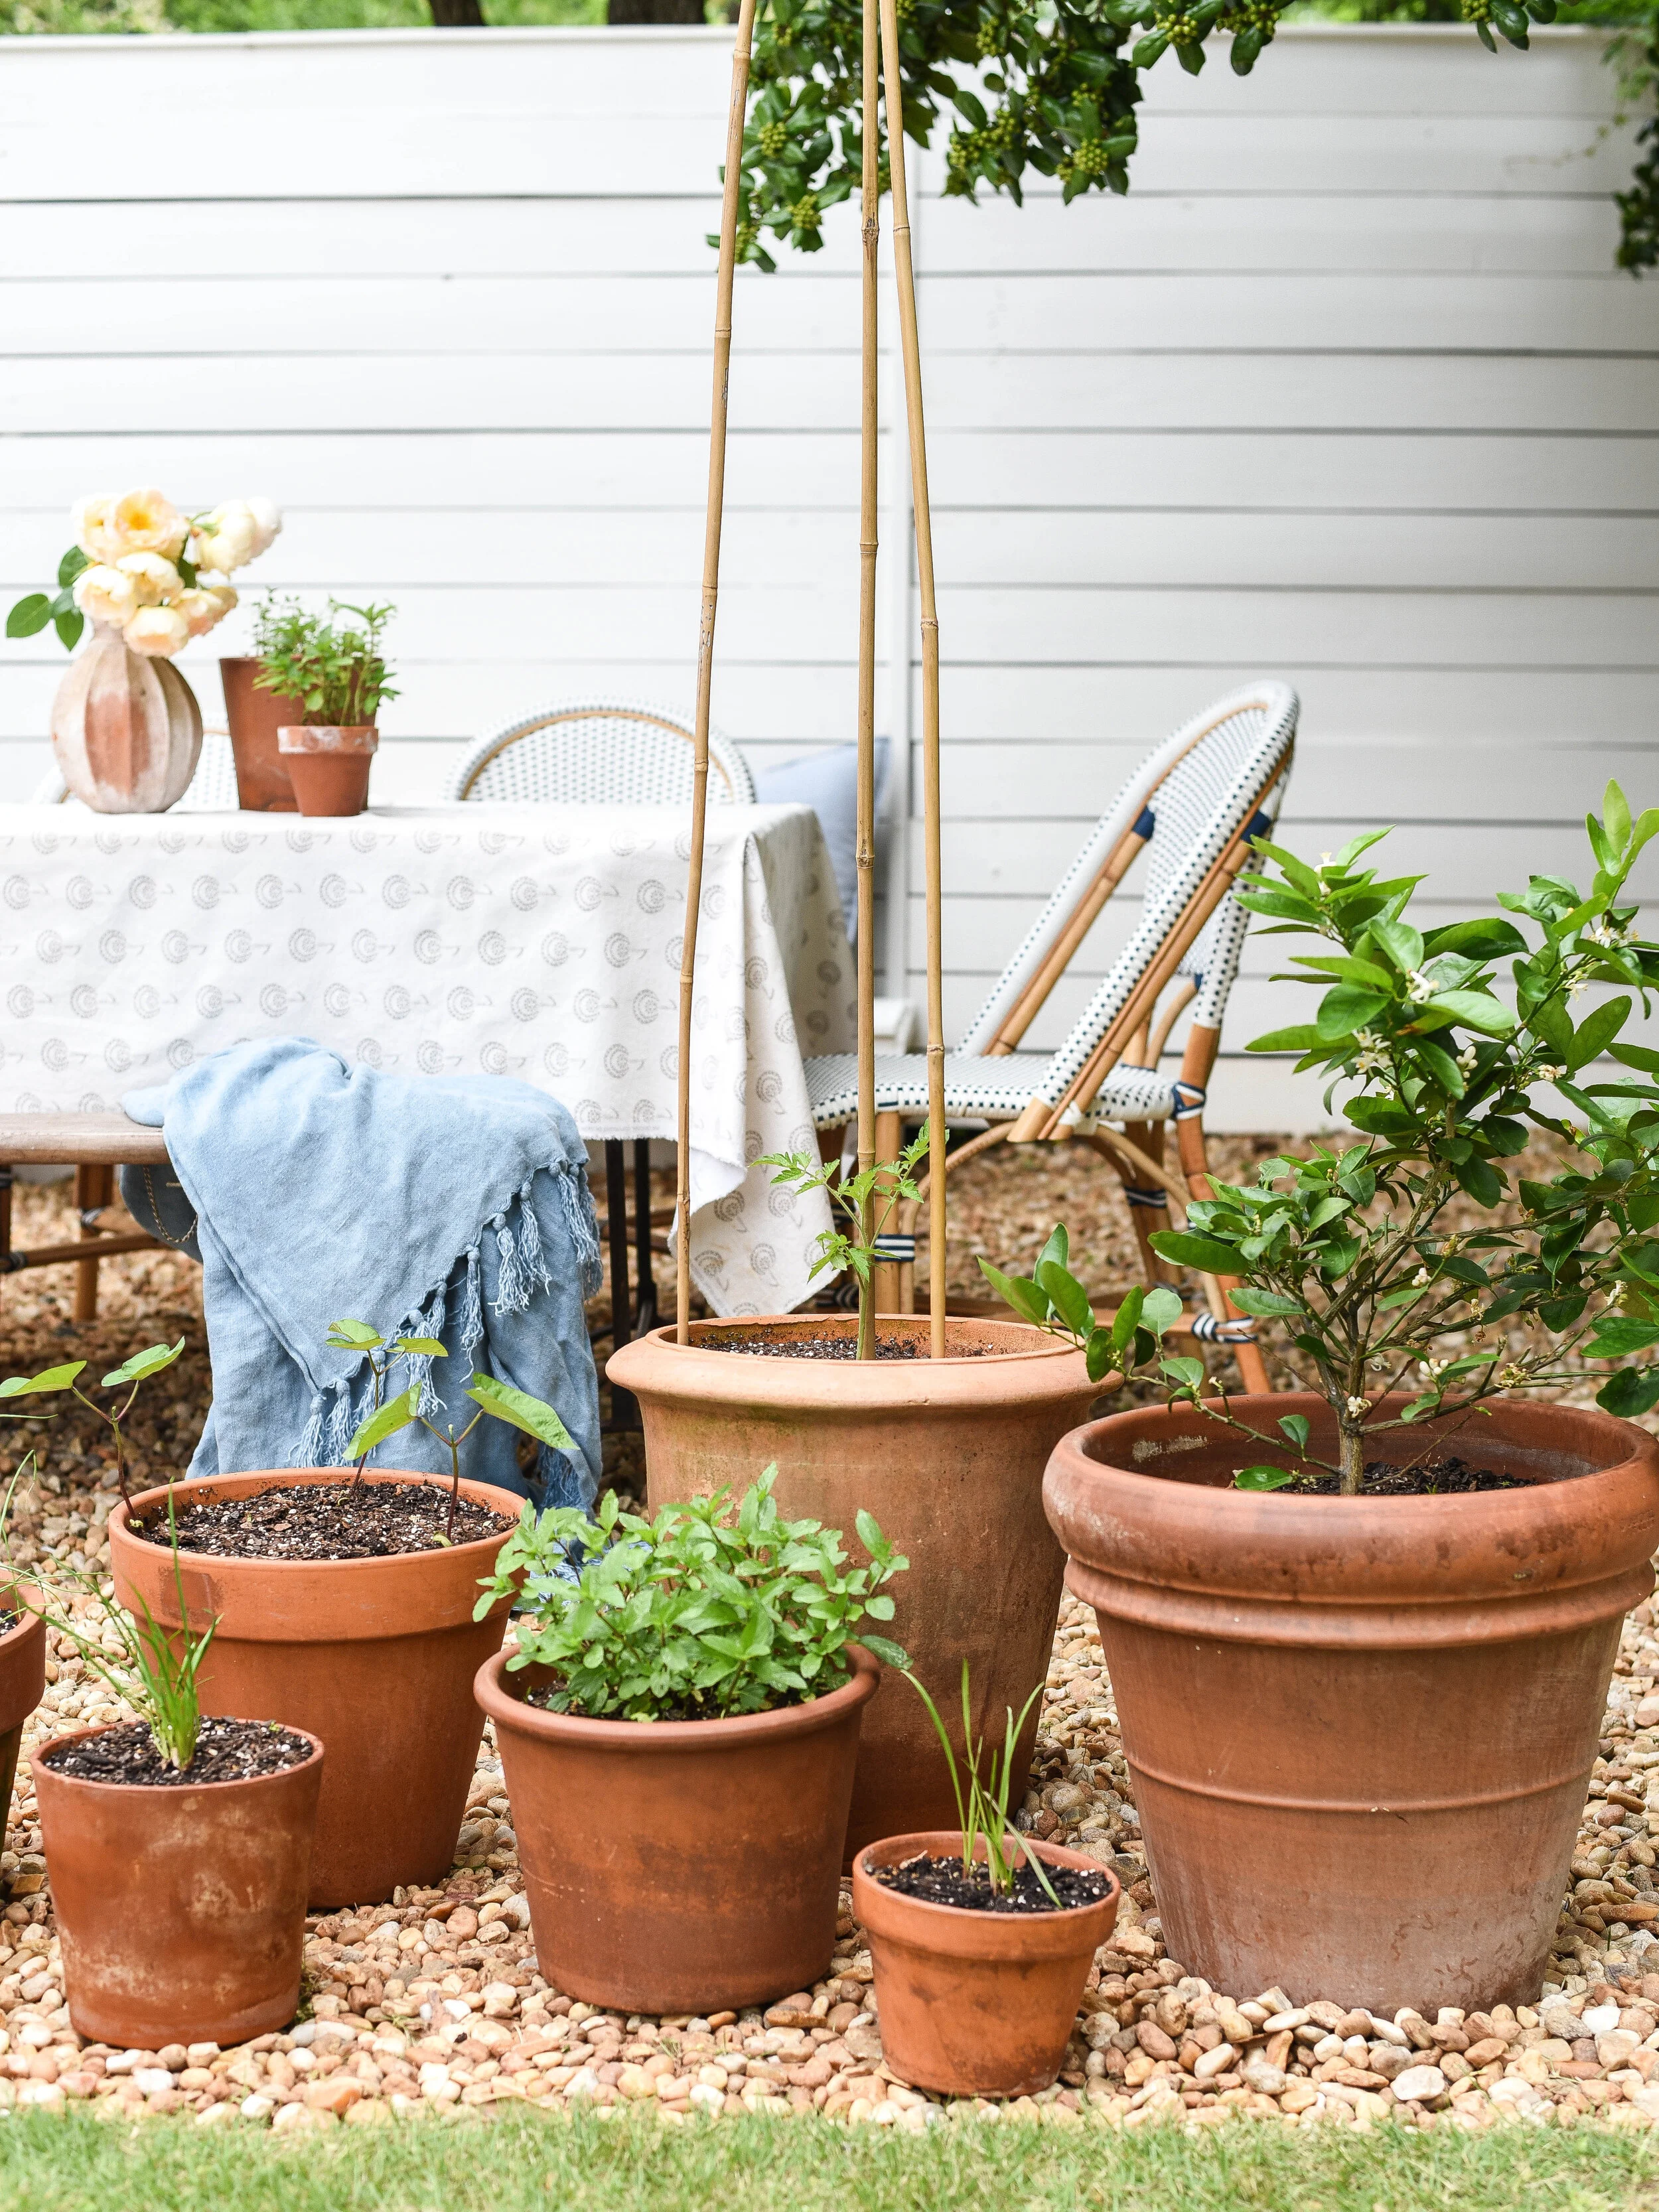
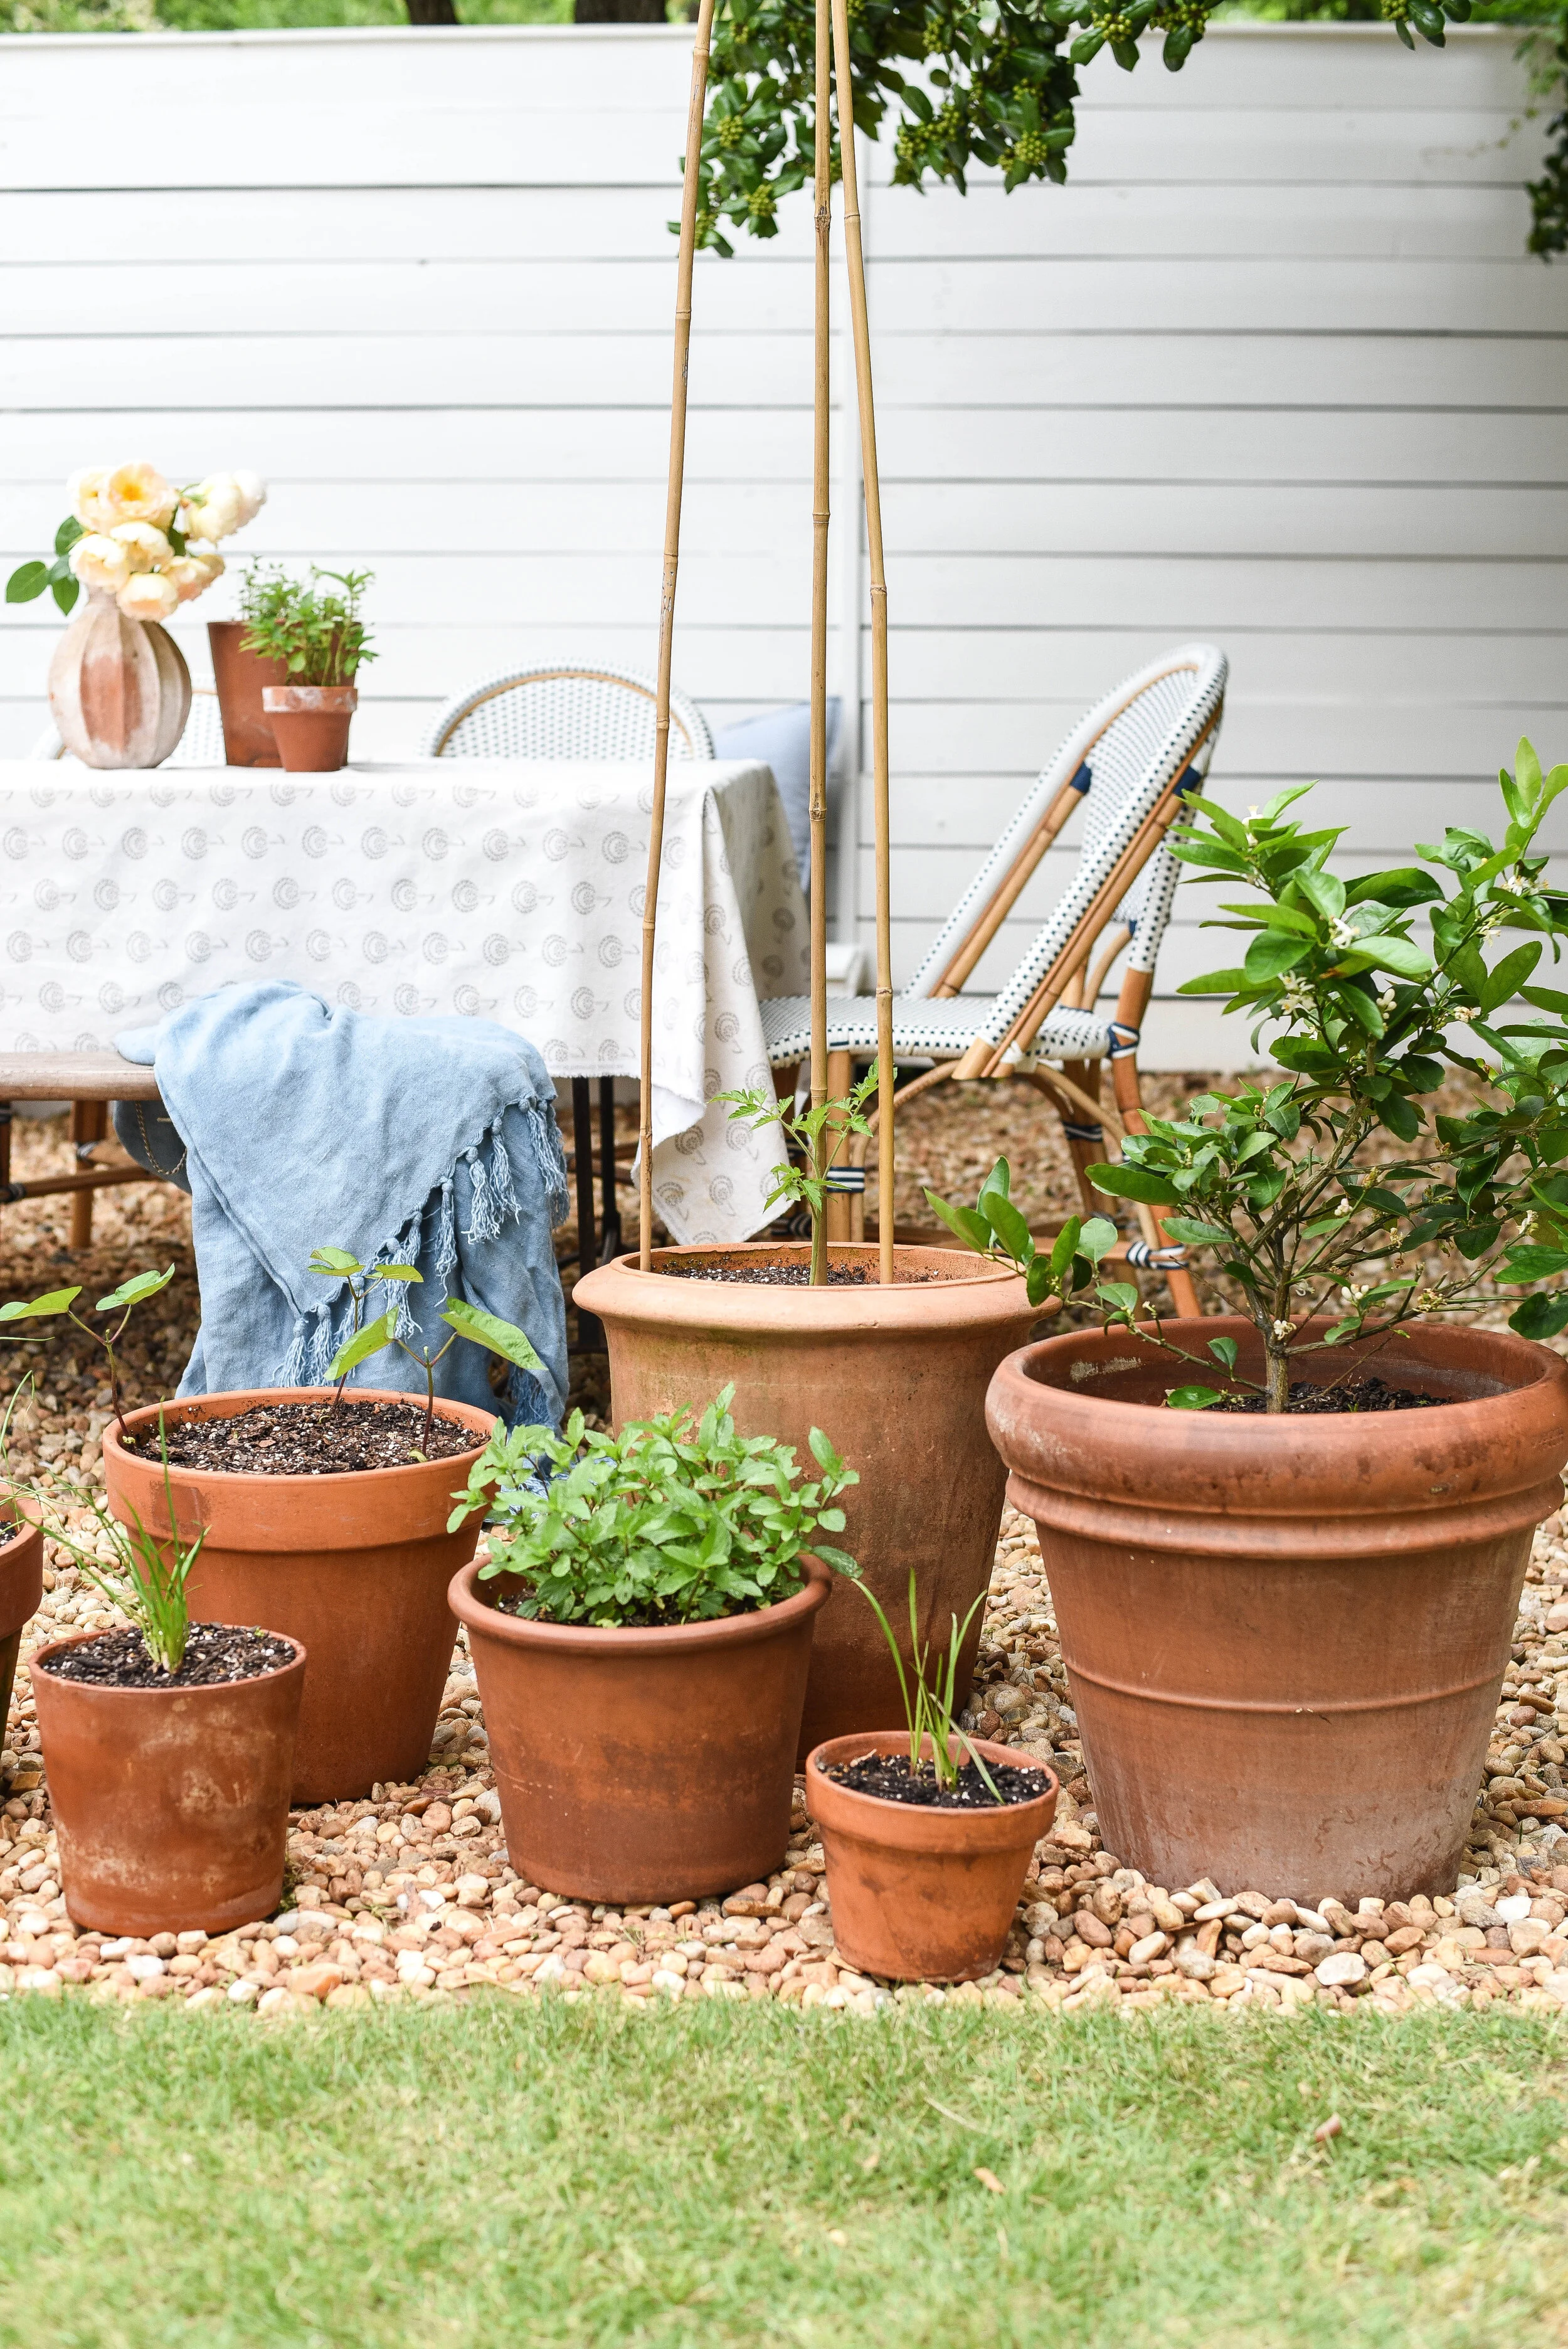
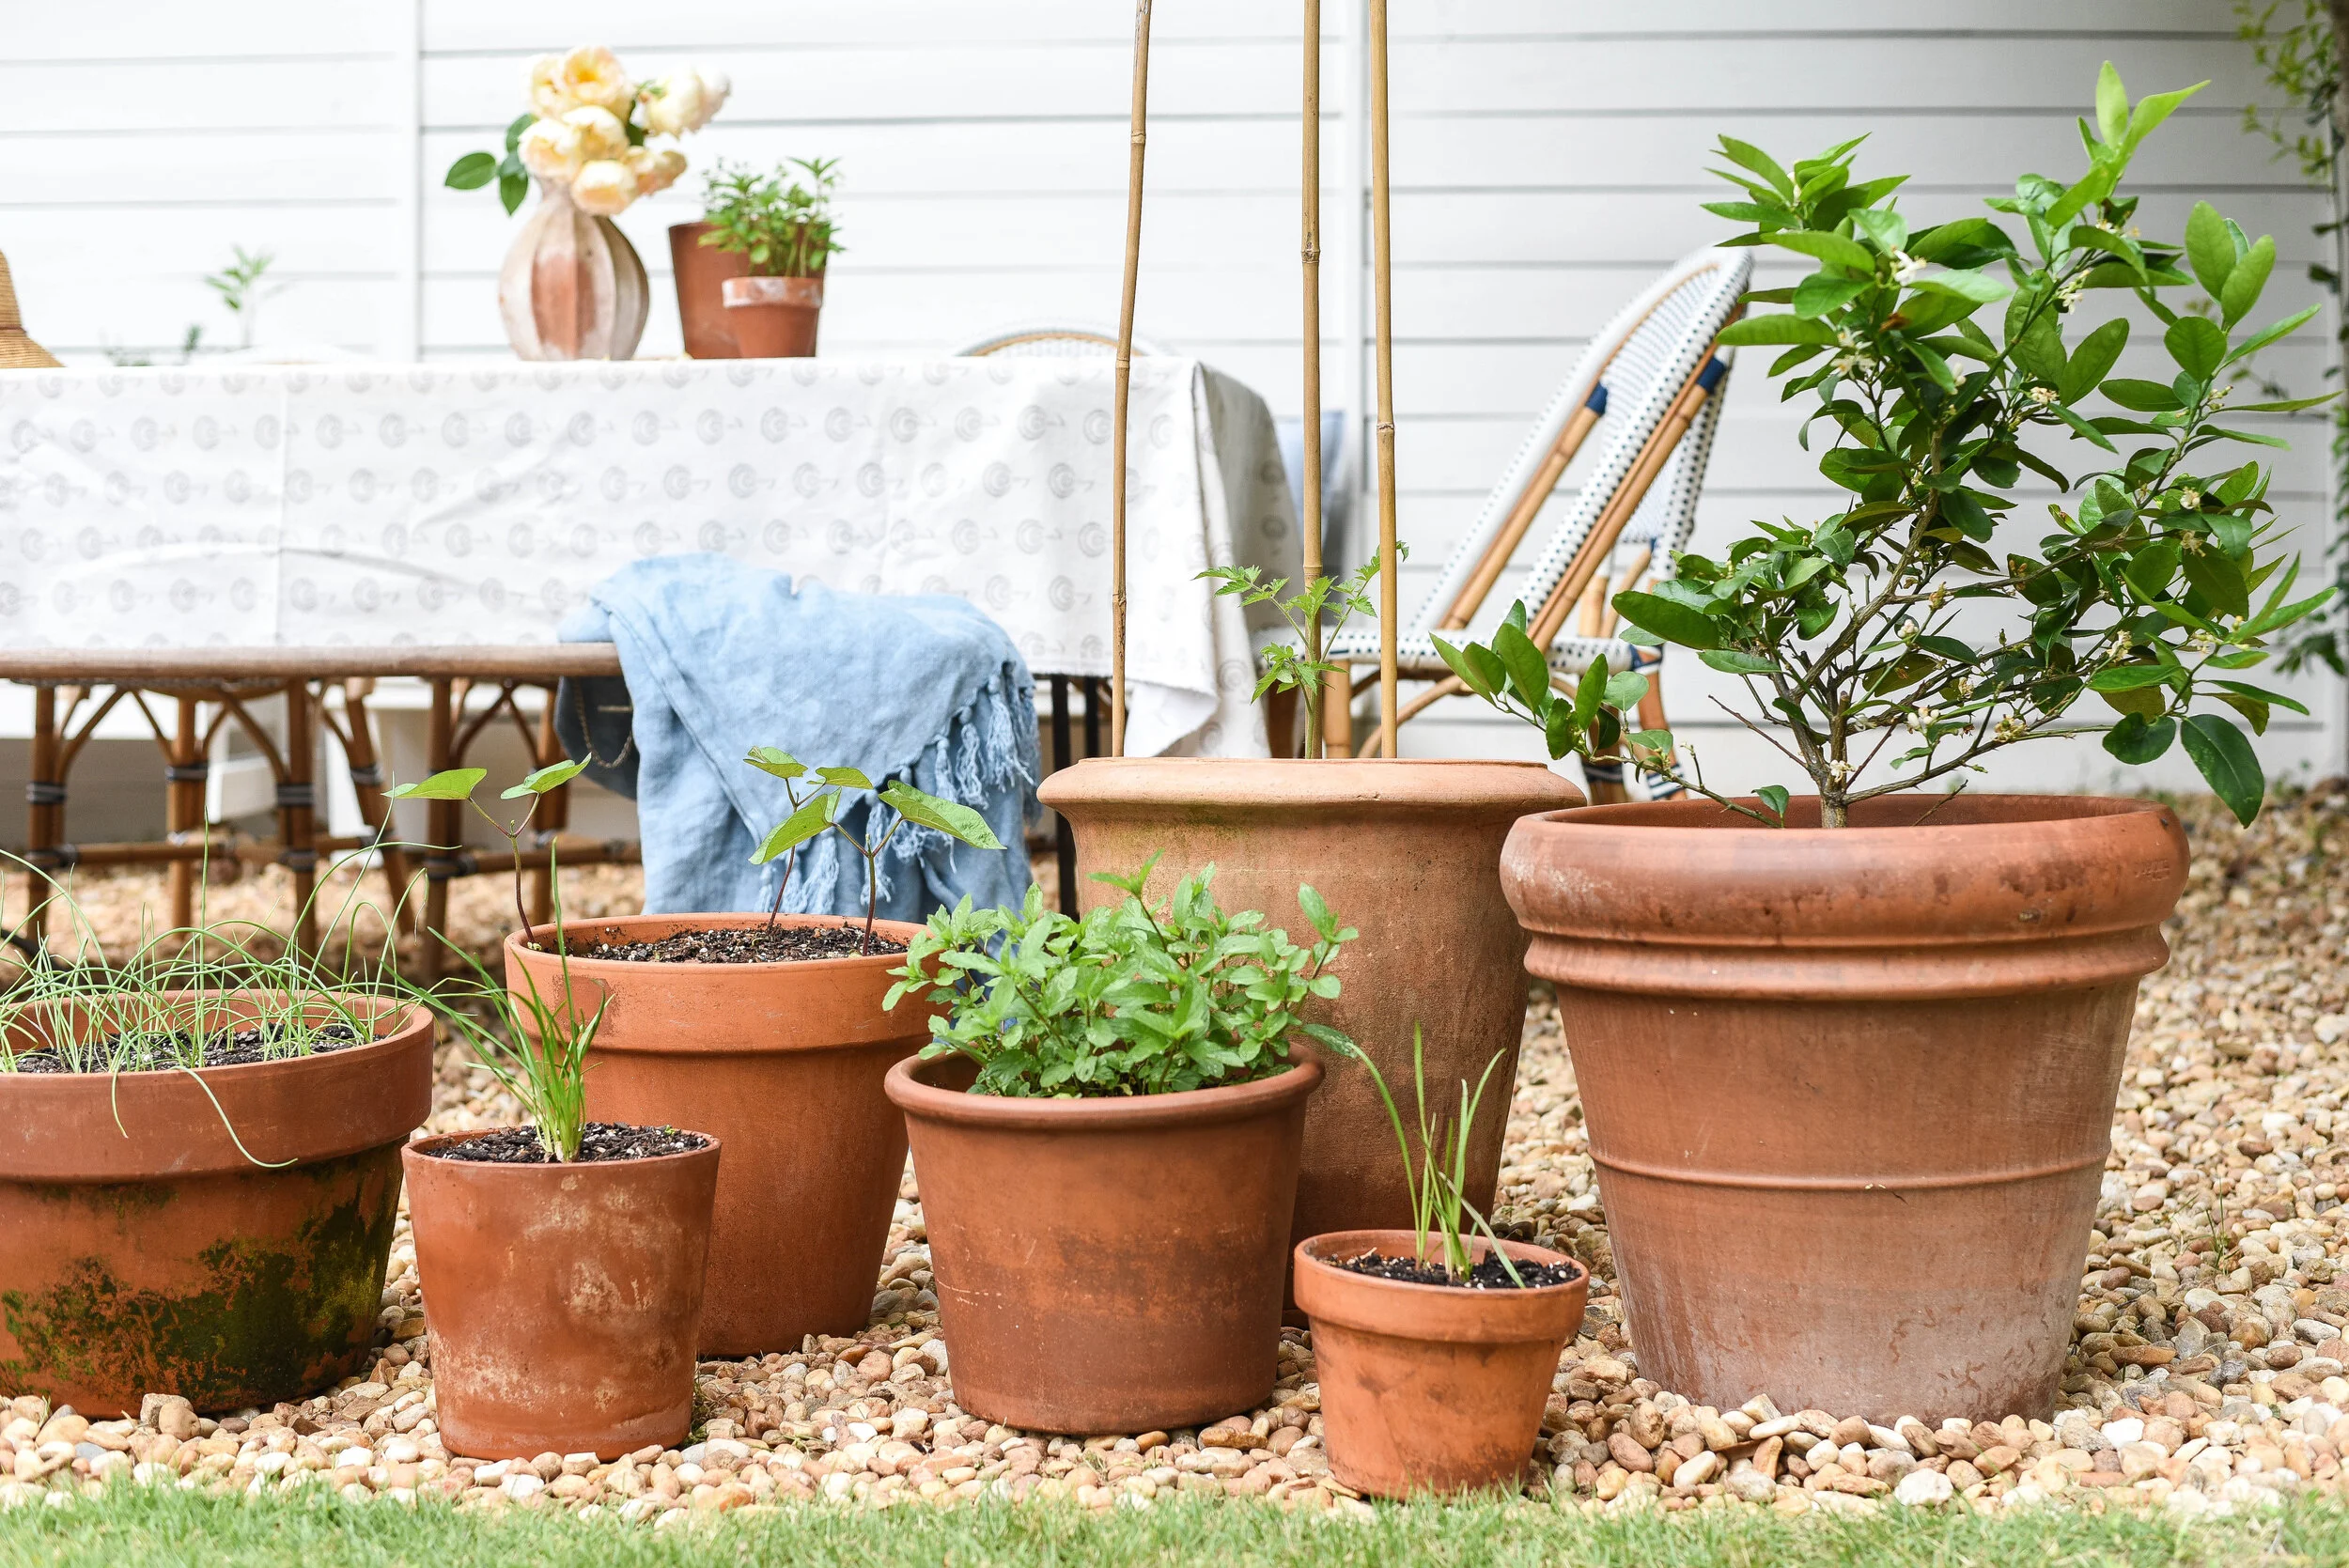
One of the reasons I love and adore container gardens is that almost most of what you can plant in the ground can also be planted in a container or pot. Like any garden, attention to growing conditions (sunlight, shade, soil preference, etc) is key to ensure that your plant thrives. In addition, paying especially close attention to the mature growth size of your plant. Can you plant large garden rose shrubs in containers? What about Citrus Trees? Absolutely! You just want to ensure enough space and size is given to allow enough growing room. For this, and with any plant I’m transplanting (moving from one place or pot to another) I use the 2x rule when choosing my container. I want it to be two times as wide and two times as deep as the current pot it’s growing in. So, when I buy that cute garden herb from my local nursery or hardware store, I buy a container twice as big. Again, I don’t do this for every situation, but it’s a really good general rule for most things I grow! And when growing from seed, I typically follow the planting guidelines on the back of the seed pack and cut it in half. For example, it says to space 12” apart, I’ll plant it in a 6” container. And when planting things like herbs or flowers in containers I’ll keep to this same formula and to put multiple plants in a single pot, again, half the recommendation. Example, seed pack says plant 12” apart. I’ll plant TWO in a 12” pot. Because I’m growing in a small urban space, and wanting to get the most grown in as tight as space possible this seems to do the trick! And while we’re really getting detailed, all the lettuces I grow from seed (my family adores these and these right now) I plant those seeds super close together and harvest the outer leaves allowing more to continually grow up through the center. Very rarely do I ever by greens, herbs or lettuces from my grocery store! It’s amazing!
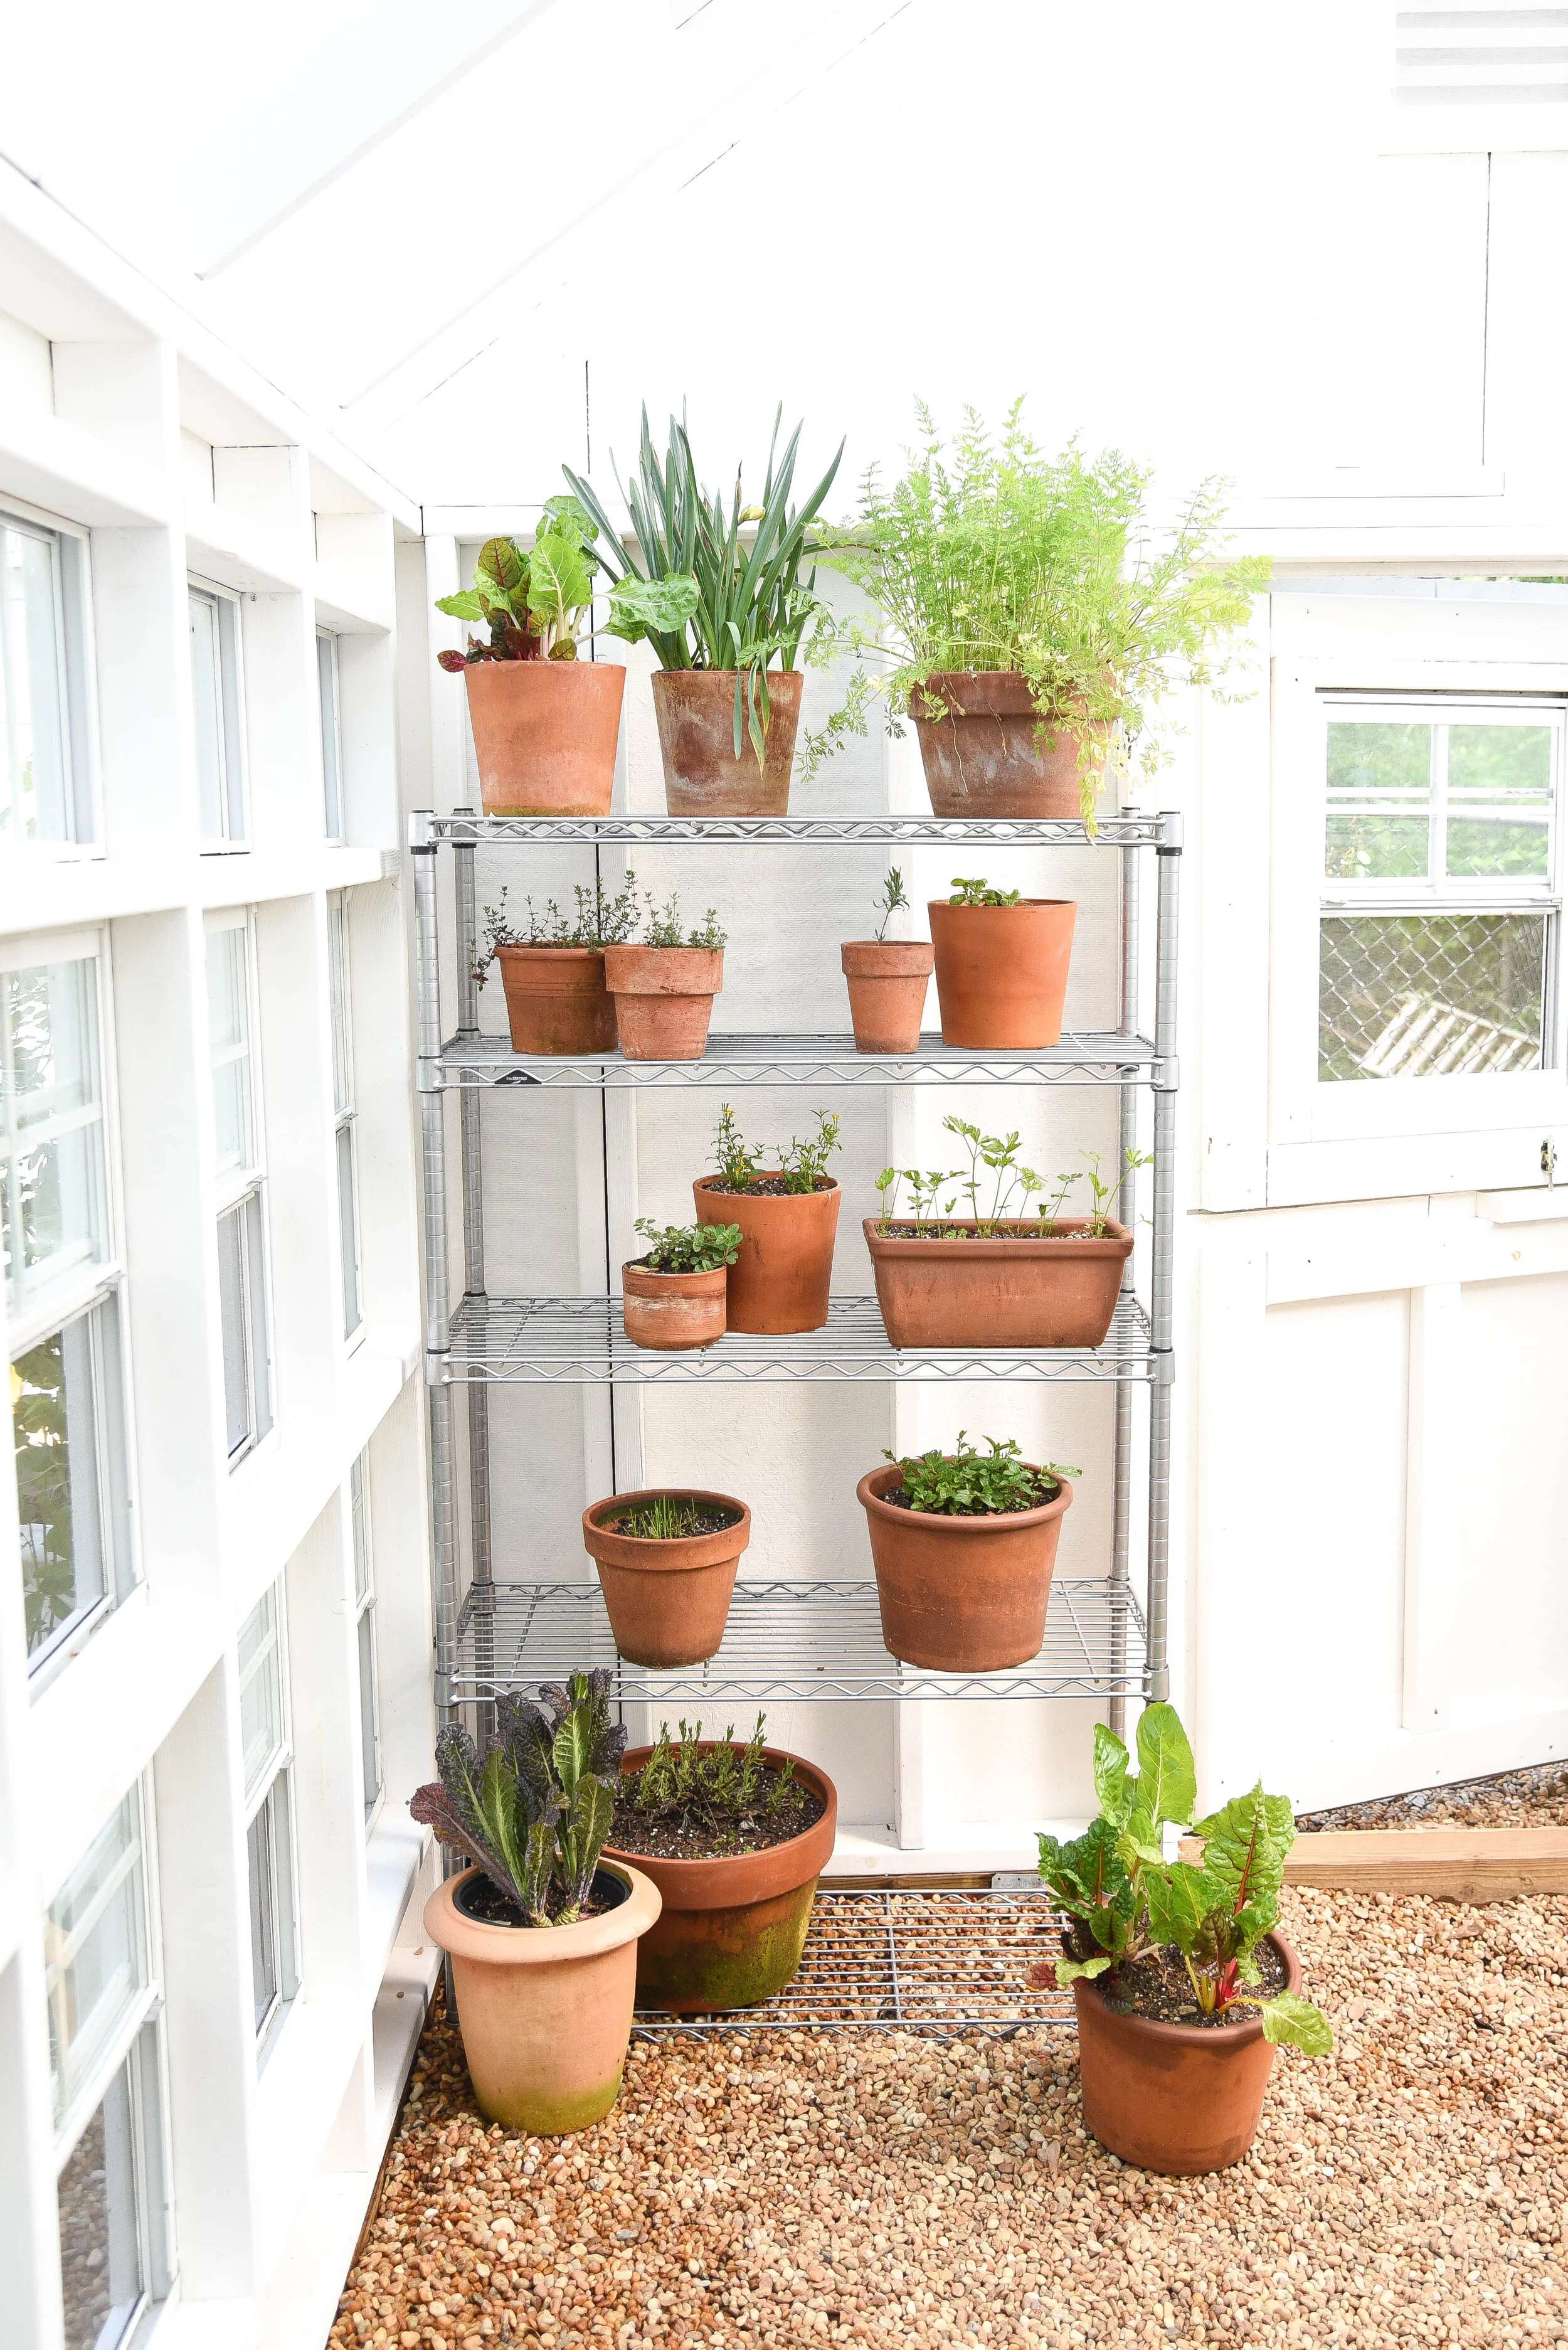
Where Do I find all my Terra Cotta Planters?
Some of my favorite planters are just basic nursery, hardware store finds. Nothing too precious and expensive. My most recent purchases were these modern ones, at just $4 I scooped a few up! Came home, loved them so much and also bought the smaller versions, here ($3), and here ($2)! To really pack in lots of lettuces, or items that are fine with shallow growing conditions, I prefer short and wide planters like this and this one! Our Lime Tree is currently in this large container. When seeking out terra cotta planters, bonus points for buying any marked on the bottom as made in France or Italy. These tend to be some of the best quality and durability out there. Some of my more unique planters or extra large ones have been thrift and garage sale finds. And while I know stay at home prevents those finds now, I have seen plenty of neighbors getting rid of their on apps like nextdoor etc, so maybe a place to look as we all social distance. For gorgeous, statement planters, I love all the containers Terrain has and places like specialty nurseries, my favorite is Pike’s Nursery (local to Atlanta) have great choices as well!
**WORD OF CAUTION ABOUT TERRACOTTA & OUTDOOR PLANTERS
Terra cotta in particular is susceptible to cracking and breaking in freezing and cold temperatures. For this, it is recommended to bring them into a garage or indoors during cold weather. The issue comes when water in your planter freezes, expands then cracks the container. And because terra cotta is porous to some extent, frost can cause damage to the outside. This can also be true for other outdoor planters, so if it’s a concern for you, look for Cold Tolerant Resin or Plastic ones to possibly allow for colder weather. NOW…all that warning and declaimer aside, I myself, have left many a terra cotta planters outdoors during our winter. (Keep in mind in Atlanta, we only get one small dusting of snow yearly, if that. And while we do dip below freezing, don’t have it constantly through our winters.) I don’t water these planters during the winter and while it may just be pure dumb luck, have yet to have one crack or become damaged. (by writing this, I’m sure I’m jink-sing my luck for next year -ha!). And I have even had people living in Florida reaching out saying they’ve suffered frost damage to their pots. SO, it can and will happen! So either move those things in to prevent it. Or be ok investing in ones that can easily be replaced should they crack. And cross your fingers you too are blessed with just dumb luck.
WATERING MY CONTAINER GARDEN
Watering my container garden brings me so much joy and peace. Nothing better than waking up first thing in the morning, grabbing a cup of coffee and giving all my plant friends a drink For the ultimate gardening splurge I love this brass watering lance ~ essentially an attachment for your hose that gives the most delicate of showers! Super durable, this is a piece that while an investment, has for me stood the test of time in my garden!
FEEDING MY CONTAINER GARDEN
Just like my raised garden beds and our children’s garden, it’s imparative that you feed your plants to ensure they continue to thrive, produce fruit and beautiful blooms. If you really stop and think about it, that’s a whole lot of work to do, and it only makes since that we ensure our plants have the best possible nutrition and soil quality to do so! When growing from seed, I prefer to give all my seedlings (the plant when it has it’s first two leaves) a drink of this fertilizer weekly (you simple dilute it in water, and while it stinks your baby plants will thank you!) Once my babies are mature (or if bought from a nursery) I use this plant food (mixed into the soil) which is my tried and true favorite!! I buy the specific food for the plants I’m growing, all included in this link (Berry, Rose, Tomato & Veggie, Citrus, Herbs) and feed give each container a sprinkling of it once a month during the growing season. When giving any food or fertilizer to plants do so out of direct sunlight and don’t let it sit on leaves since they can burn the leaves. Instead, just sprinkle or water into the base of each plant!
GROWING JUST A FEW CONTAINERS OR A SMALL GARDEN?
No need to purchase tons of sepearate foods if you’re just groiwng a couple things. For me, I go through this stuff due to the quantities of each variety we have, and I do think what my rose needs is very different from my Meyer Lemon…but if you’re just getting started, or have just a few plant varities, just start with this all-purpose plant food!

PESTS & DISEASE
Container plants, like any gardens, will at some point face pests and/or disease. This is just mother nature! So to prevent and combat any pests and disease that my container garden faces I use this Organic 3-1 Neem oil. This is the one and only product I use for all of my plants throughout my gardens! Helps everything from black spot on my roses, to aphids on my tomatoes. It also helps keep my herbs free of flies and larvae, and caterpillars from chowing down on my flowers! Simply follow the package, dilute in water, I use a standard household spray bottle to apply. I spray every 1-2 weeks during the growing season, spray in the evenings, out of direct sunlight so not to burn leaves and after pollinators are done and gone for the day (you want those in your container garden!). A little spritz does the trick, no need to get every leaf and stem as the plant will absorb it.
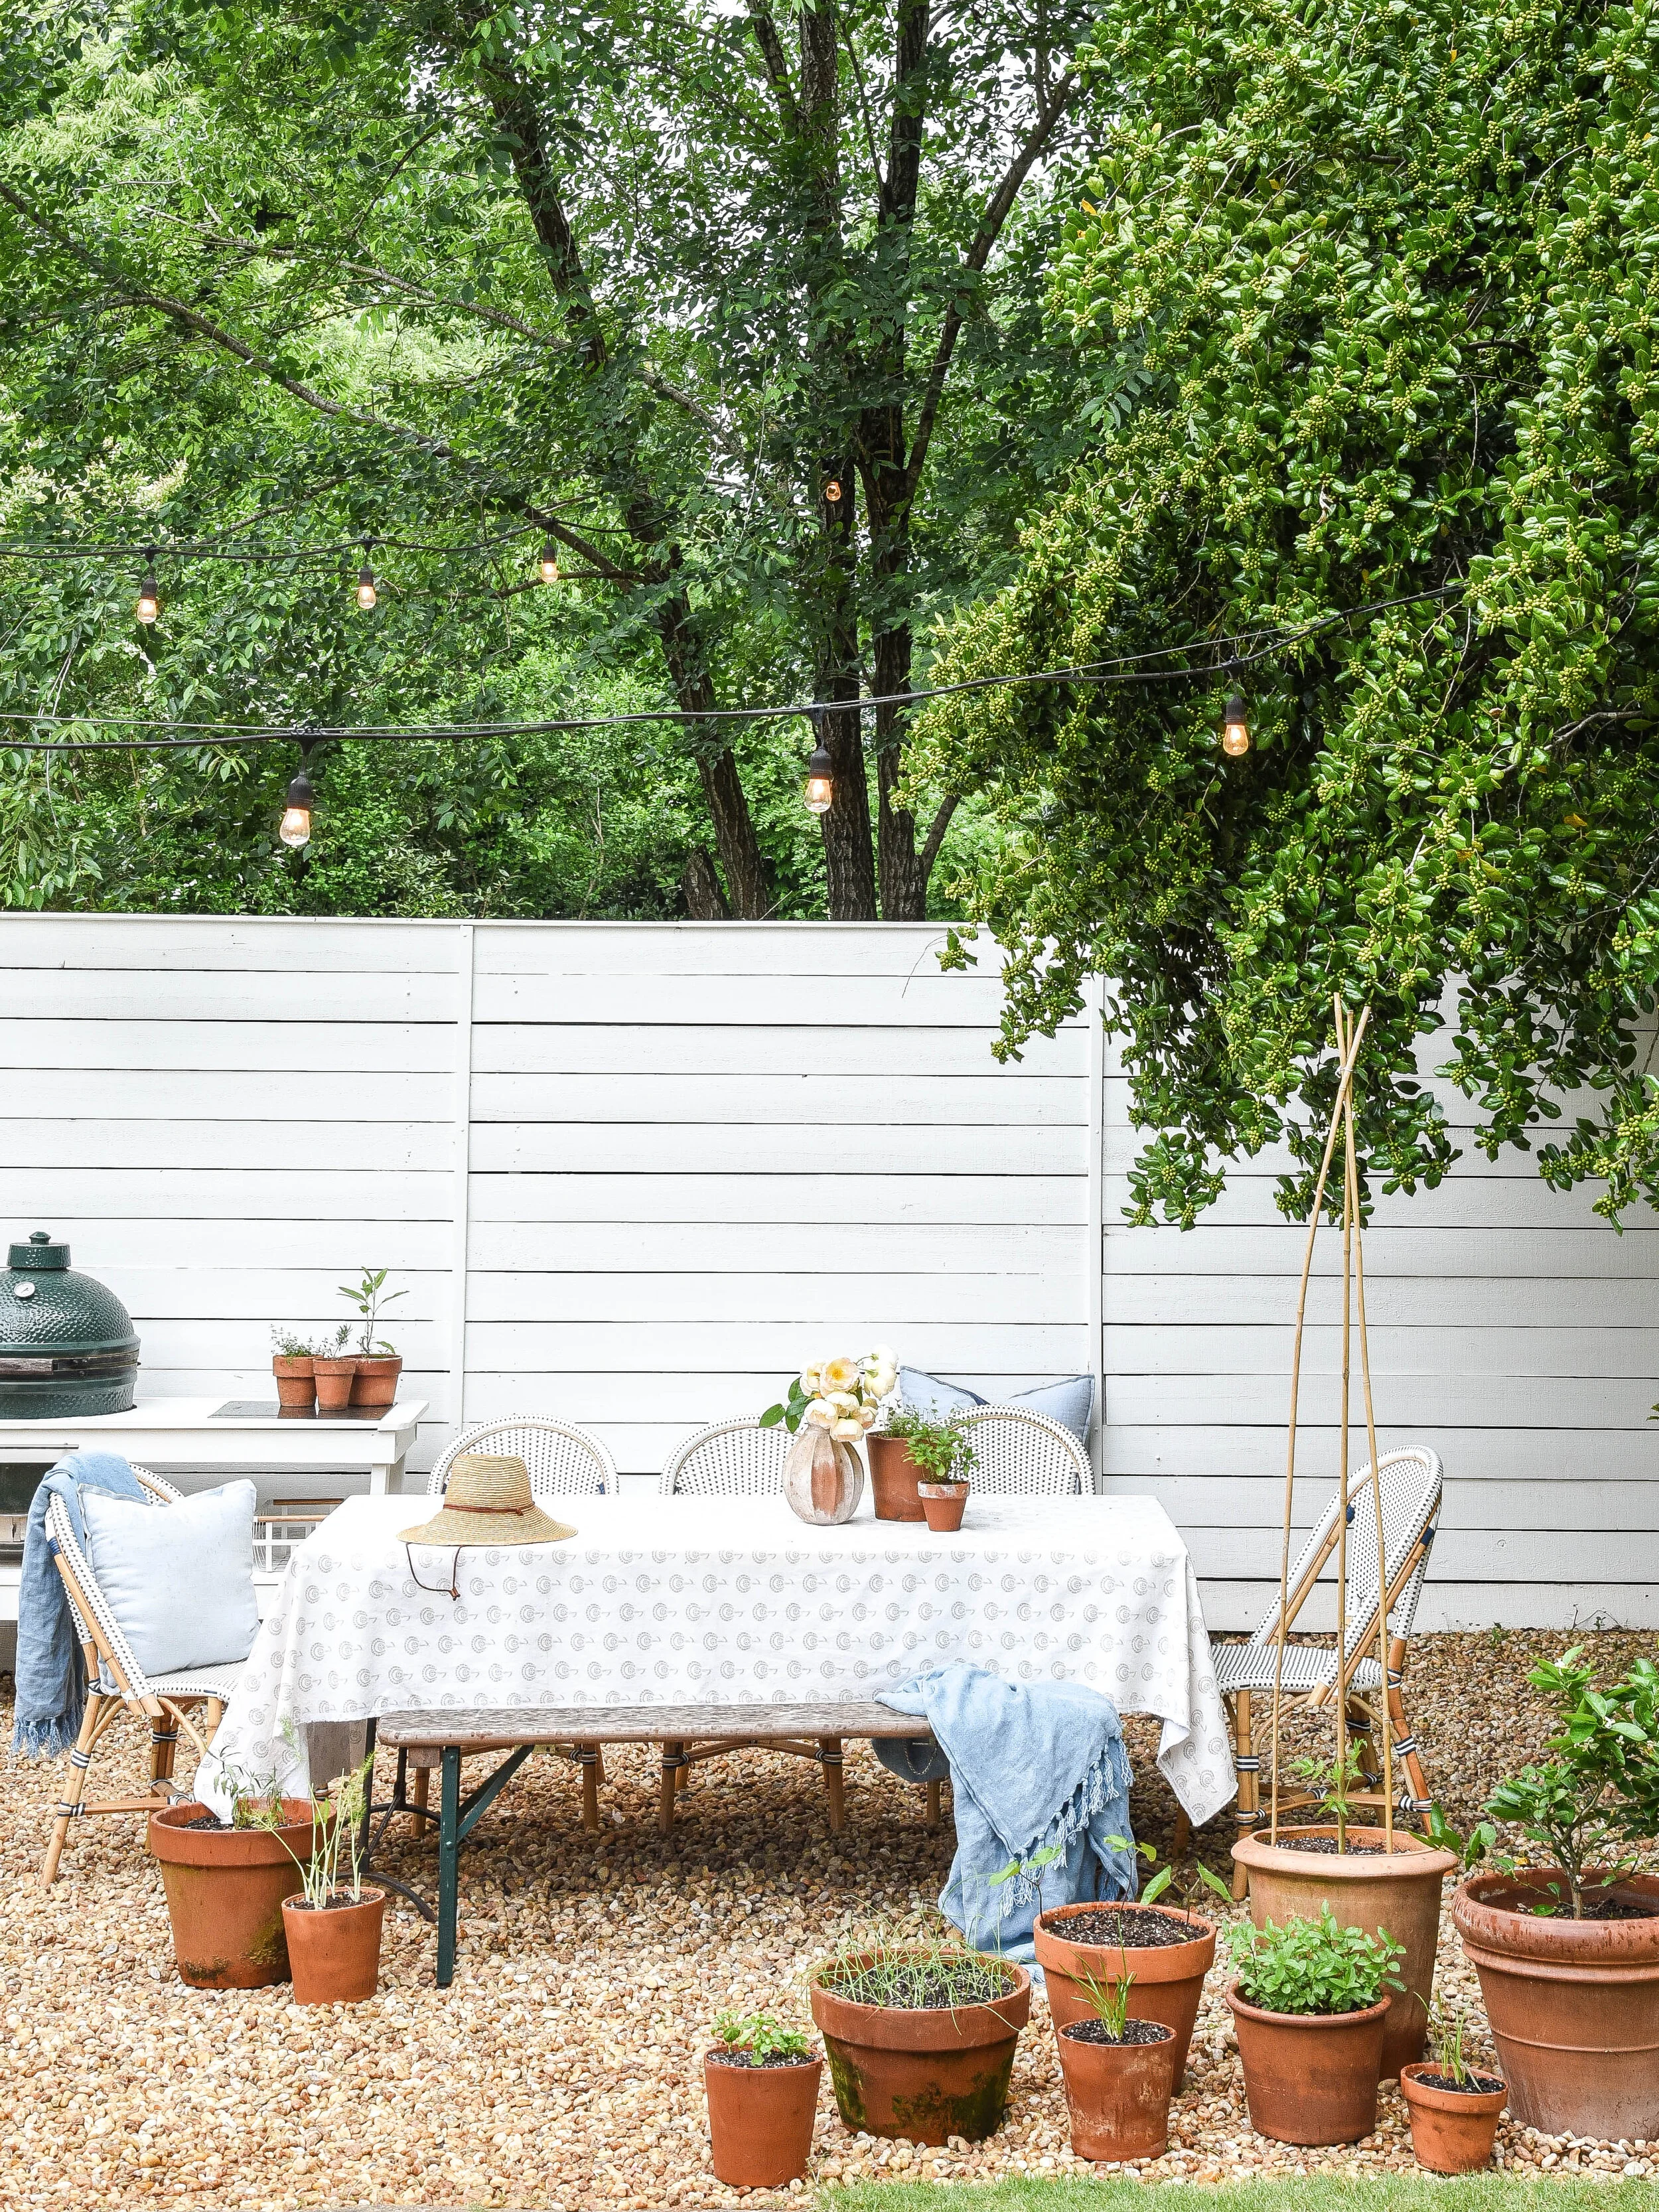
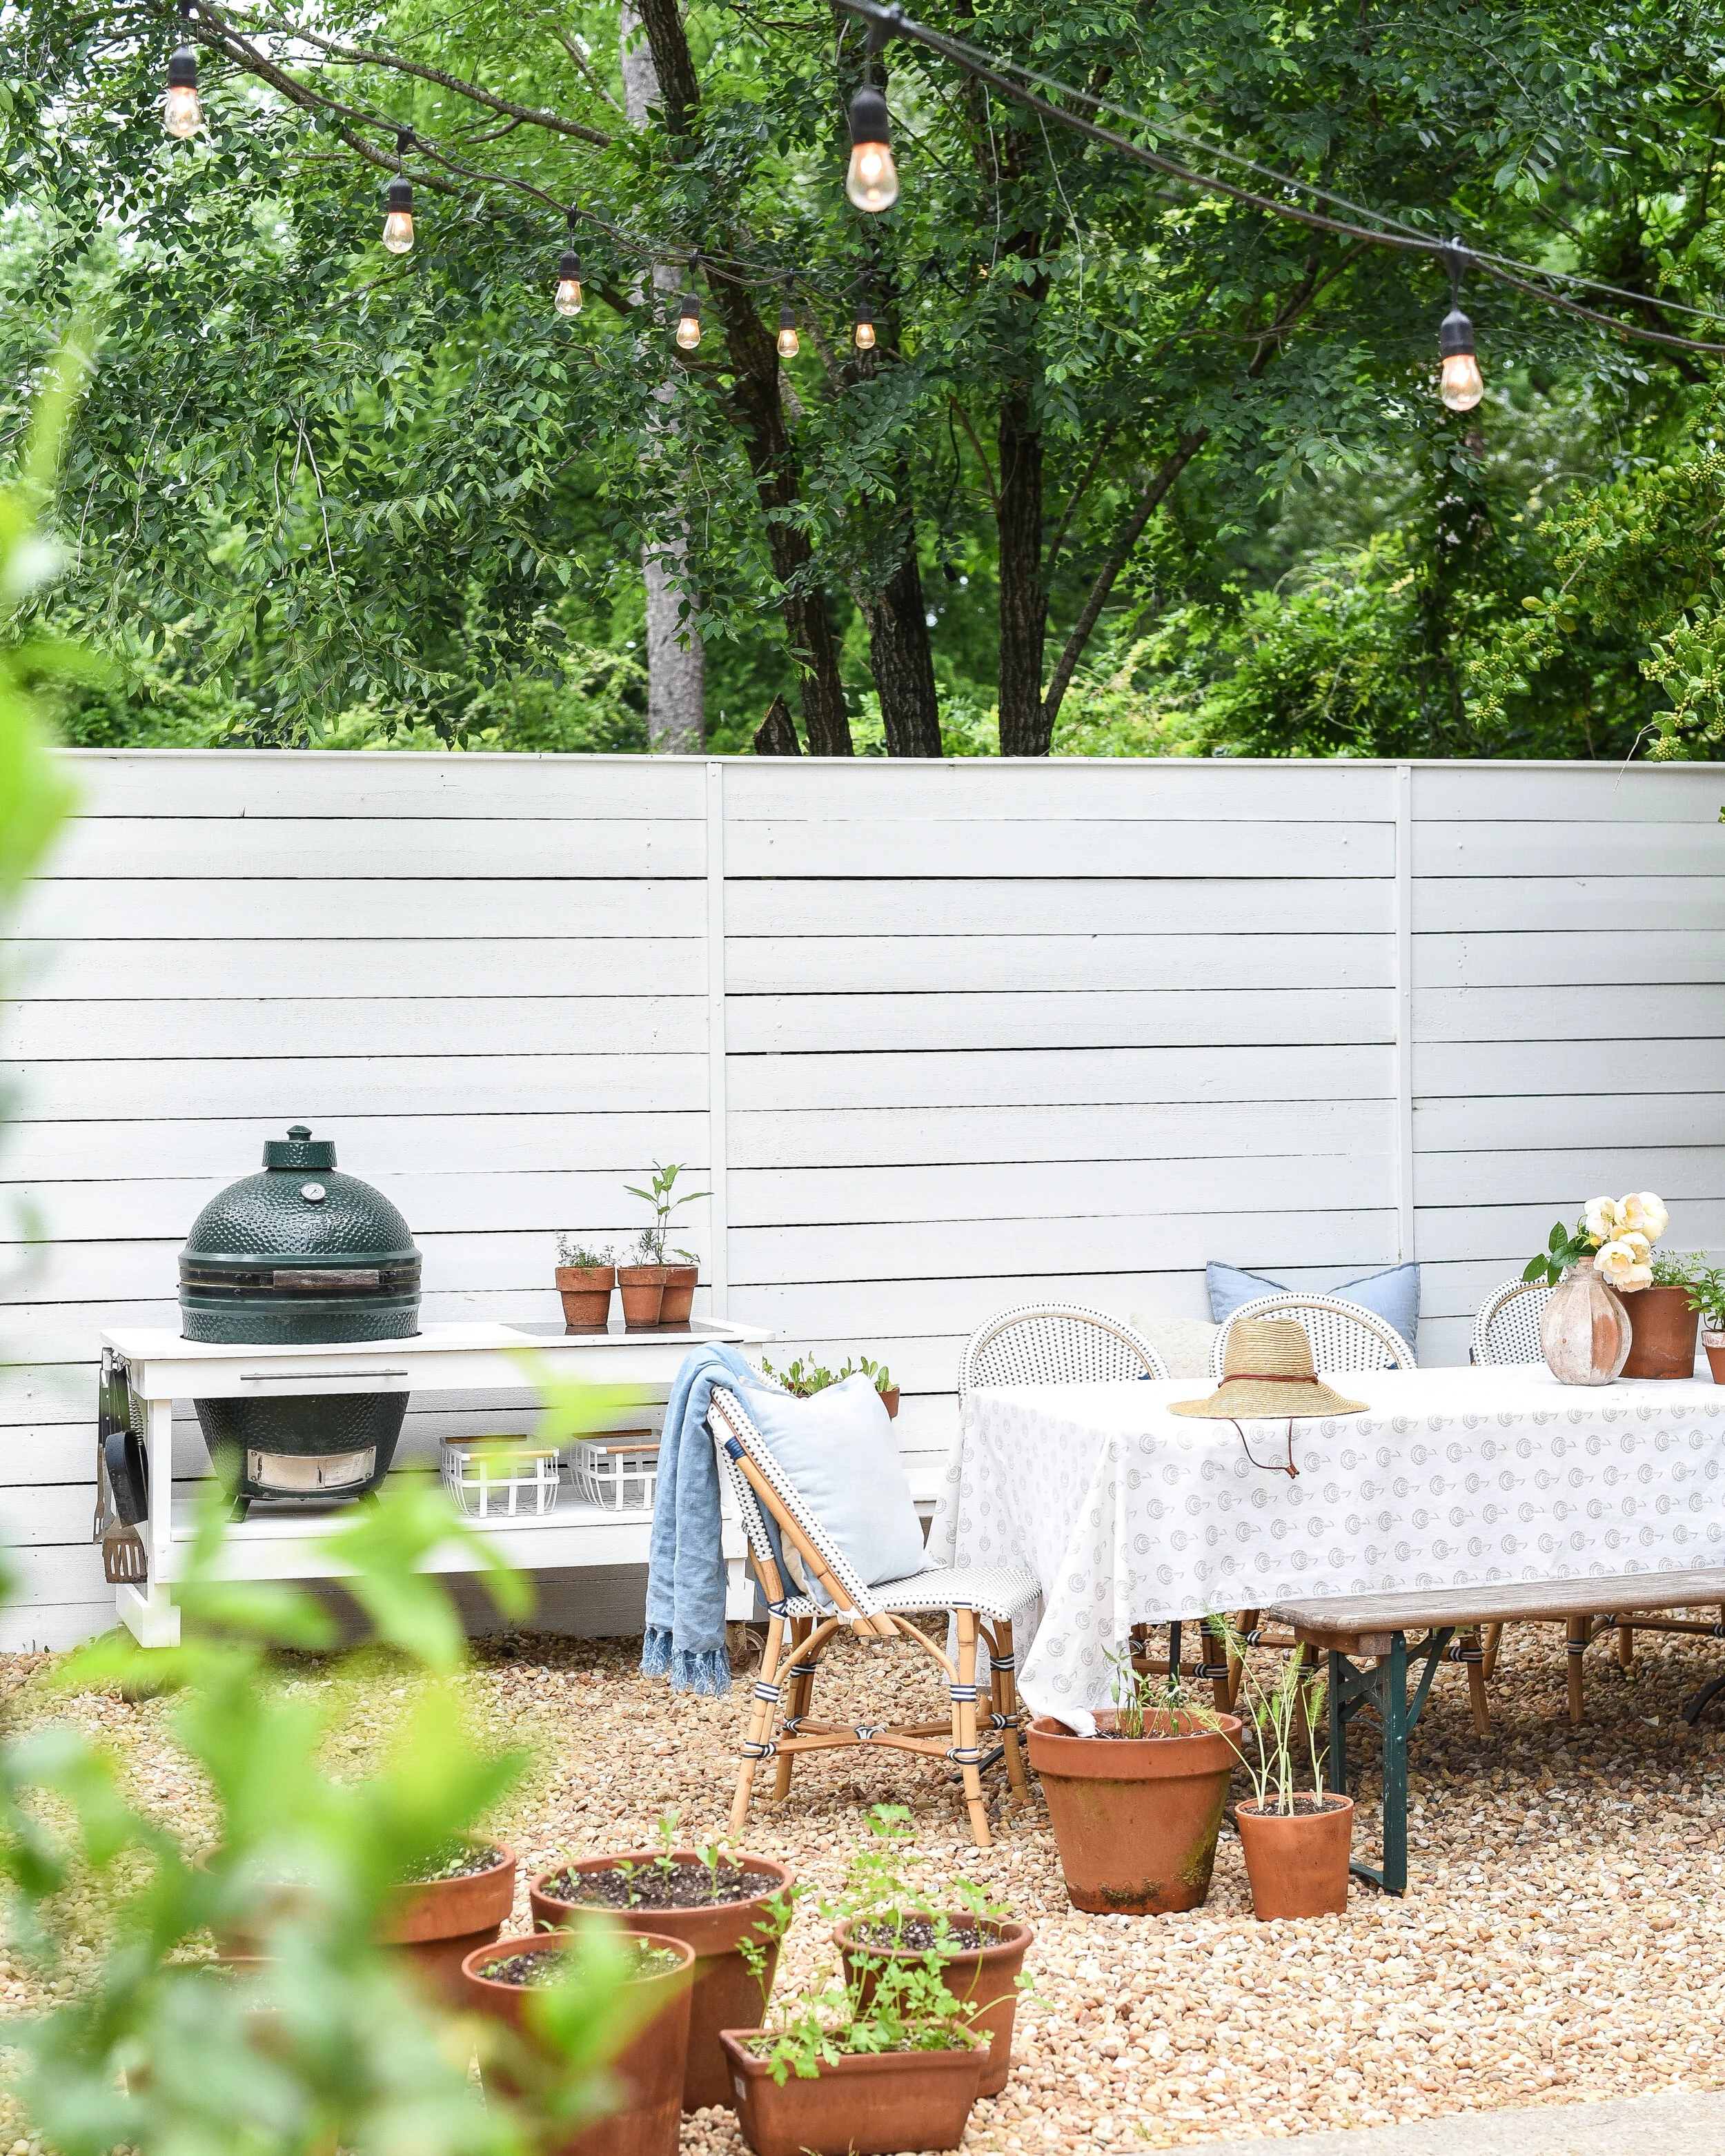
The Design of Our Rock Patio
I’m always so humbled when someone reaches out to inquire about the design of one of our spaces. This side patio is one of my favorite rooms at our house, and has proved to be that outdoor living is where it’s at, especially in these times! I think one of the best additions to any outdoor living space is string lights and these commercial grade outdoor ones have stood the test of time for us. Had them in our last backyard, loved them so much and included them here as well! The rock we used is considered river rock. Table and bench we’ve had for almost 8 years…similar found here. The chairs are the navy & white Riviera (store indoors in the off season and rain). The linen throw in color Coastal Blue, was a total splurge but goes everywhere throughout our home. It’s proven to be a classic winner both in style and durability. The tablecloth is simply fabric found a few years back. I always suggest buying wide upholstery fabric for no-sew tablecloths.
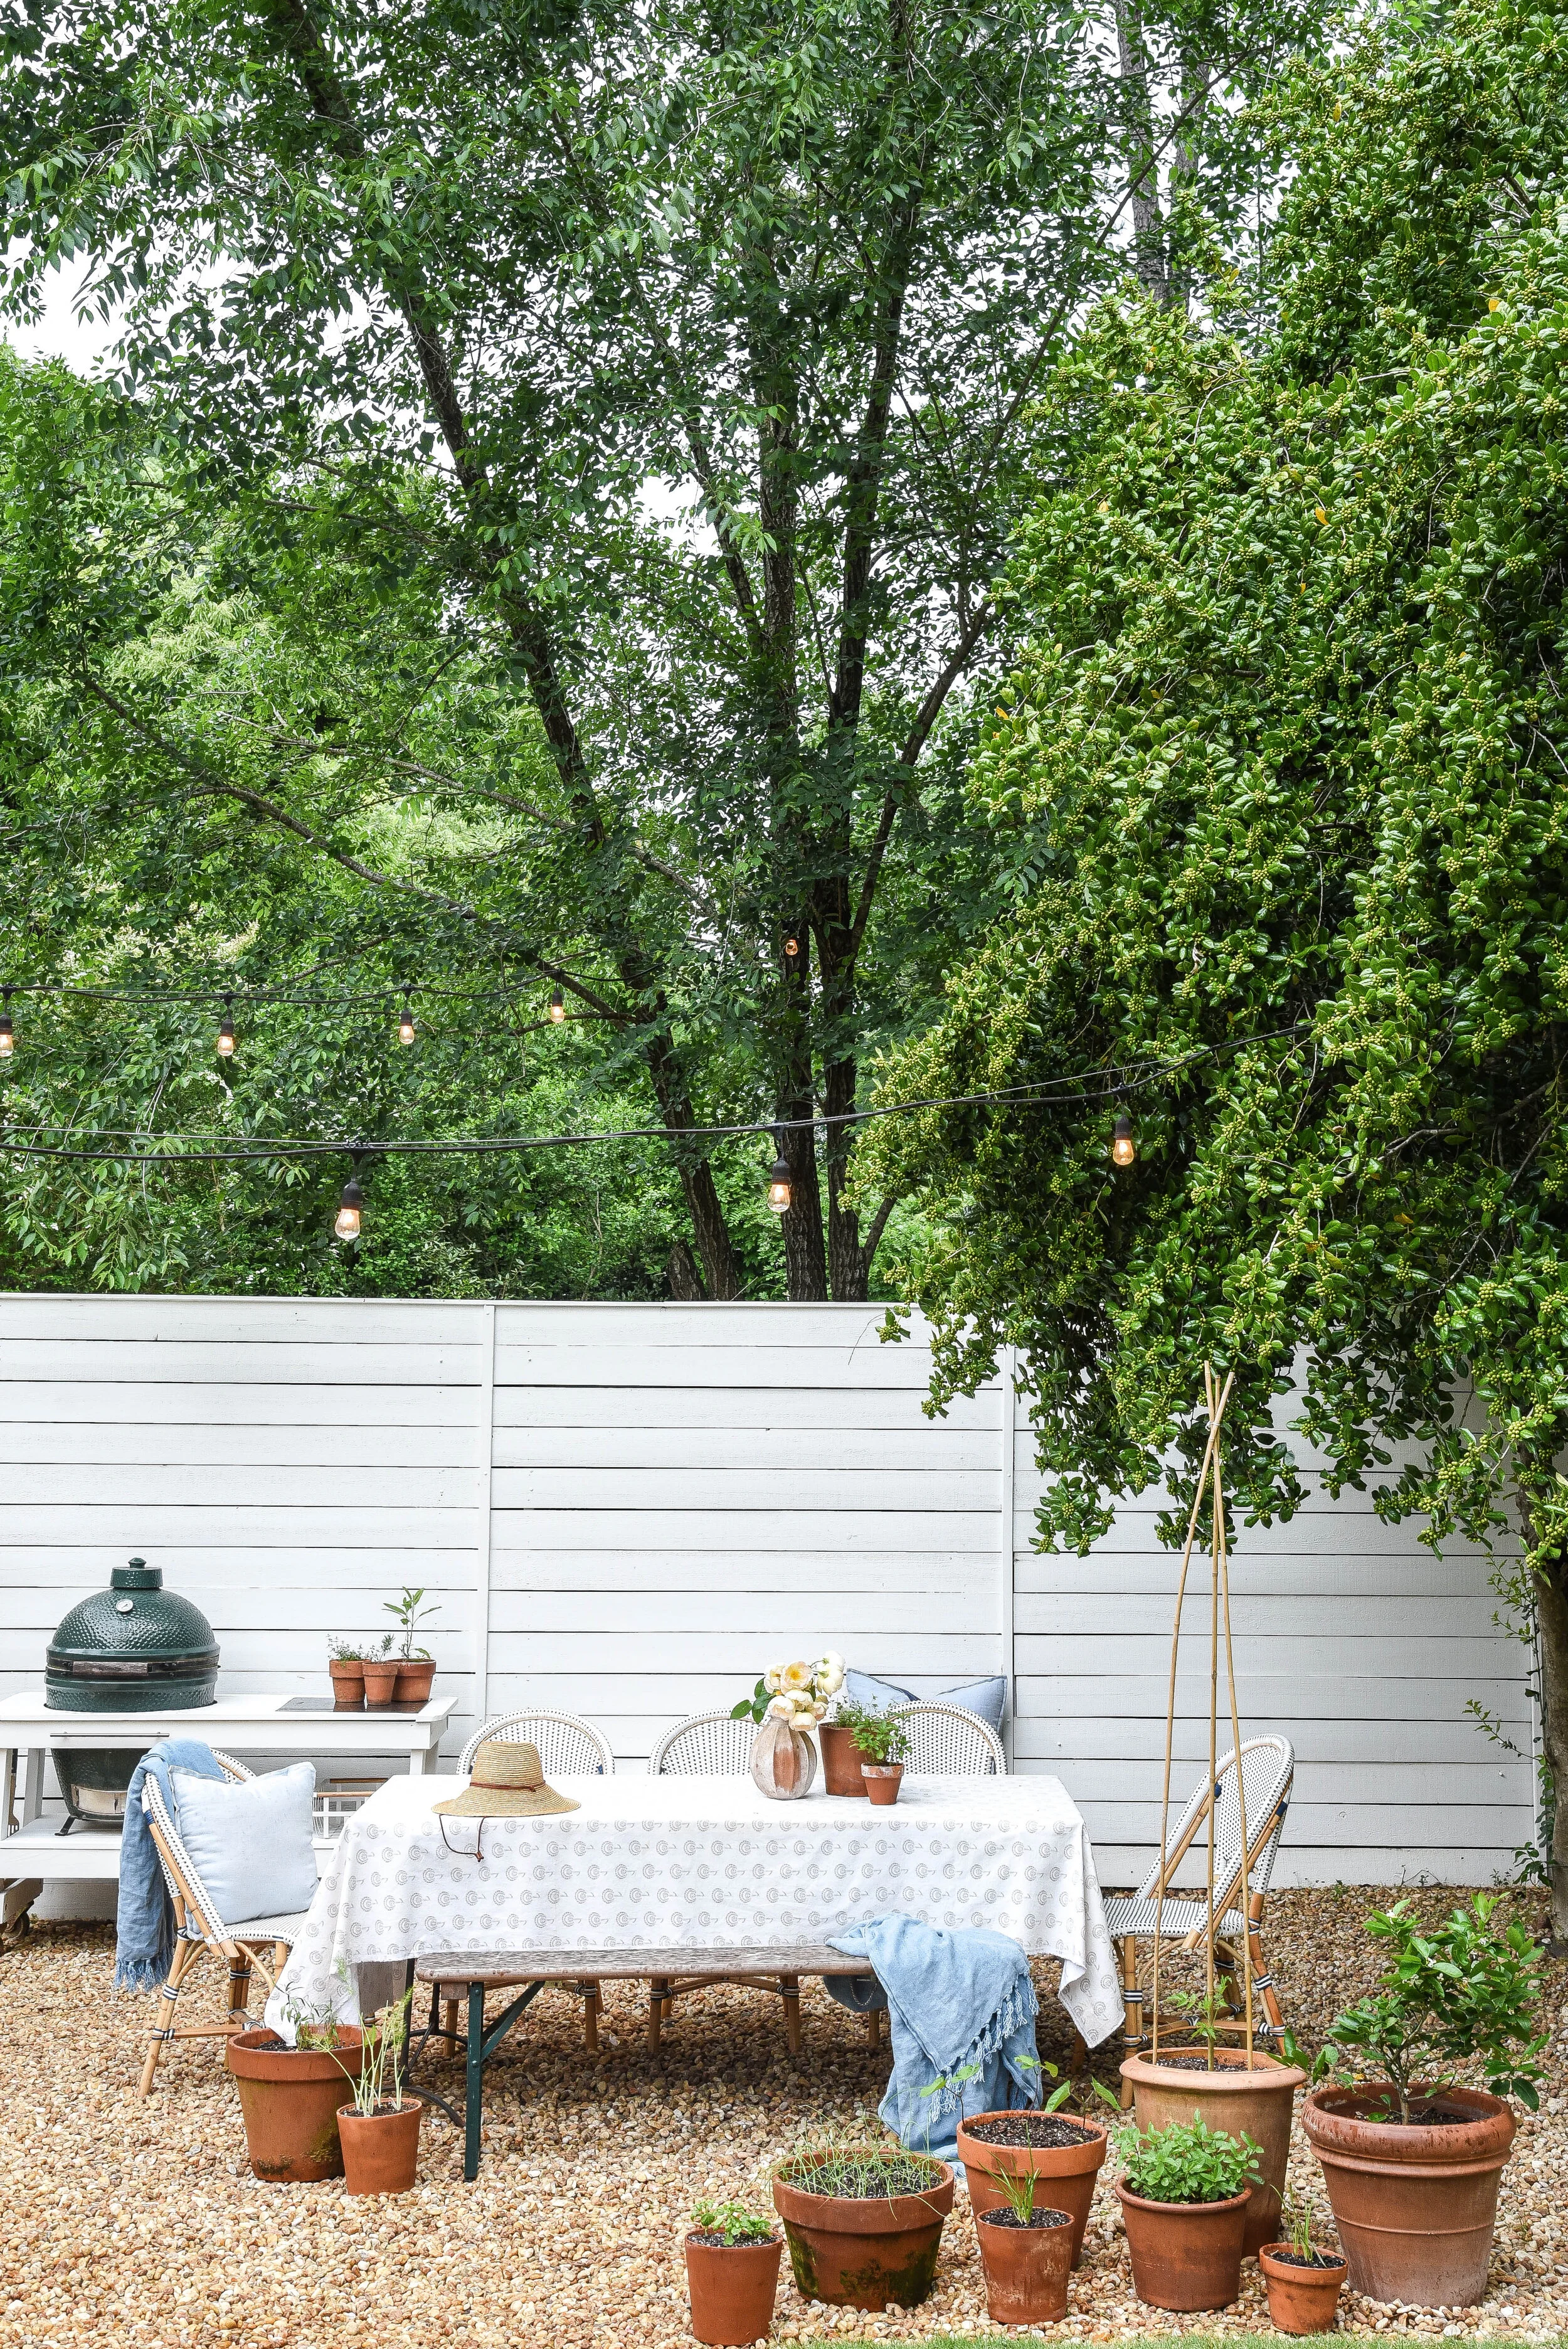
Our grill is a Big Green Egg, smoker, roaster and grill all in one. And the table is one we’ve had for a few years and painted white.

Well, there it is. Our Rock Patio Container Garden! Now to get cooking! Did you catch the meal we just enjoyed out here?! So good!
Happy Weekend Friends!