
No matter how technologically advanced we become, I still
love
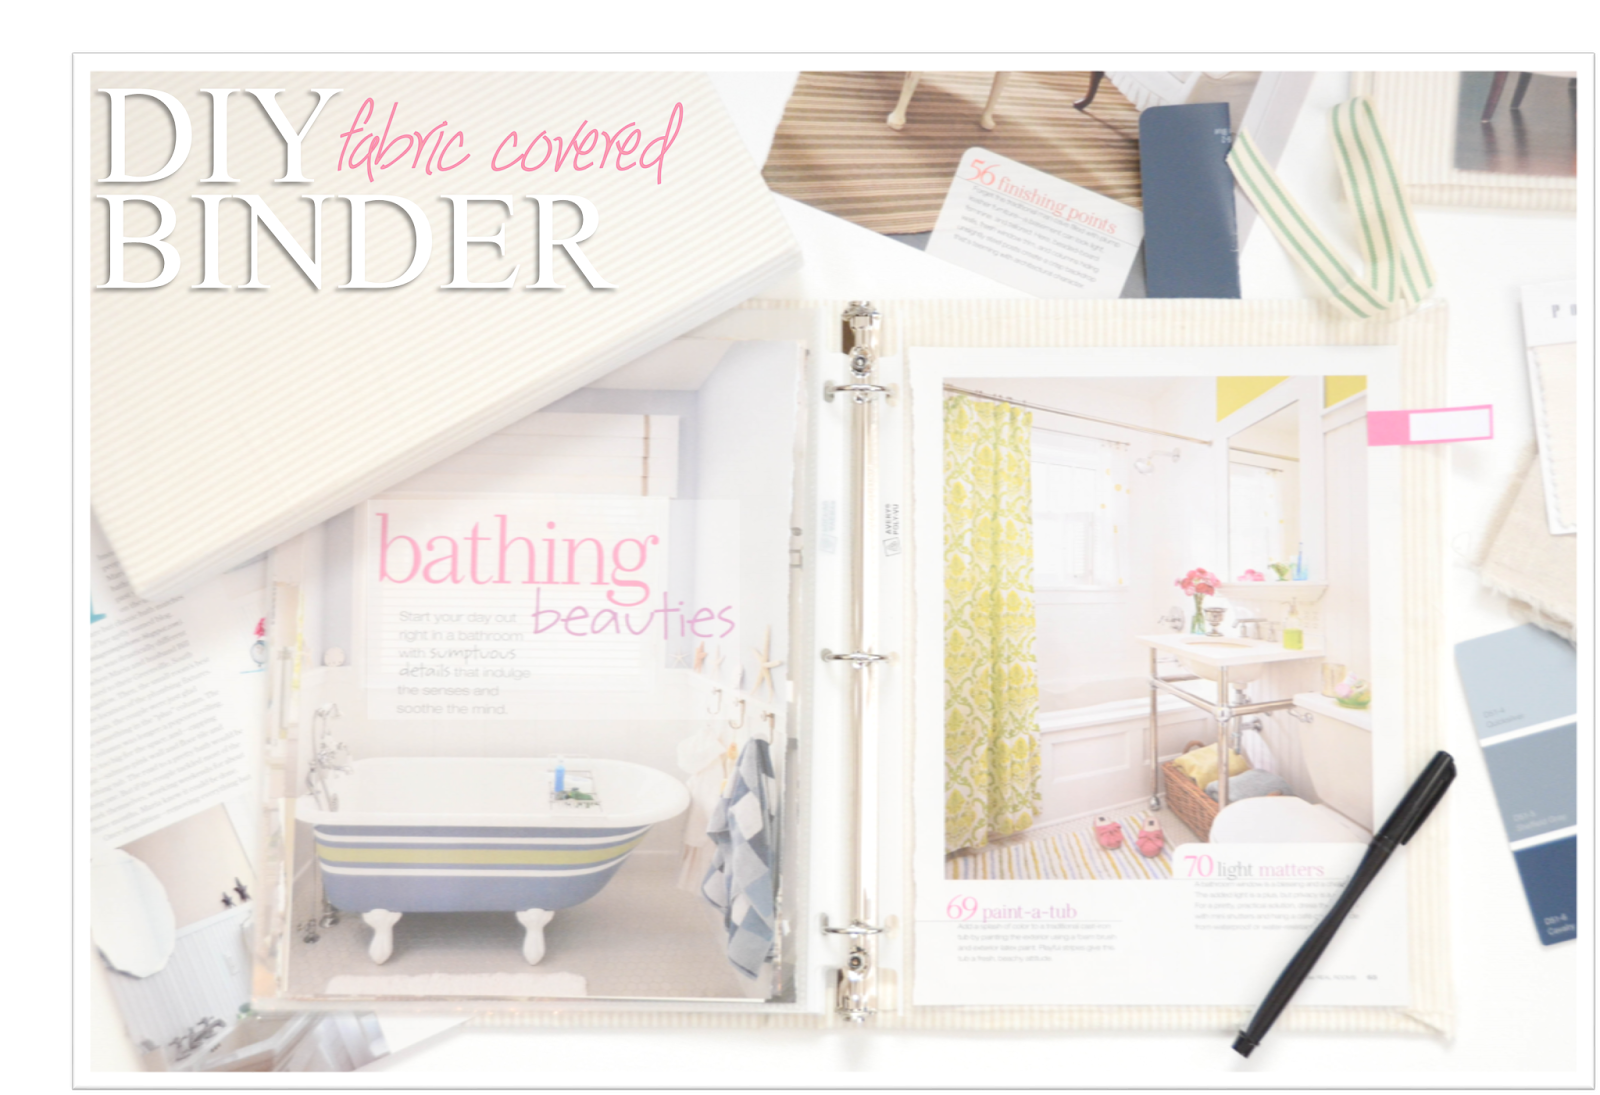
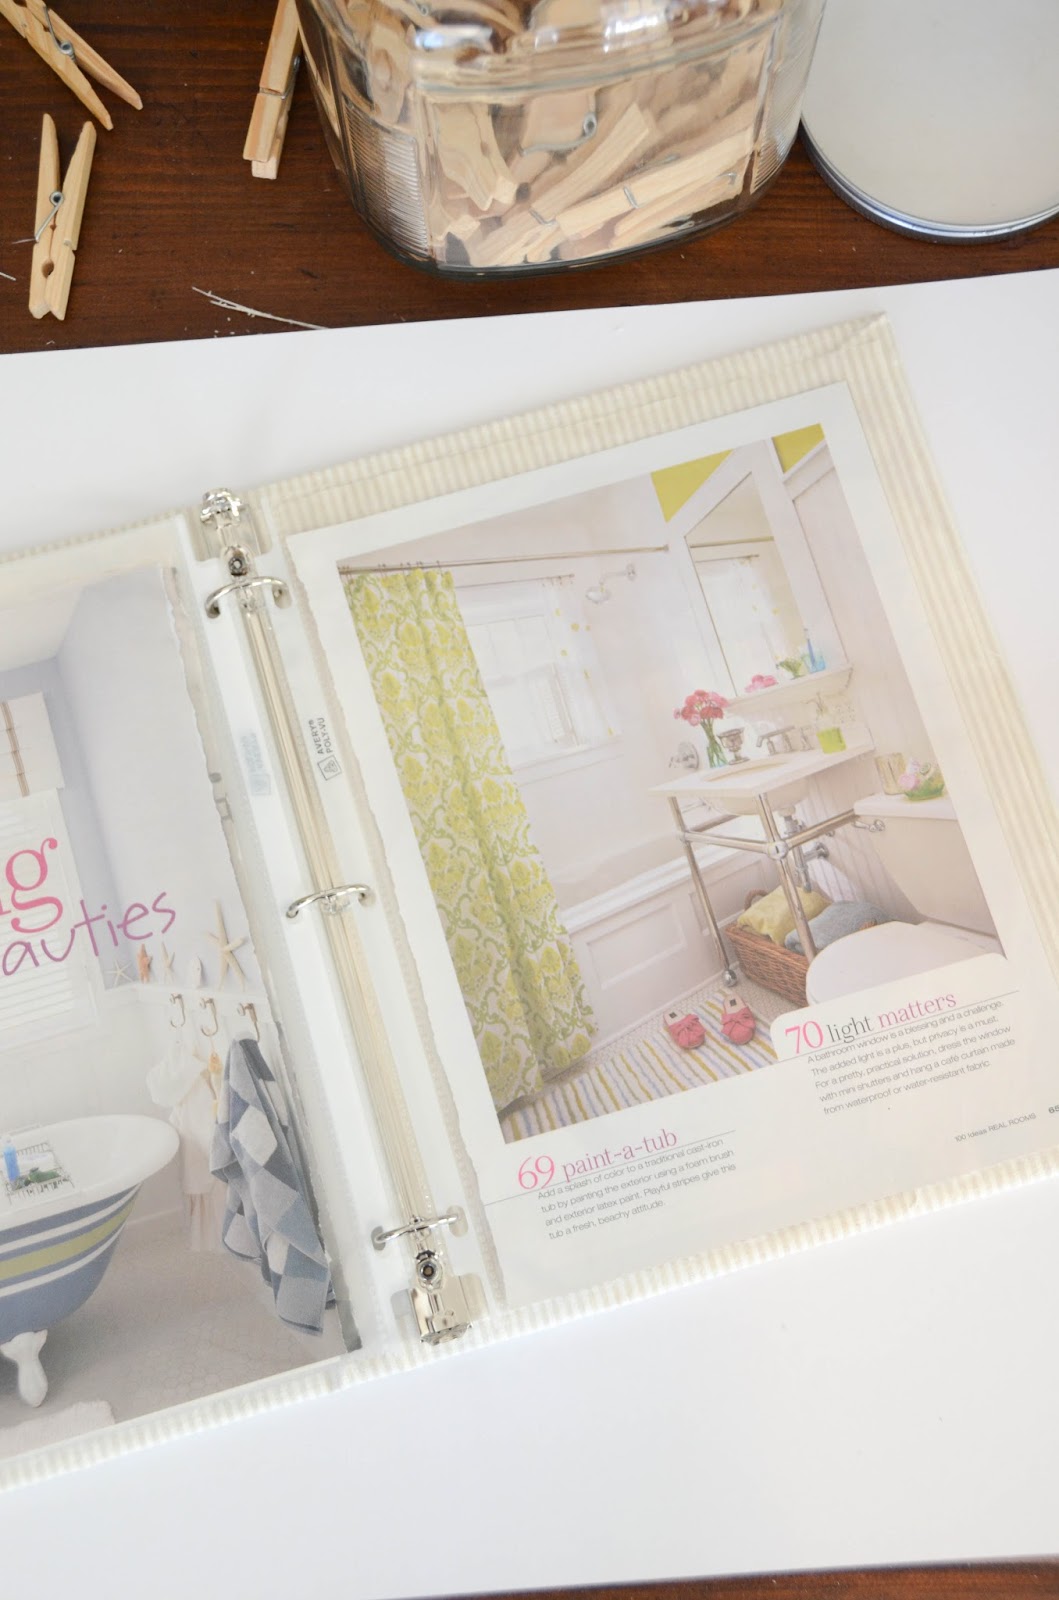
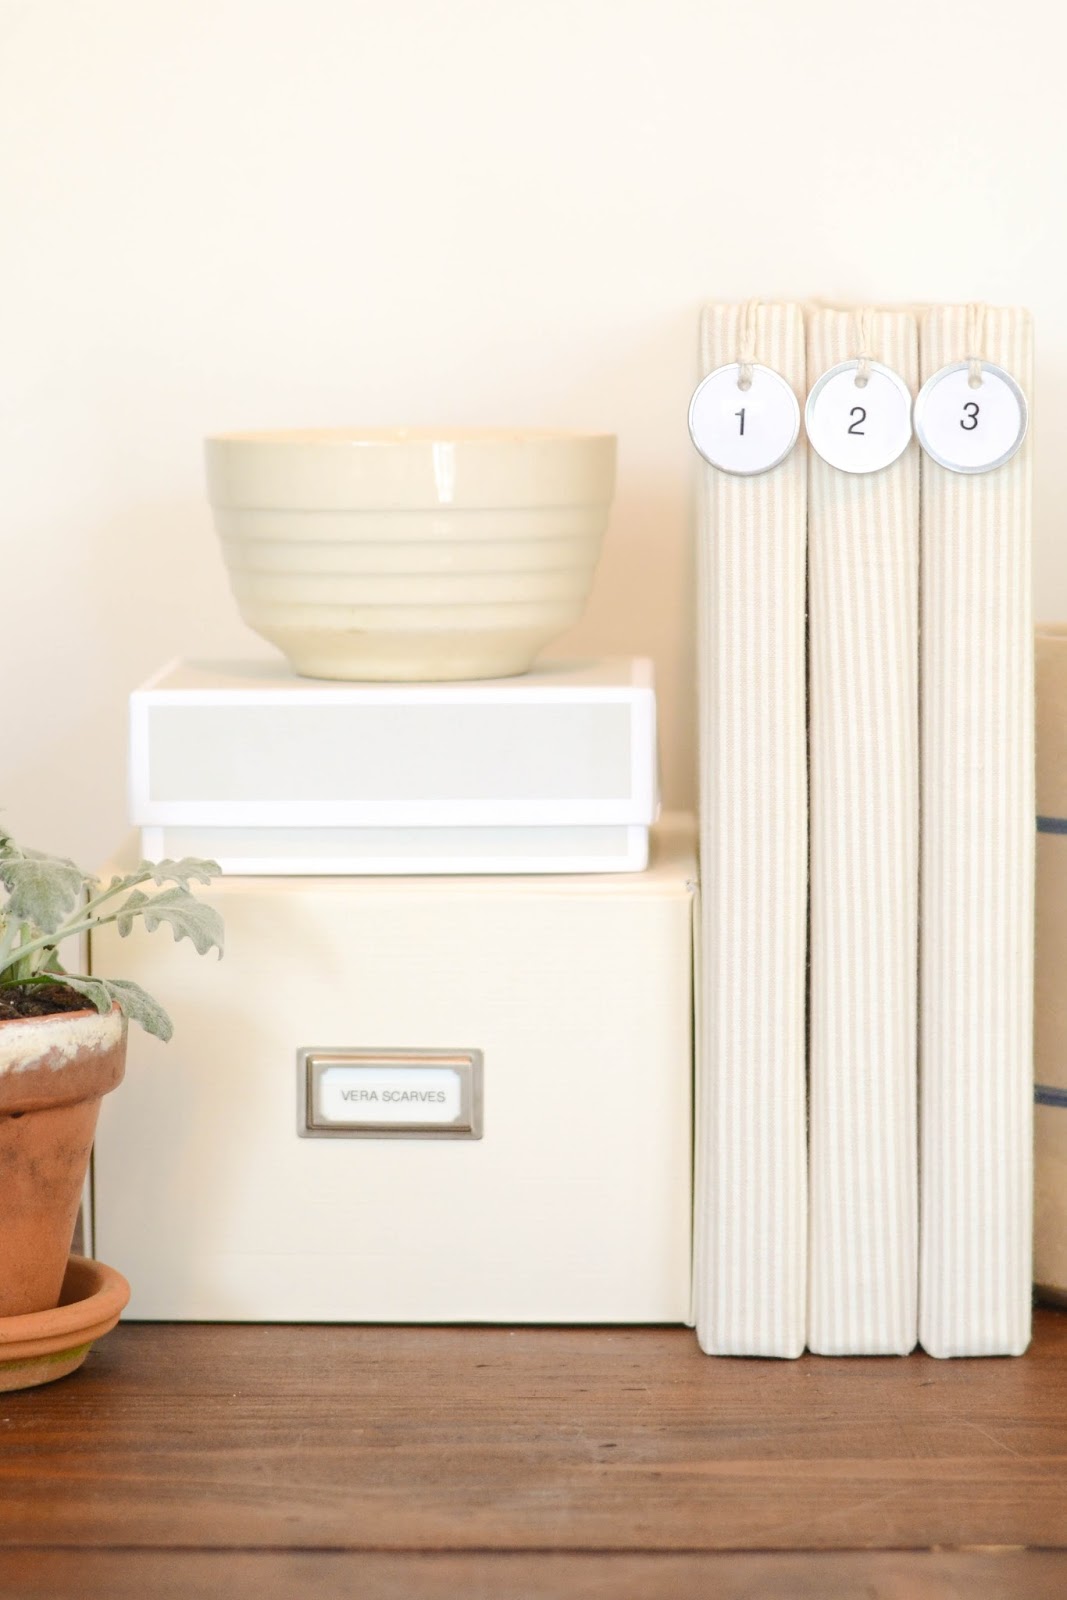
a good hard copy, nicely organized in a pretty binder. But my issue was my binders weren't pretty. In fact, they were well worn and simply the standard stark white. So to give my binders and office space a bit of a makeover, I decided to wrap my binders in fabric:

This DIY is very similar to the tutorial for our
. Not only is it easy and affordable, but it allows you to customize the colors and textures for your space! Customization for a cheaper cost than the store versions?! Gotta love that!
What You'll Need:
Binder
I used old, worn 1/2" white binders I already had
Rotary Cutter and Mat OR Scissors
Glue
*You could use Fabric Glue, it typically dries clearer, but I found
did the trick, just be sure not to get the stuff on the outside of the binder, depending on the fabric you use it may visible through the fabric*
Fabric
I found this stripe upholstery fabric in the clearance aisle at
marked down to $4 a yard. Making my 1/2" binder makeover about $1 a piece.
____________________________________
To Make:
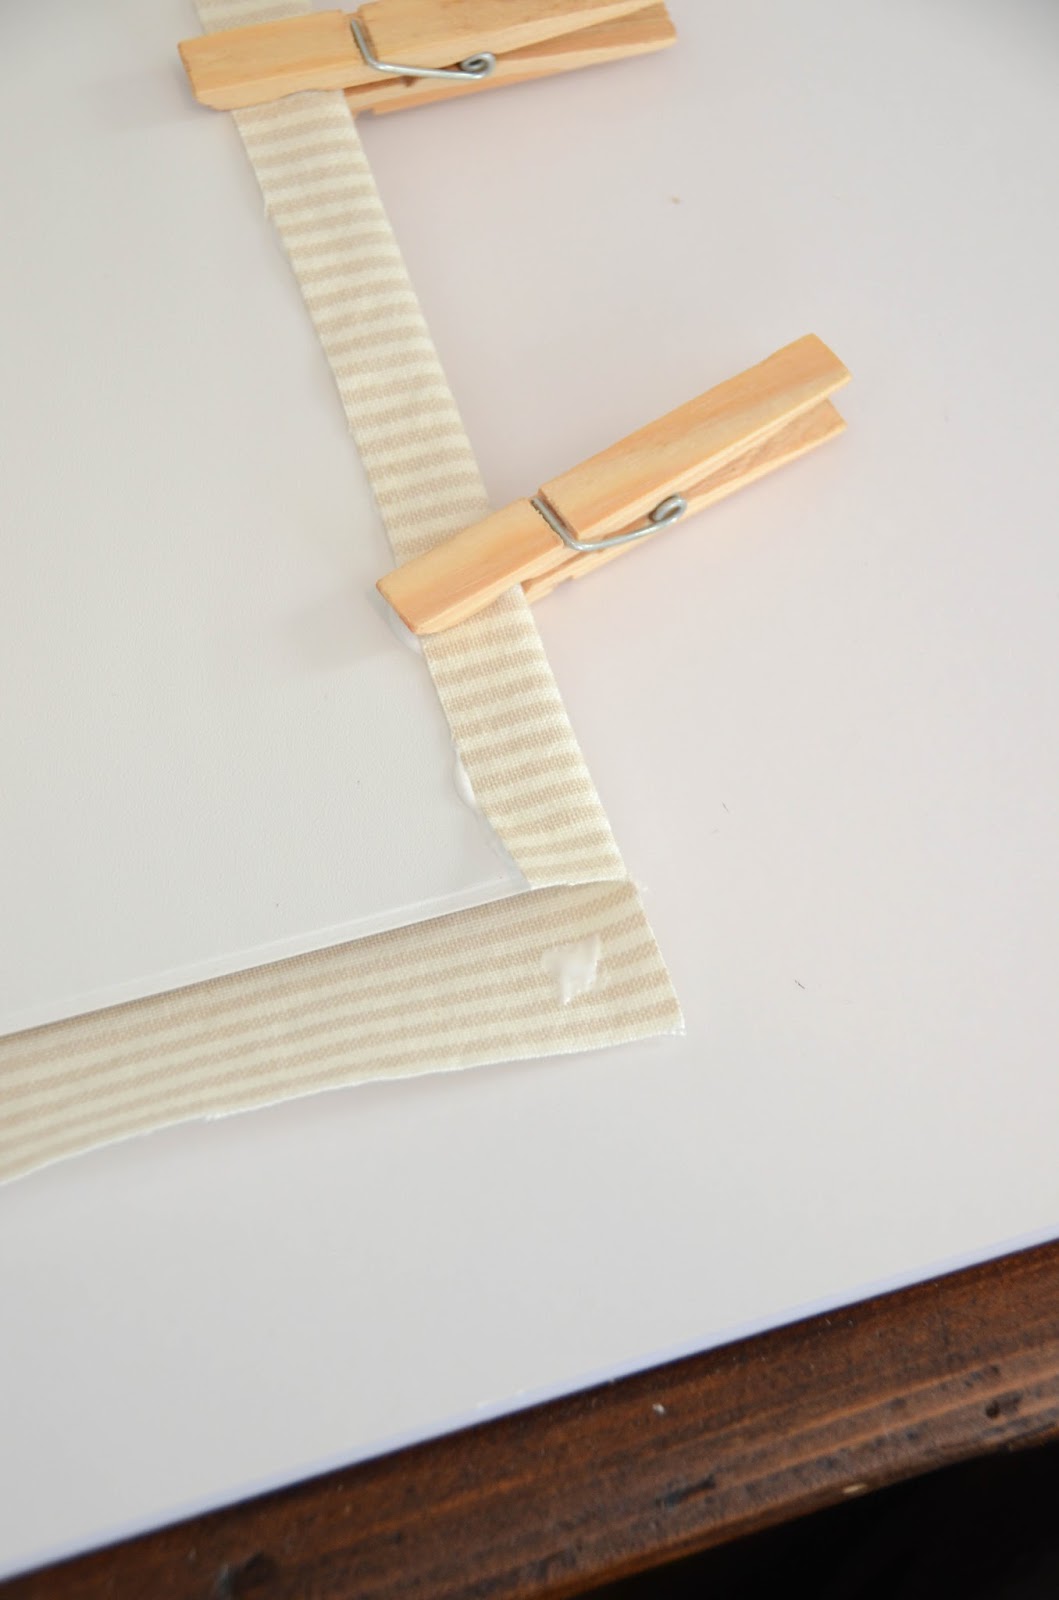
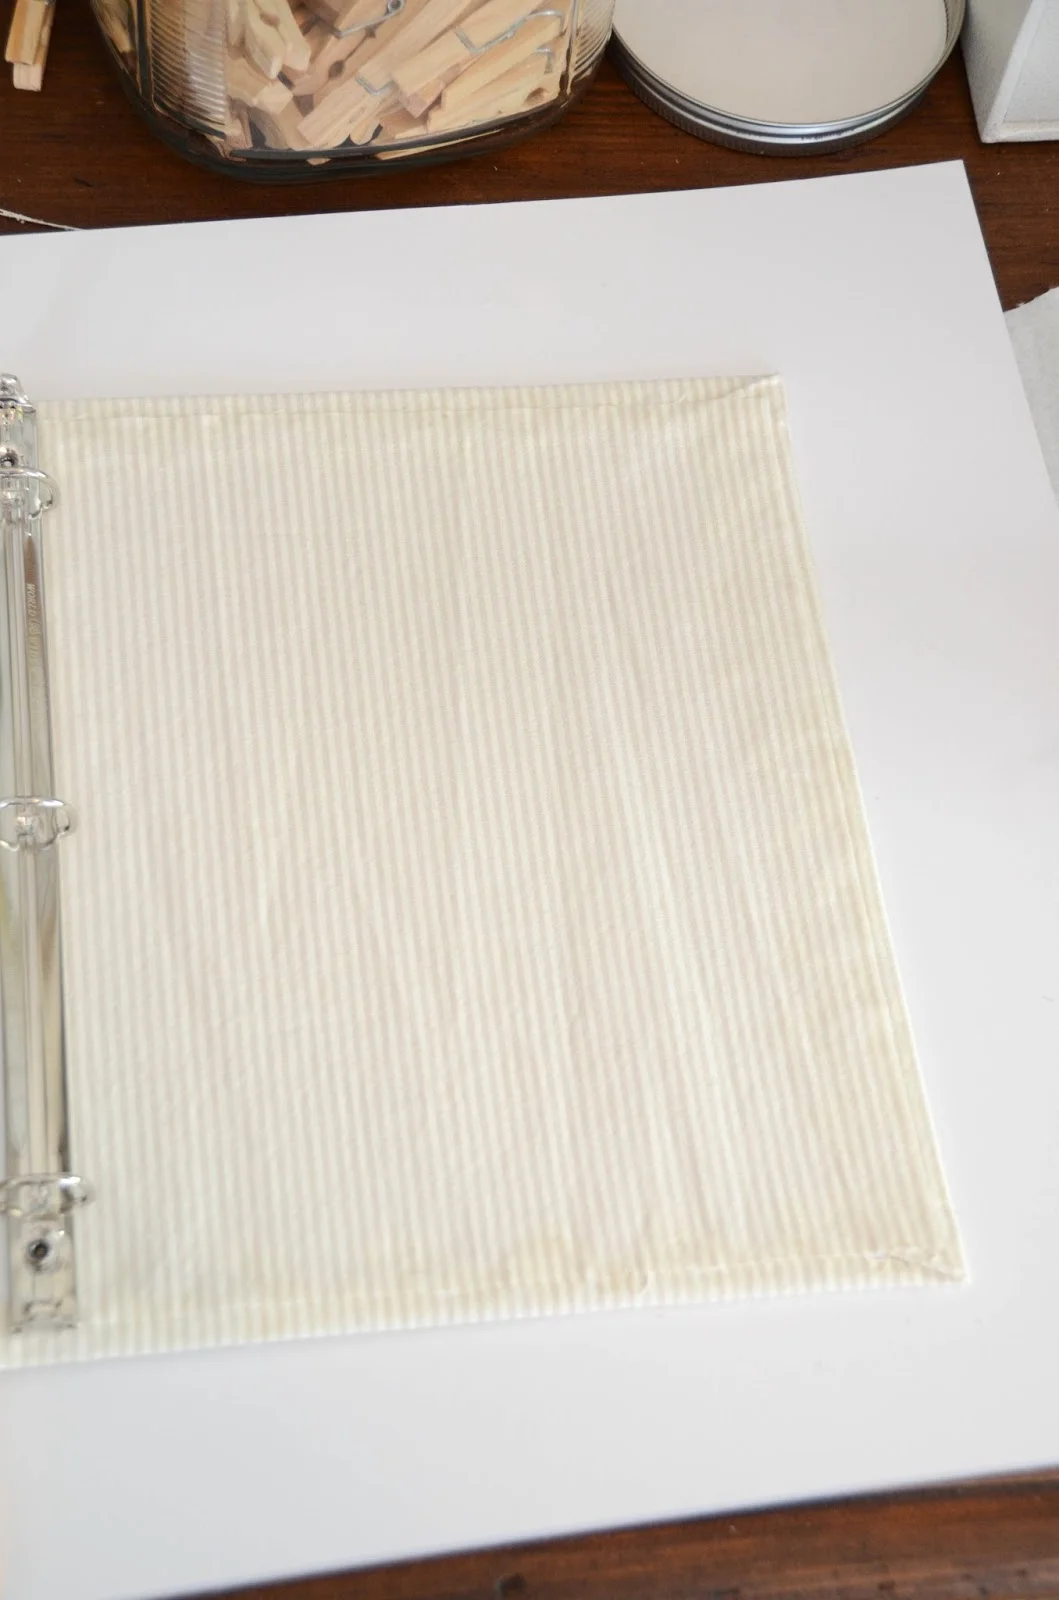
Cut a piece of fabric leaving approx a 1/2"-3/4" around the border.

Then iron your fabric, this step is crucial to ensure a smooth surface.

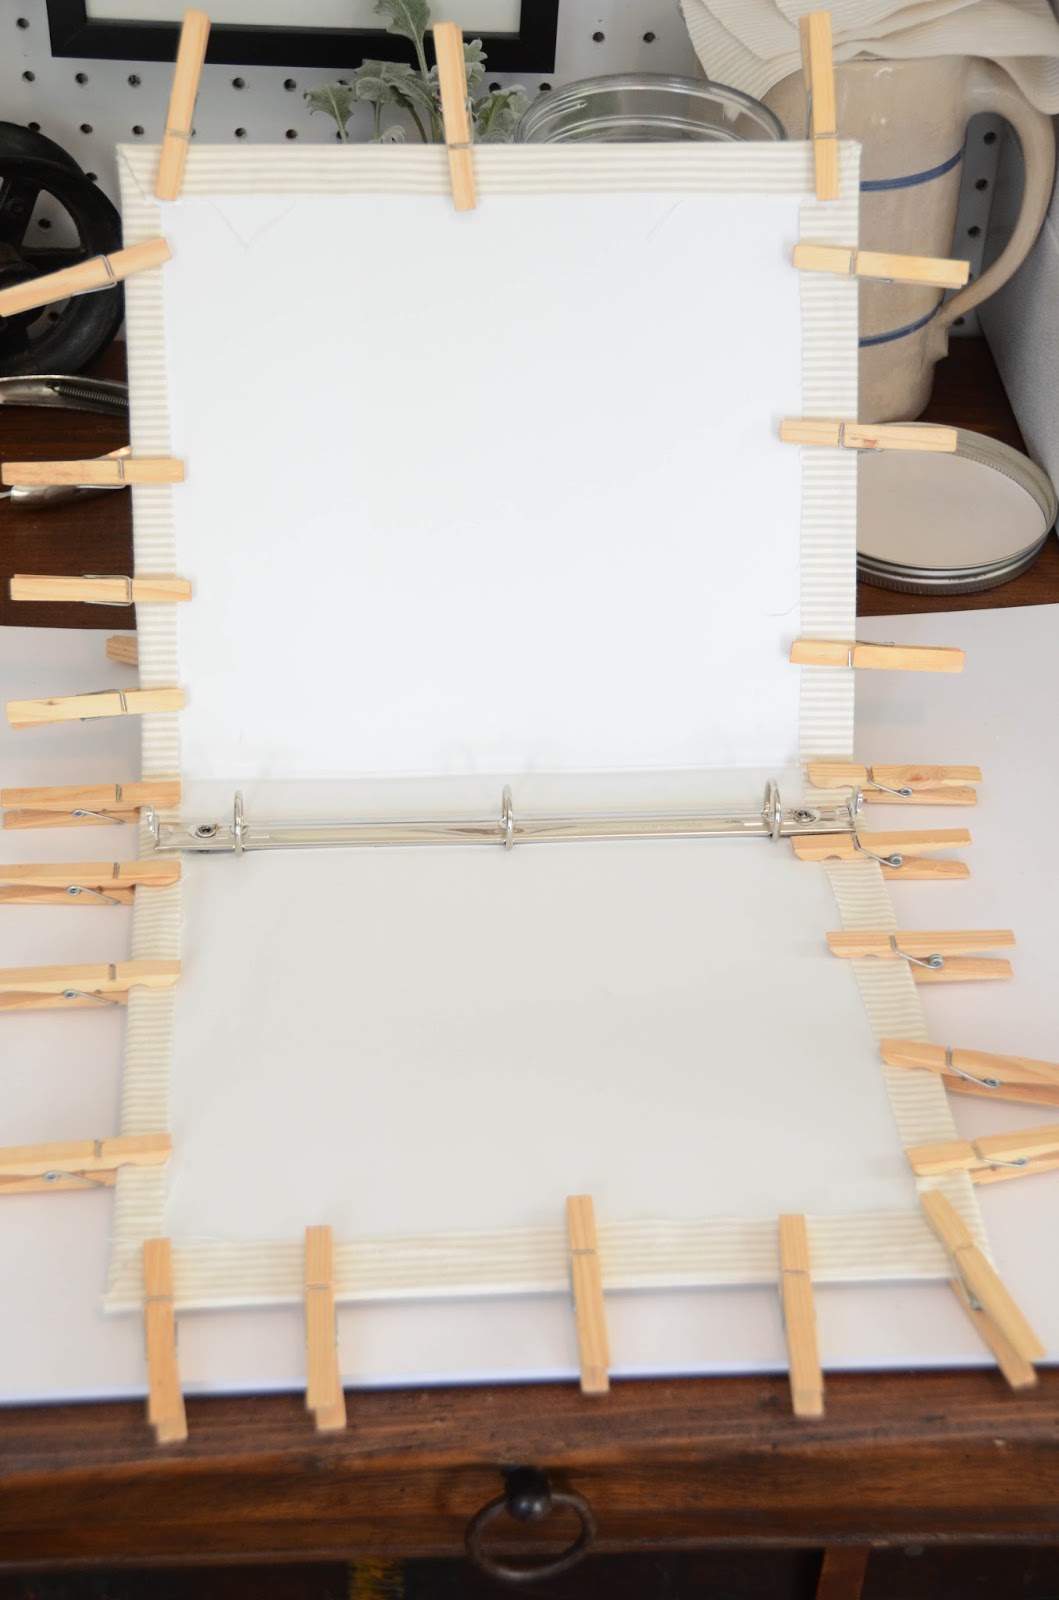
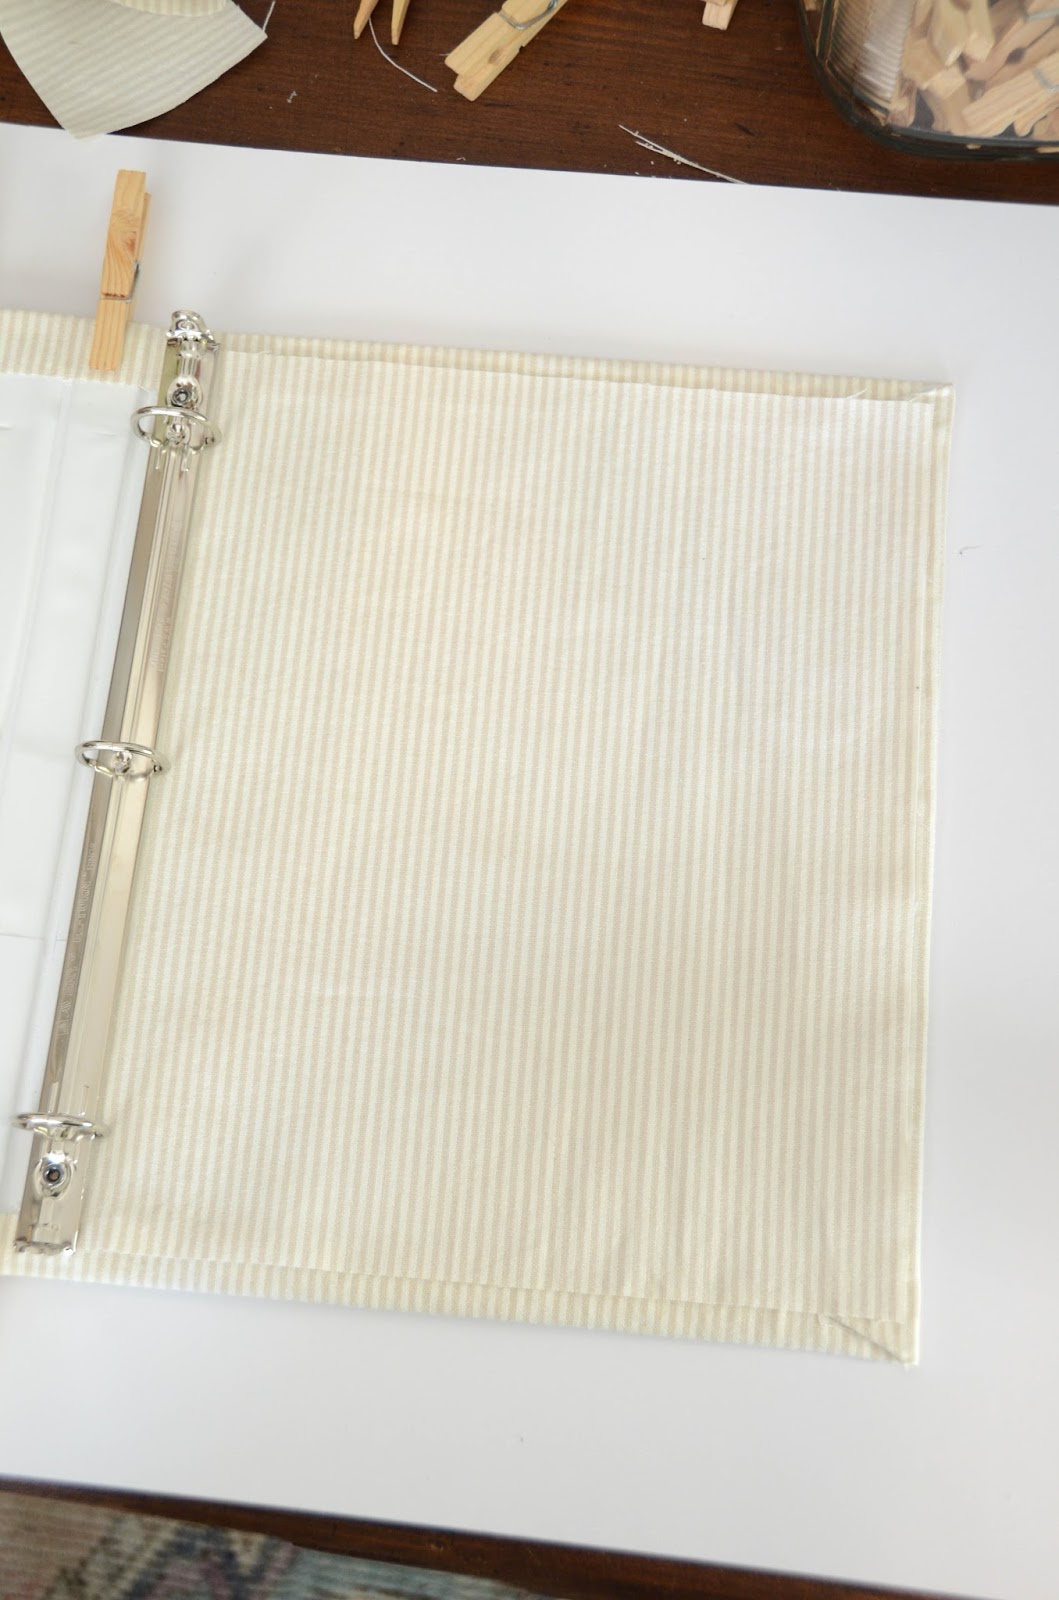
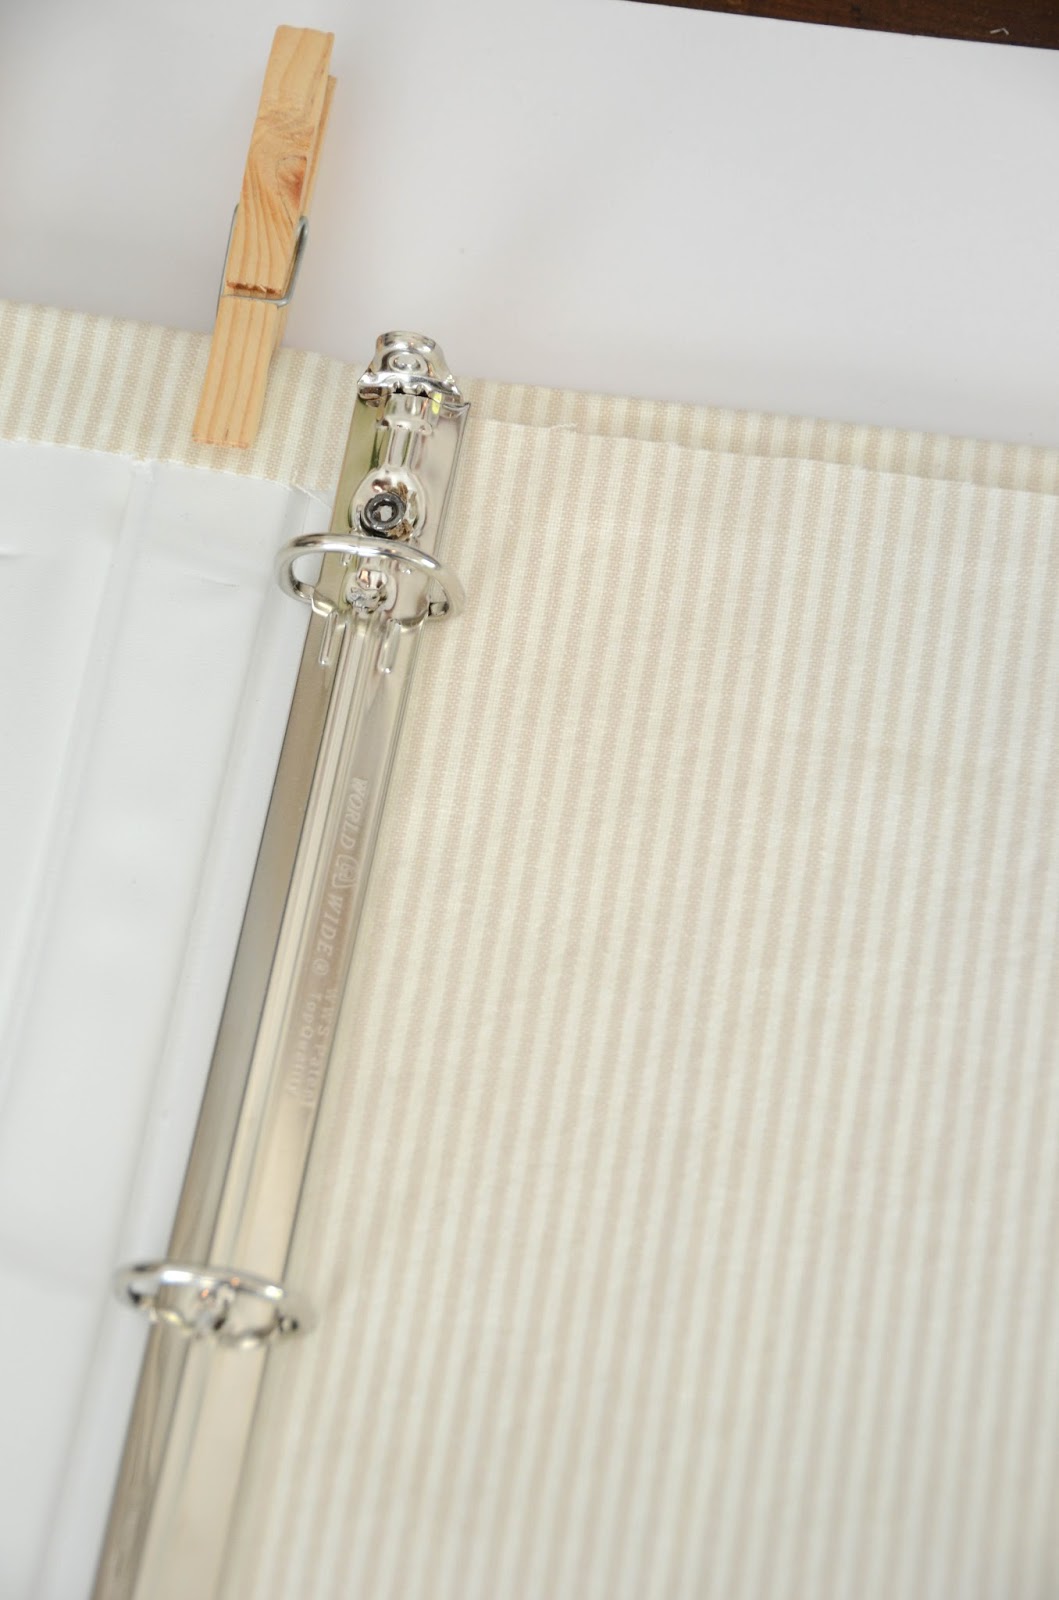
Center the binder onto the fabric and secure the top and sides with clothespins, this ensures the fabric stays in place as you start working on the bottom section.

On the bottom right corner, cut out a square/rectangle. This step solely removes excess bulk that would otherwise be glued onto the binder. If you look closely, you don't want to cut directly up to the corner of the binder, but rather leave approx a quarter of an inch:

Once you do that on the bottom right hand corner, do the same for the left corner.
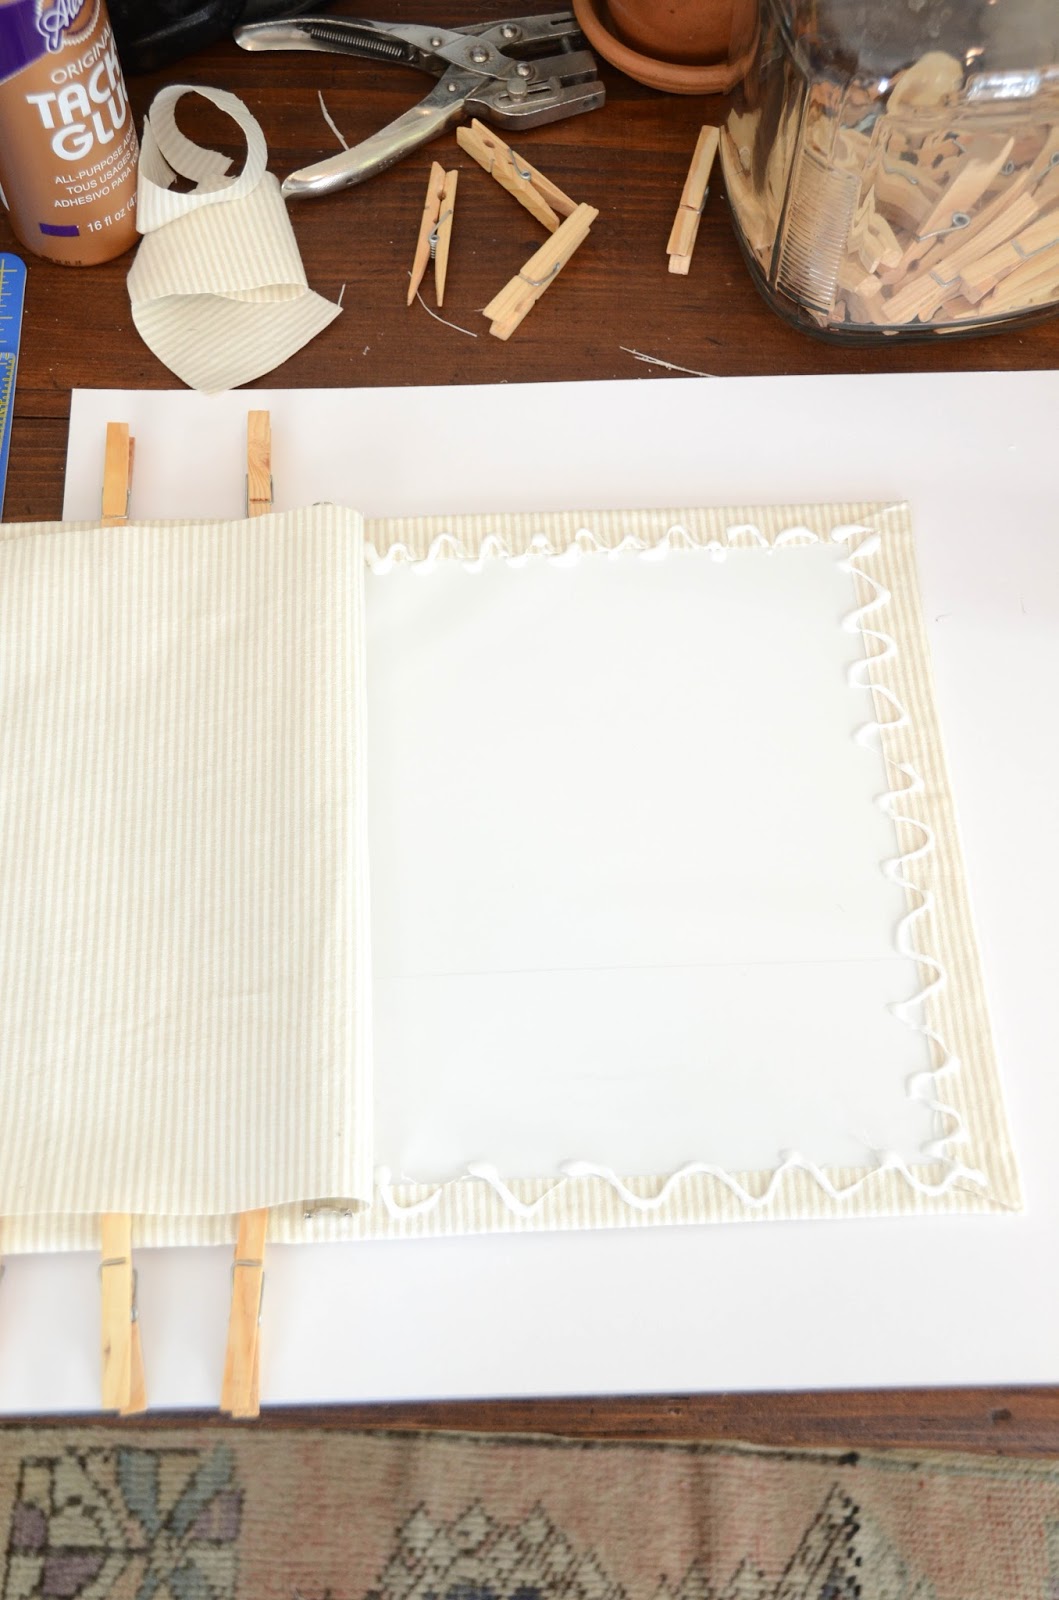
From there it's time to glue. Start from the center working your way outward. Being sure to pull the fabric somewhat taught and ensuring it goes on straight.

Once the bottom fabric is in place secure with clothespins. This helps it to stay in place while it dries. Now do all the same steps above for the opposite side.

Once the top and bottom are glued it's now time to do the sides. To finish off the edges you'll want to first bring in your corner like this:

Then add glue (photo bottom left). Bring up and secure in place (photo bottom right).


Again, secure clothespins and allow to dry. Once almost dry remove safety pins and cut two pieces of fabric that will fit over both sides. To give a professional finish, be sure you spend the extra time ensuring this piece of fabric is cut straight and iron to ensure a smooth surface.

Once the fabric is cut (photo bottom left) slide a section of it under the binder clips (photo bottom right).
Then carefully open it up like a book ~ keeping the fabric straight, but still under the binder clips (photo bottom left). Add glue, the press the fabric in place, ensuring a straight finish.
For excess glue use a foam brush (or your finger) to smooth out and lumps and ensure the edges are glued down.

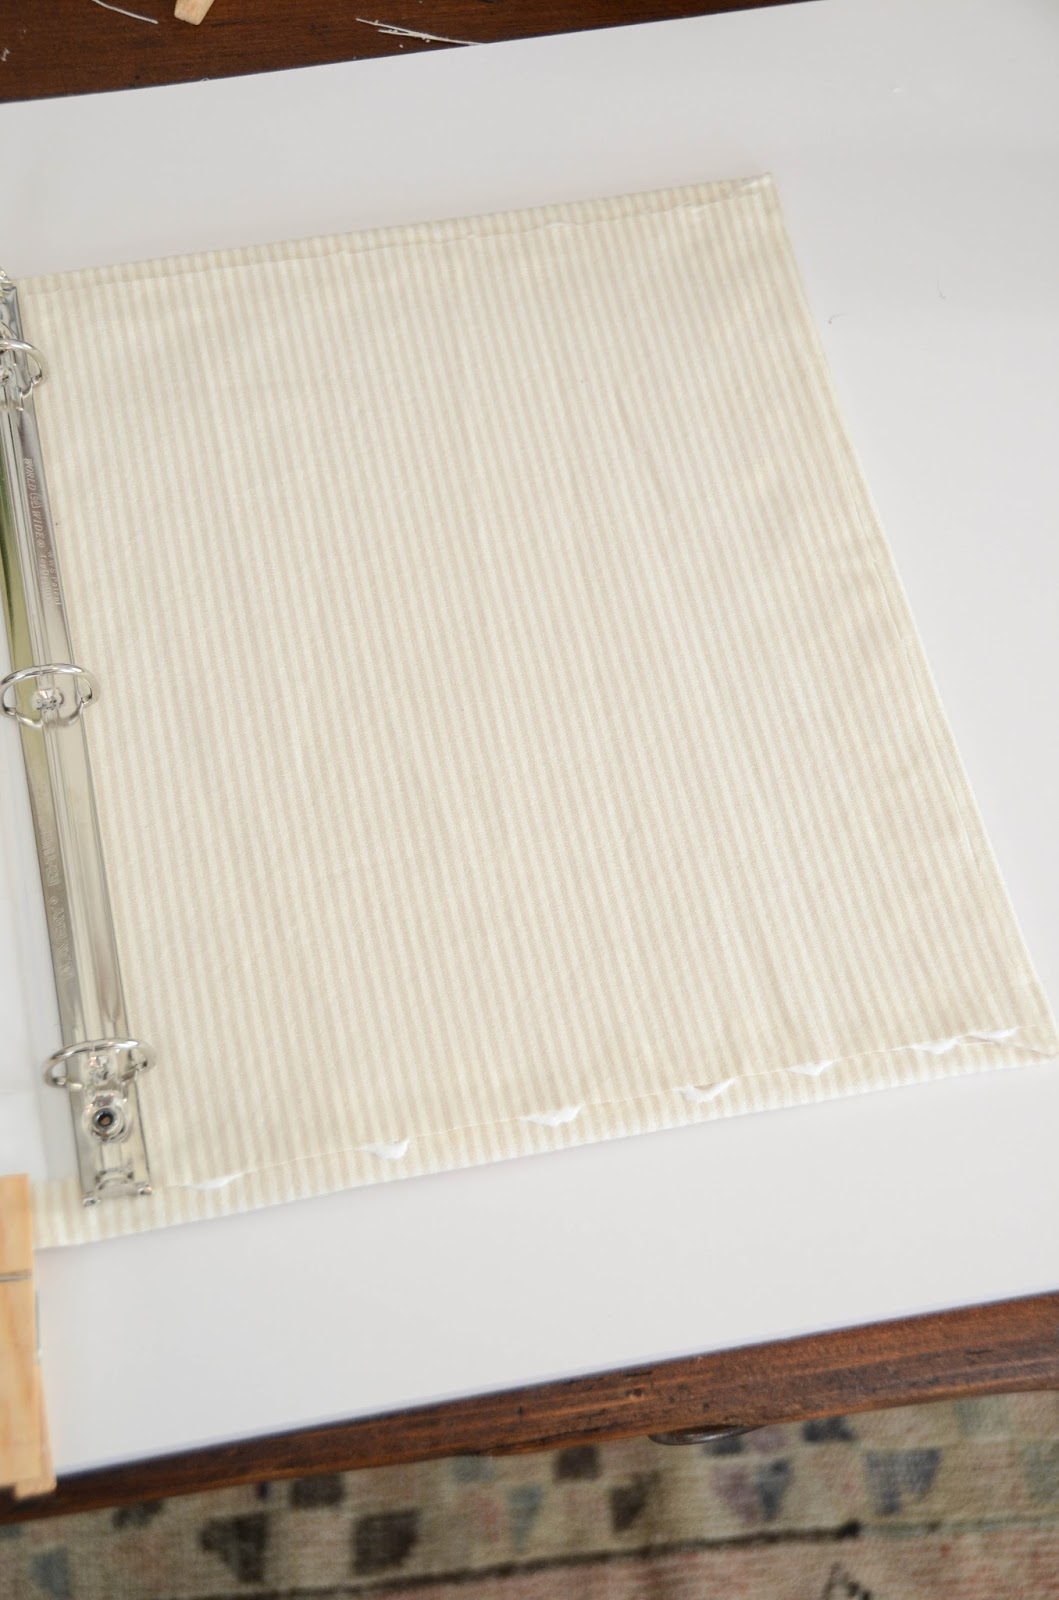
Do the same for the other side, let the binder dry entirely, then fill and enjoy!

What organization projects are keeping you busy?