AHHH! I seriously can't believe my little peeps are now 2! They say time flys when you're having fun, and no statement is more true for our life with P & K! To celebrate we threw a party with friends a few weeks back. In wanting to throw a joint party, I found picking a theme a bit hard. Being boy / girl twins, with very different personalities, I wanted to ensure their birthday party was special for both of them! My other design dilemma, was how to throw a somewhat seasonal birthday bash without associating their special day to Halloween and costume parties. They both currently love animals, P thoroughly likes our days spent at the zoo and K loves her crew of stuffed animals (and by love, I mean we bring them everywhere). So, we decided on an appropriate 'Party Animal' Theme with touches of fall! Everything was DIYed, from the invitations to the kids table that Brian and my brother made!

Invites where written on faux white pumpkins, adorned with cut out animals from this wrapping paper. That was the starting point for our overall color scheme and design. Guests were asked to bring their favorite stuffed animal which were then adorned with these mini size party hats! The cake may have been my favorite, you can see how we made it in this post here!


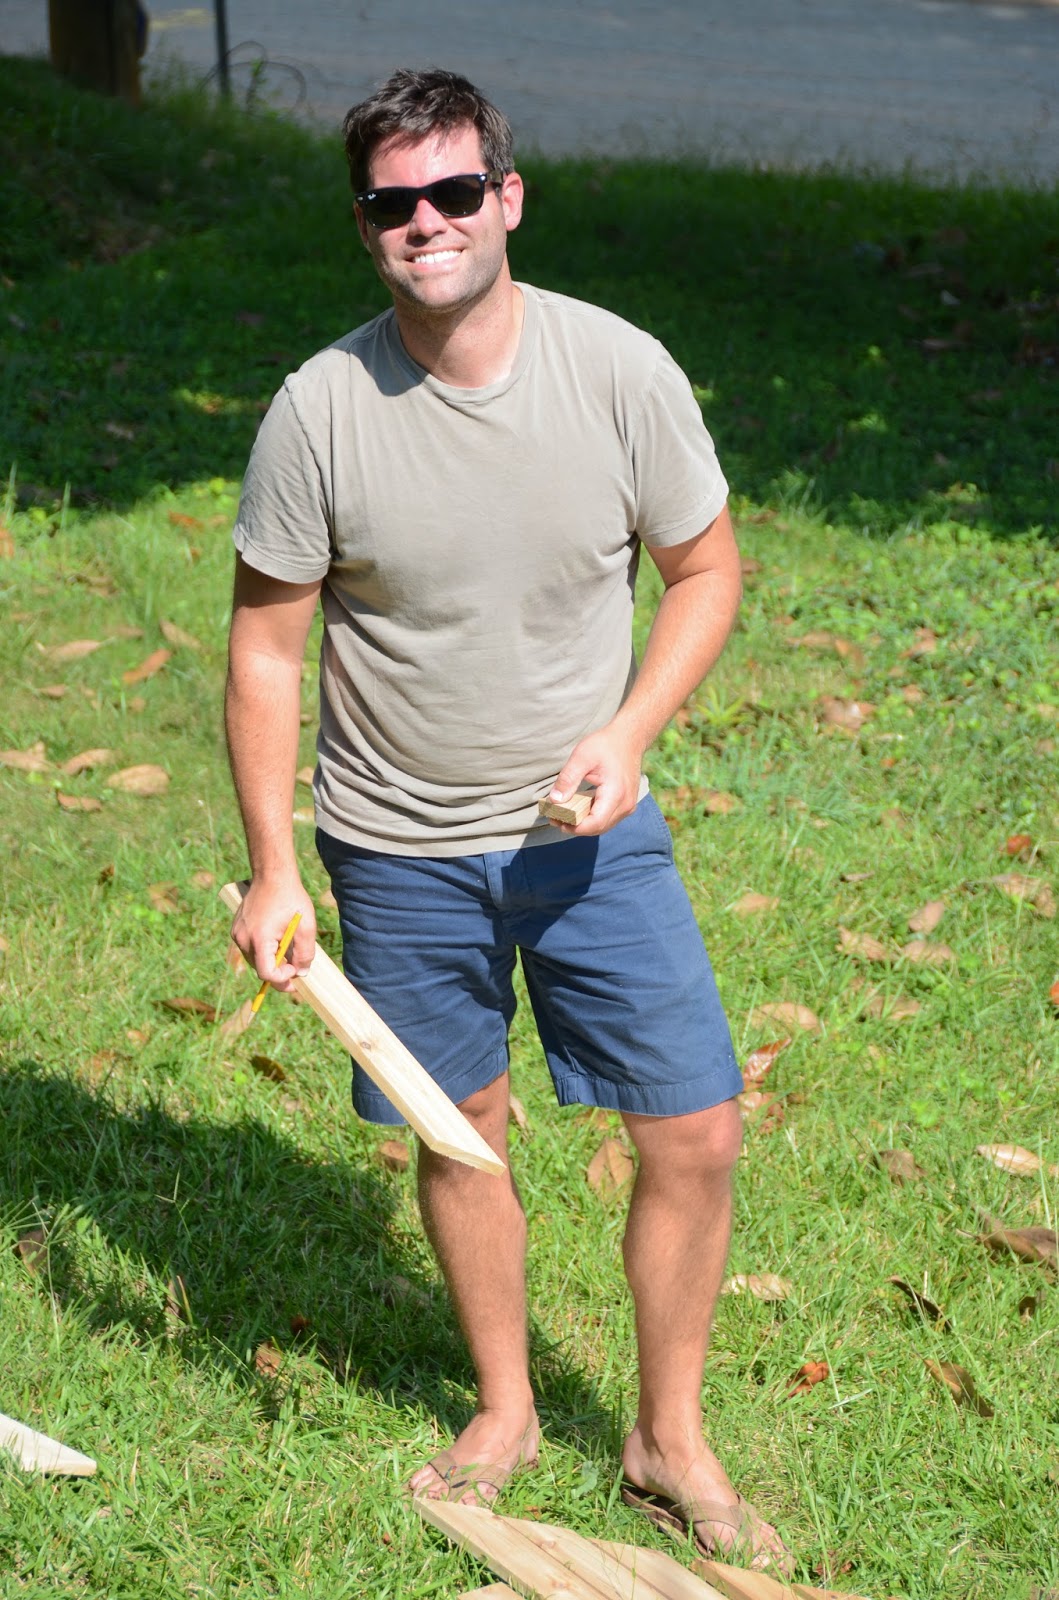
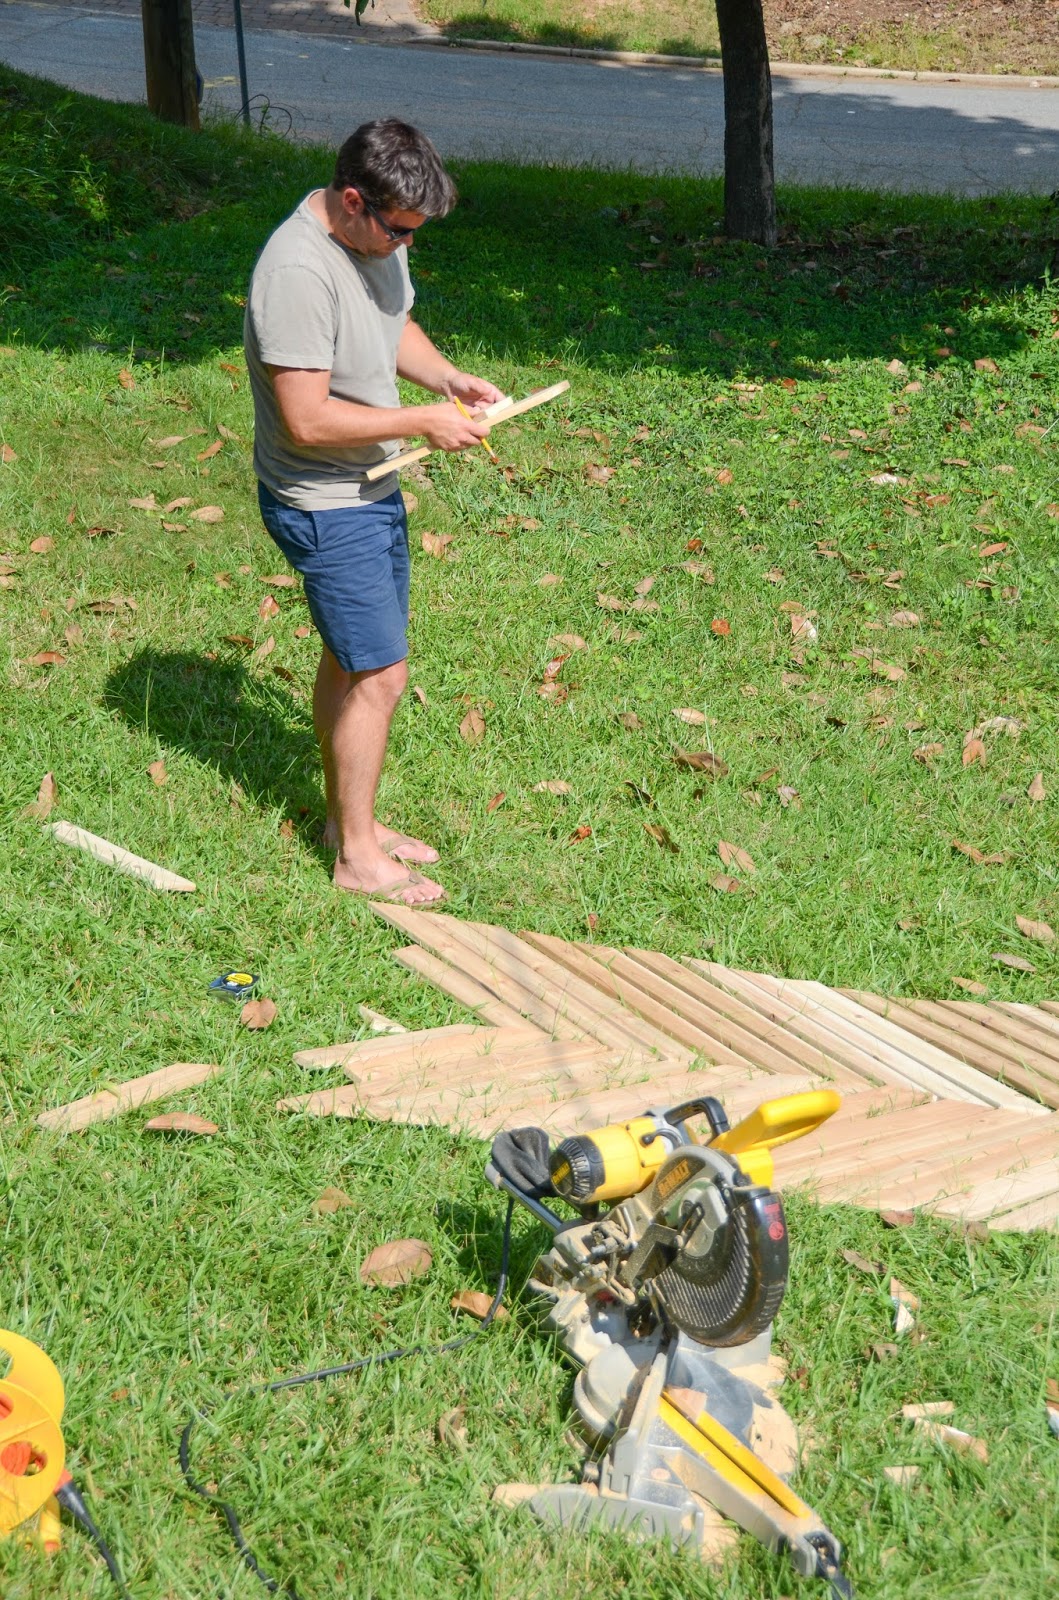
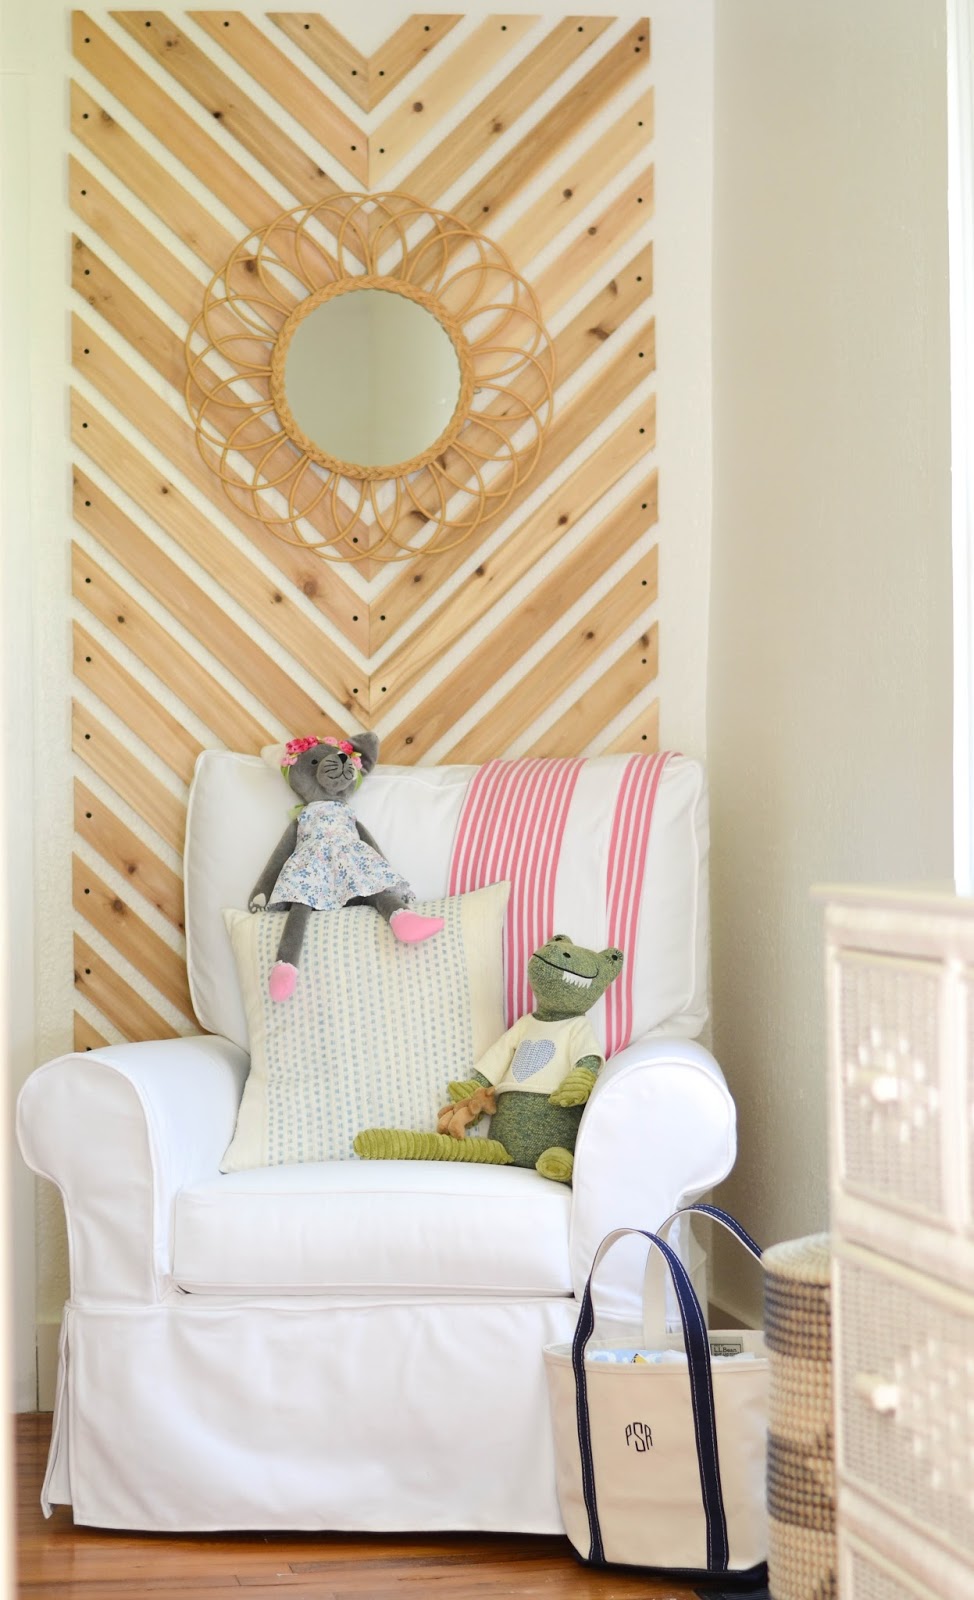
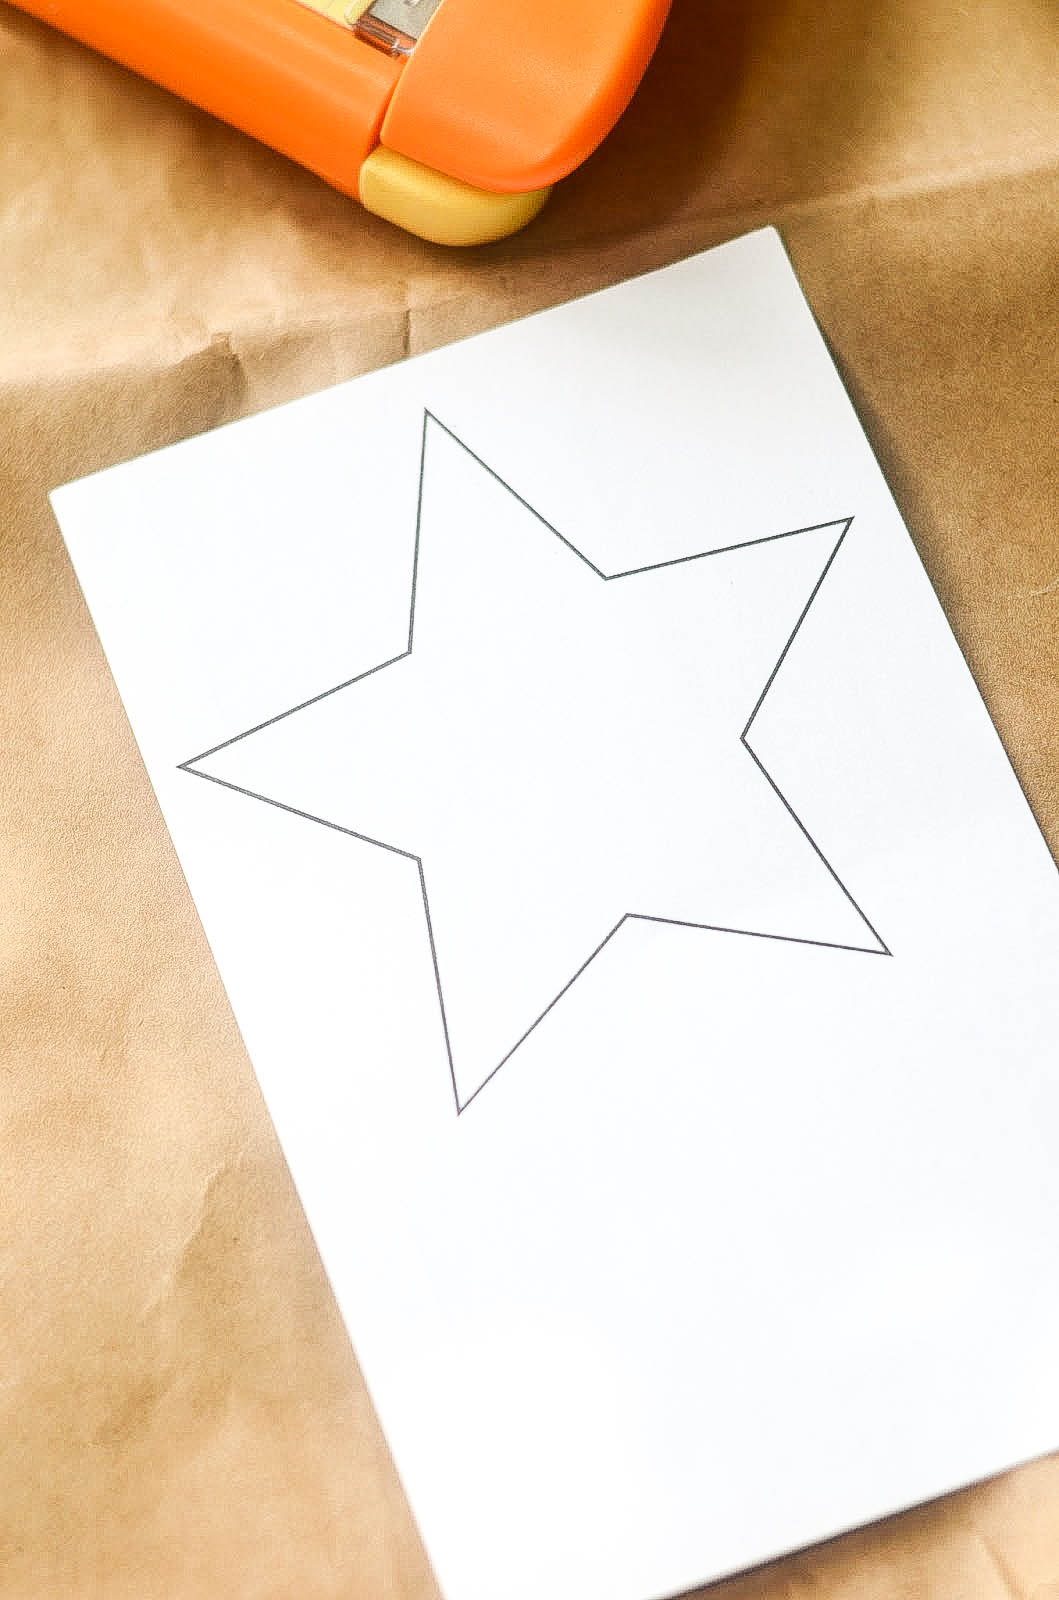
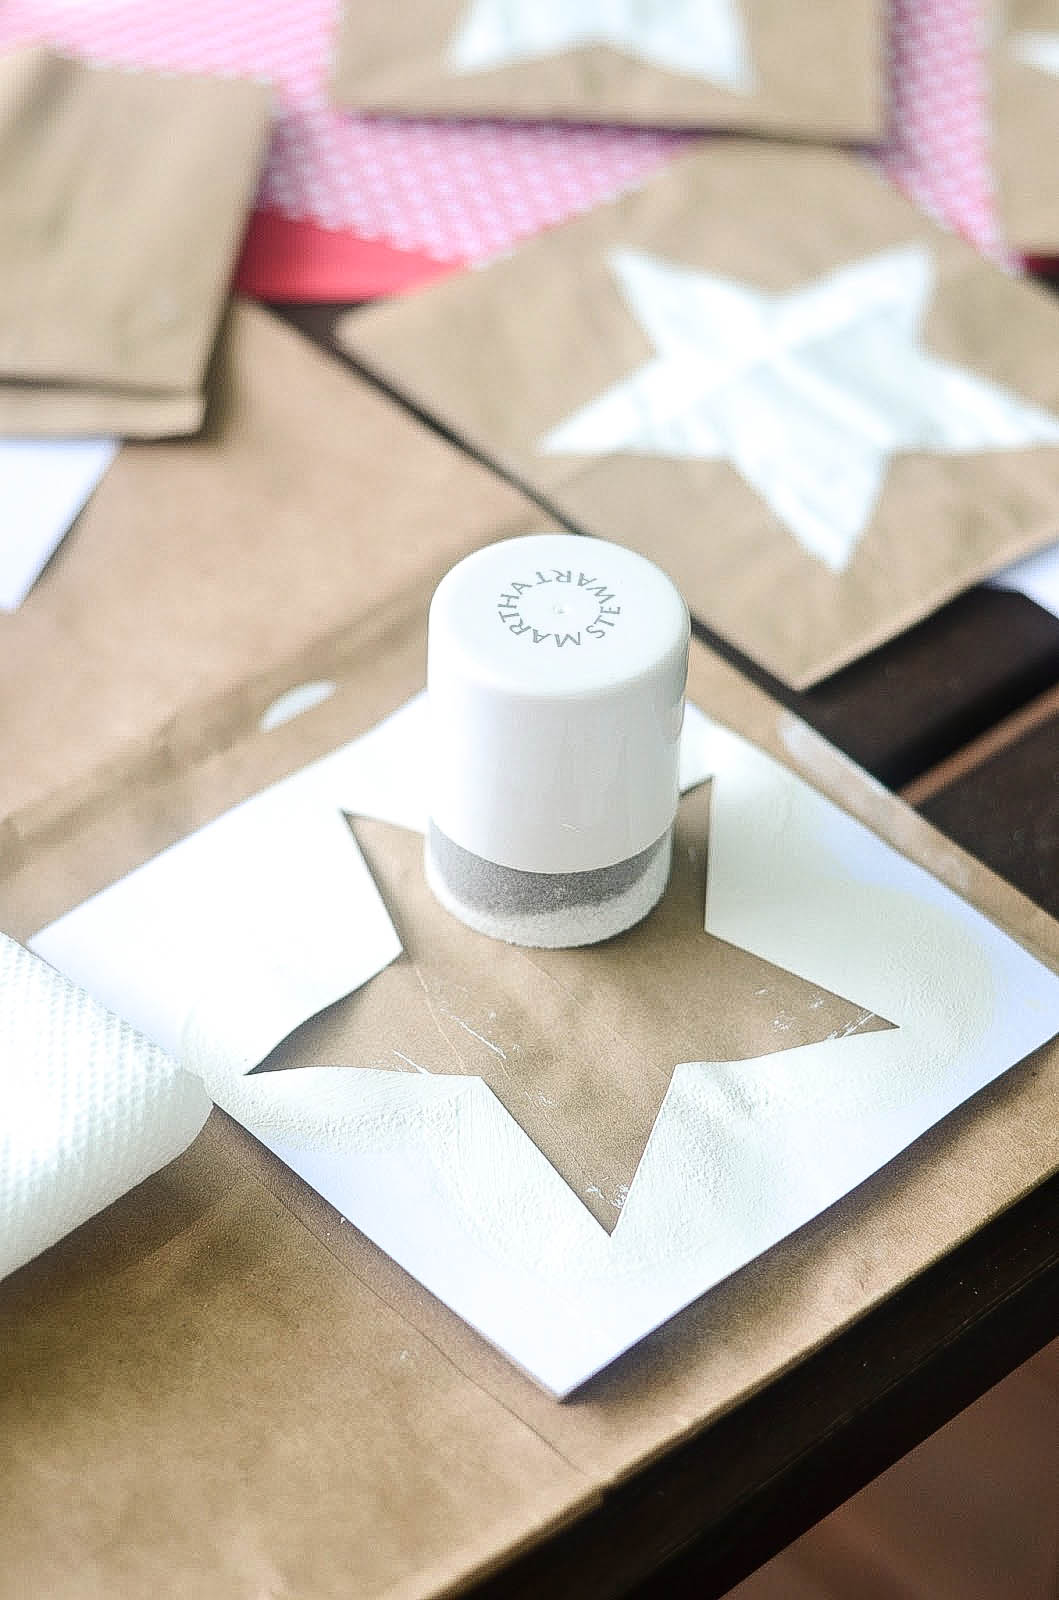
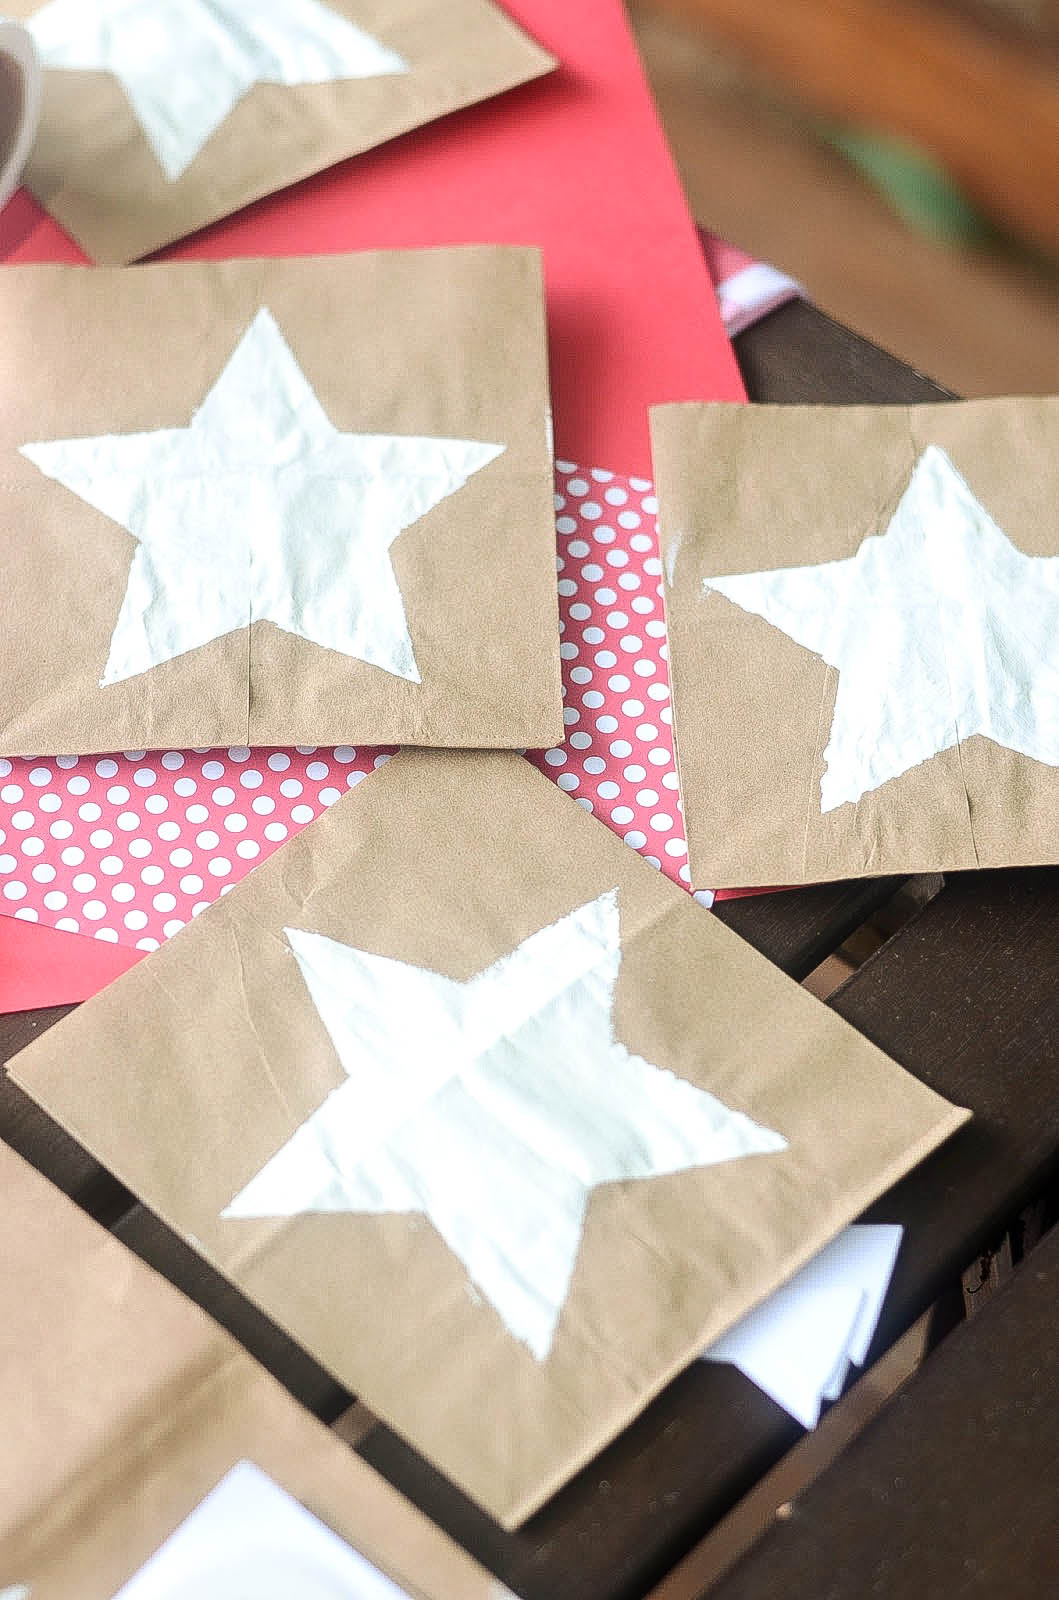
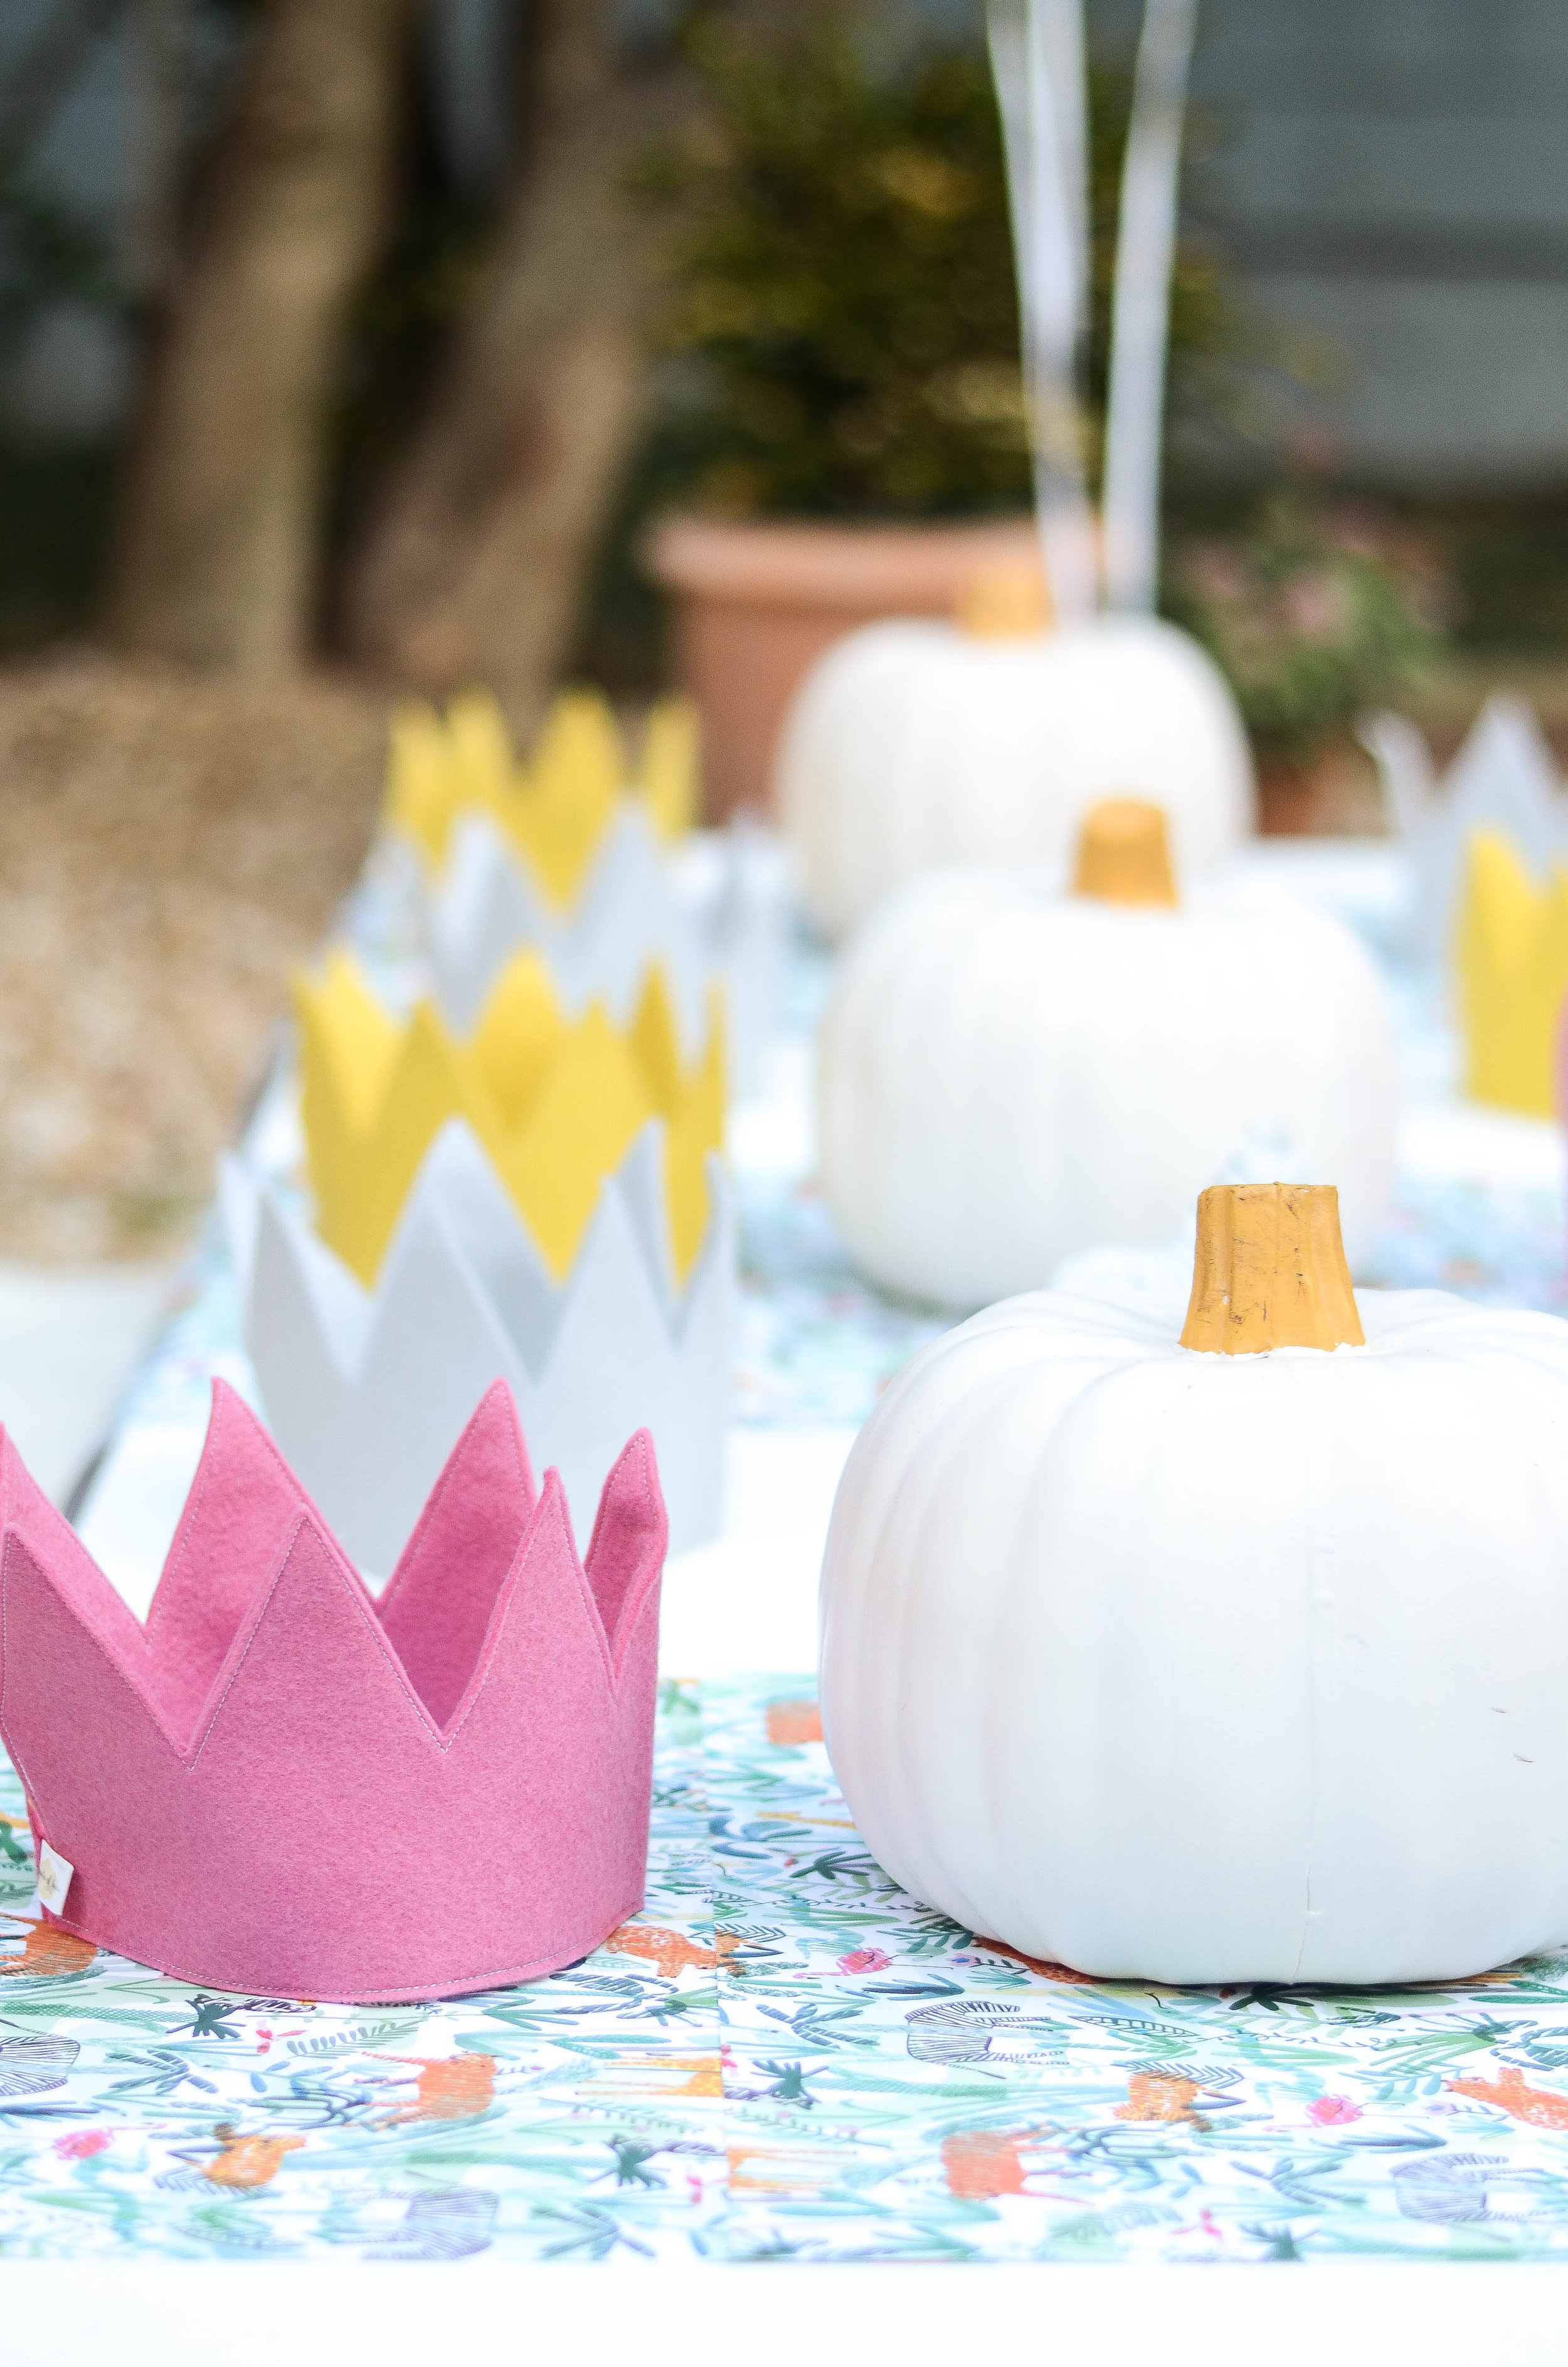
The kid's table was a labor of love from Brian and my brother. The perfect height for our little guests. Faux white pumpkins acted as centerpieces, wrapping paper was used for a table runner, as well as to make the large P & K signs (to make I glued wrapping paper to oversized dollar store poster board. Then cut out white letters...an easy, cheap, statement piece!) Felt crowns doubled as favors and place cards for each guest.
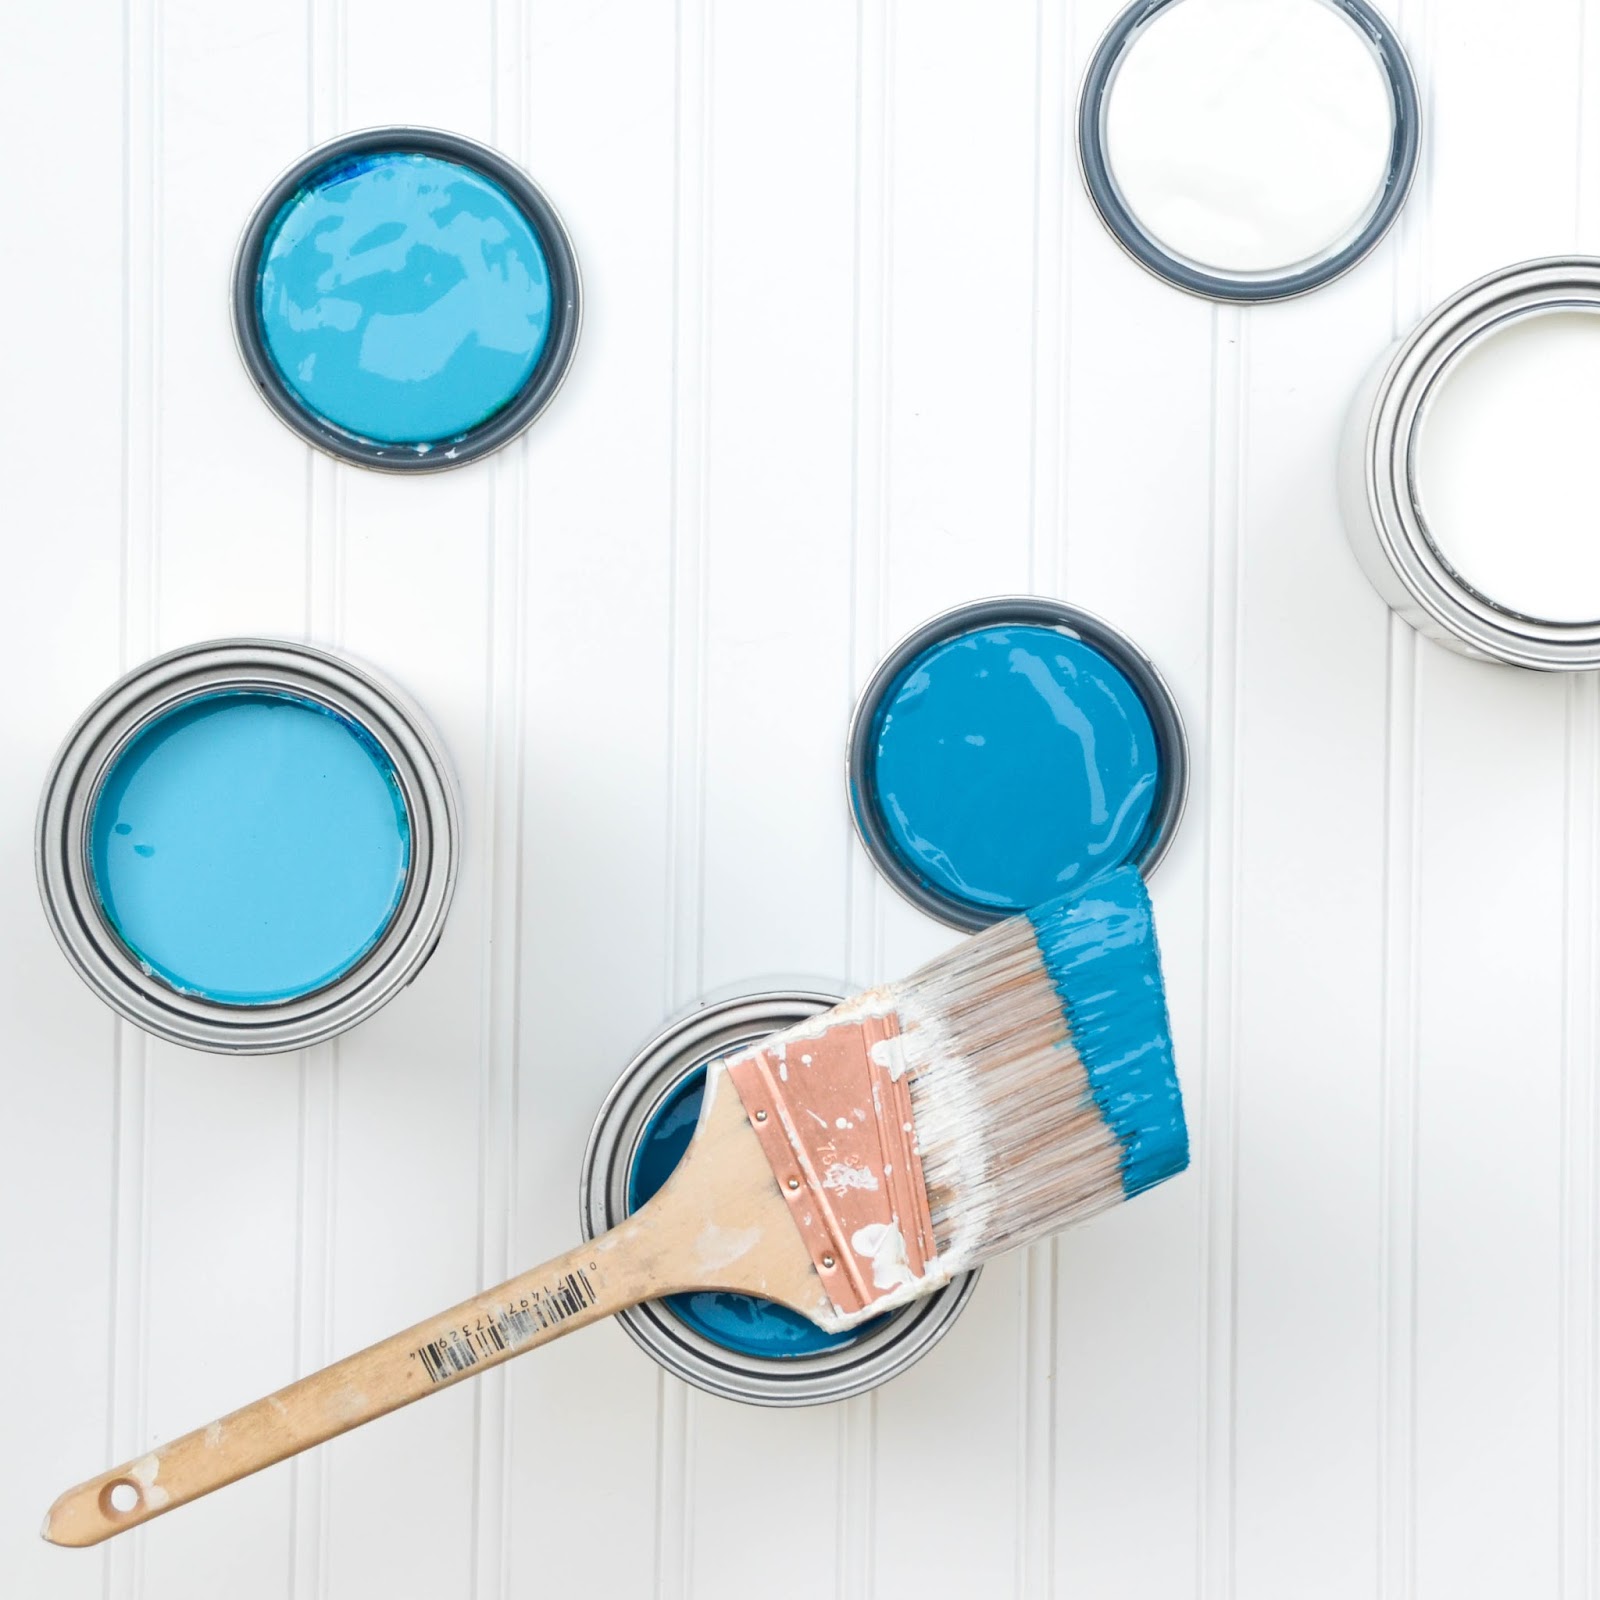
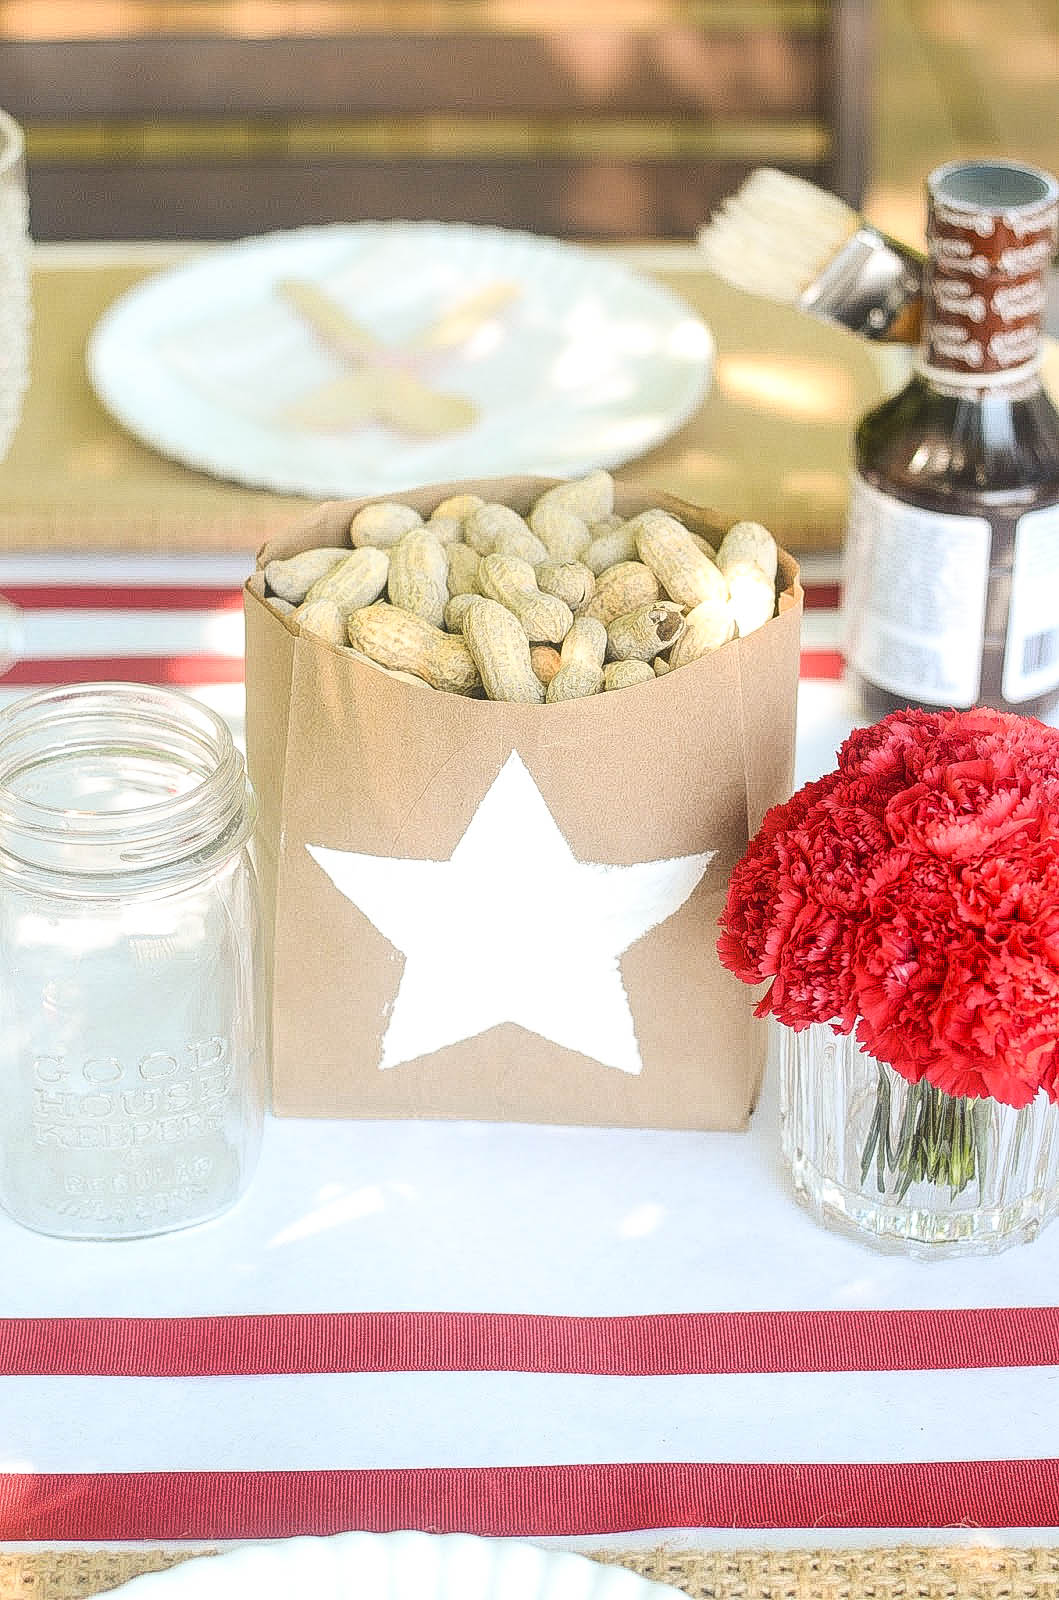
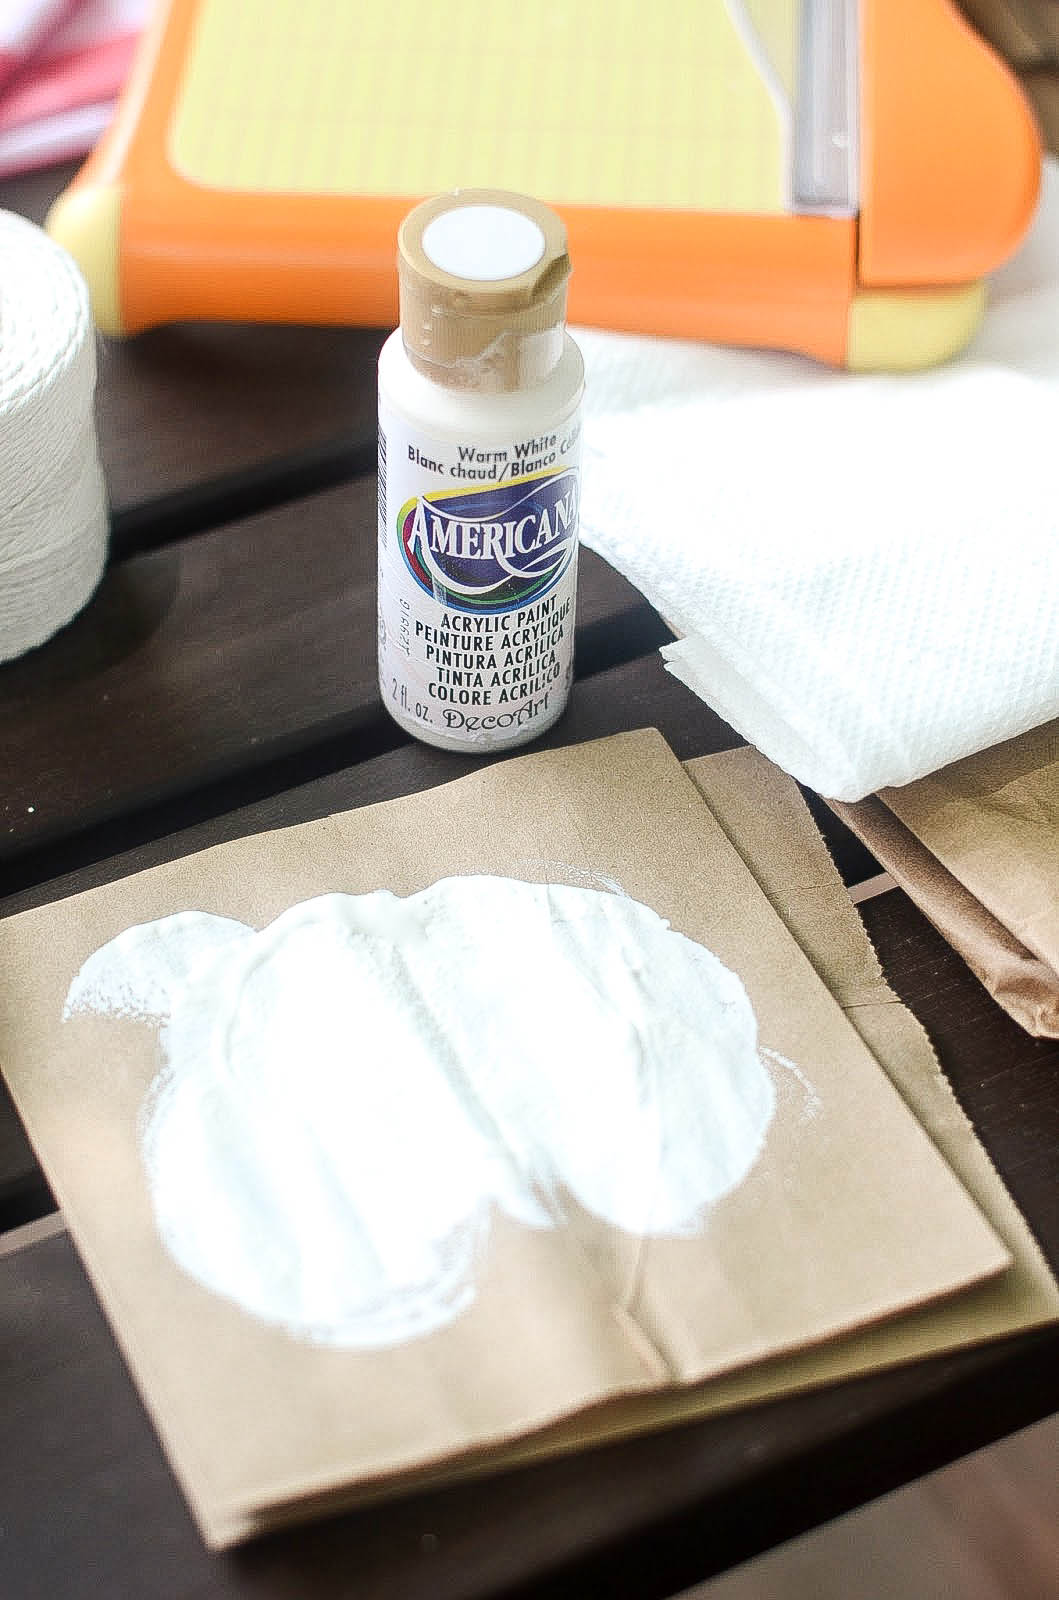
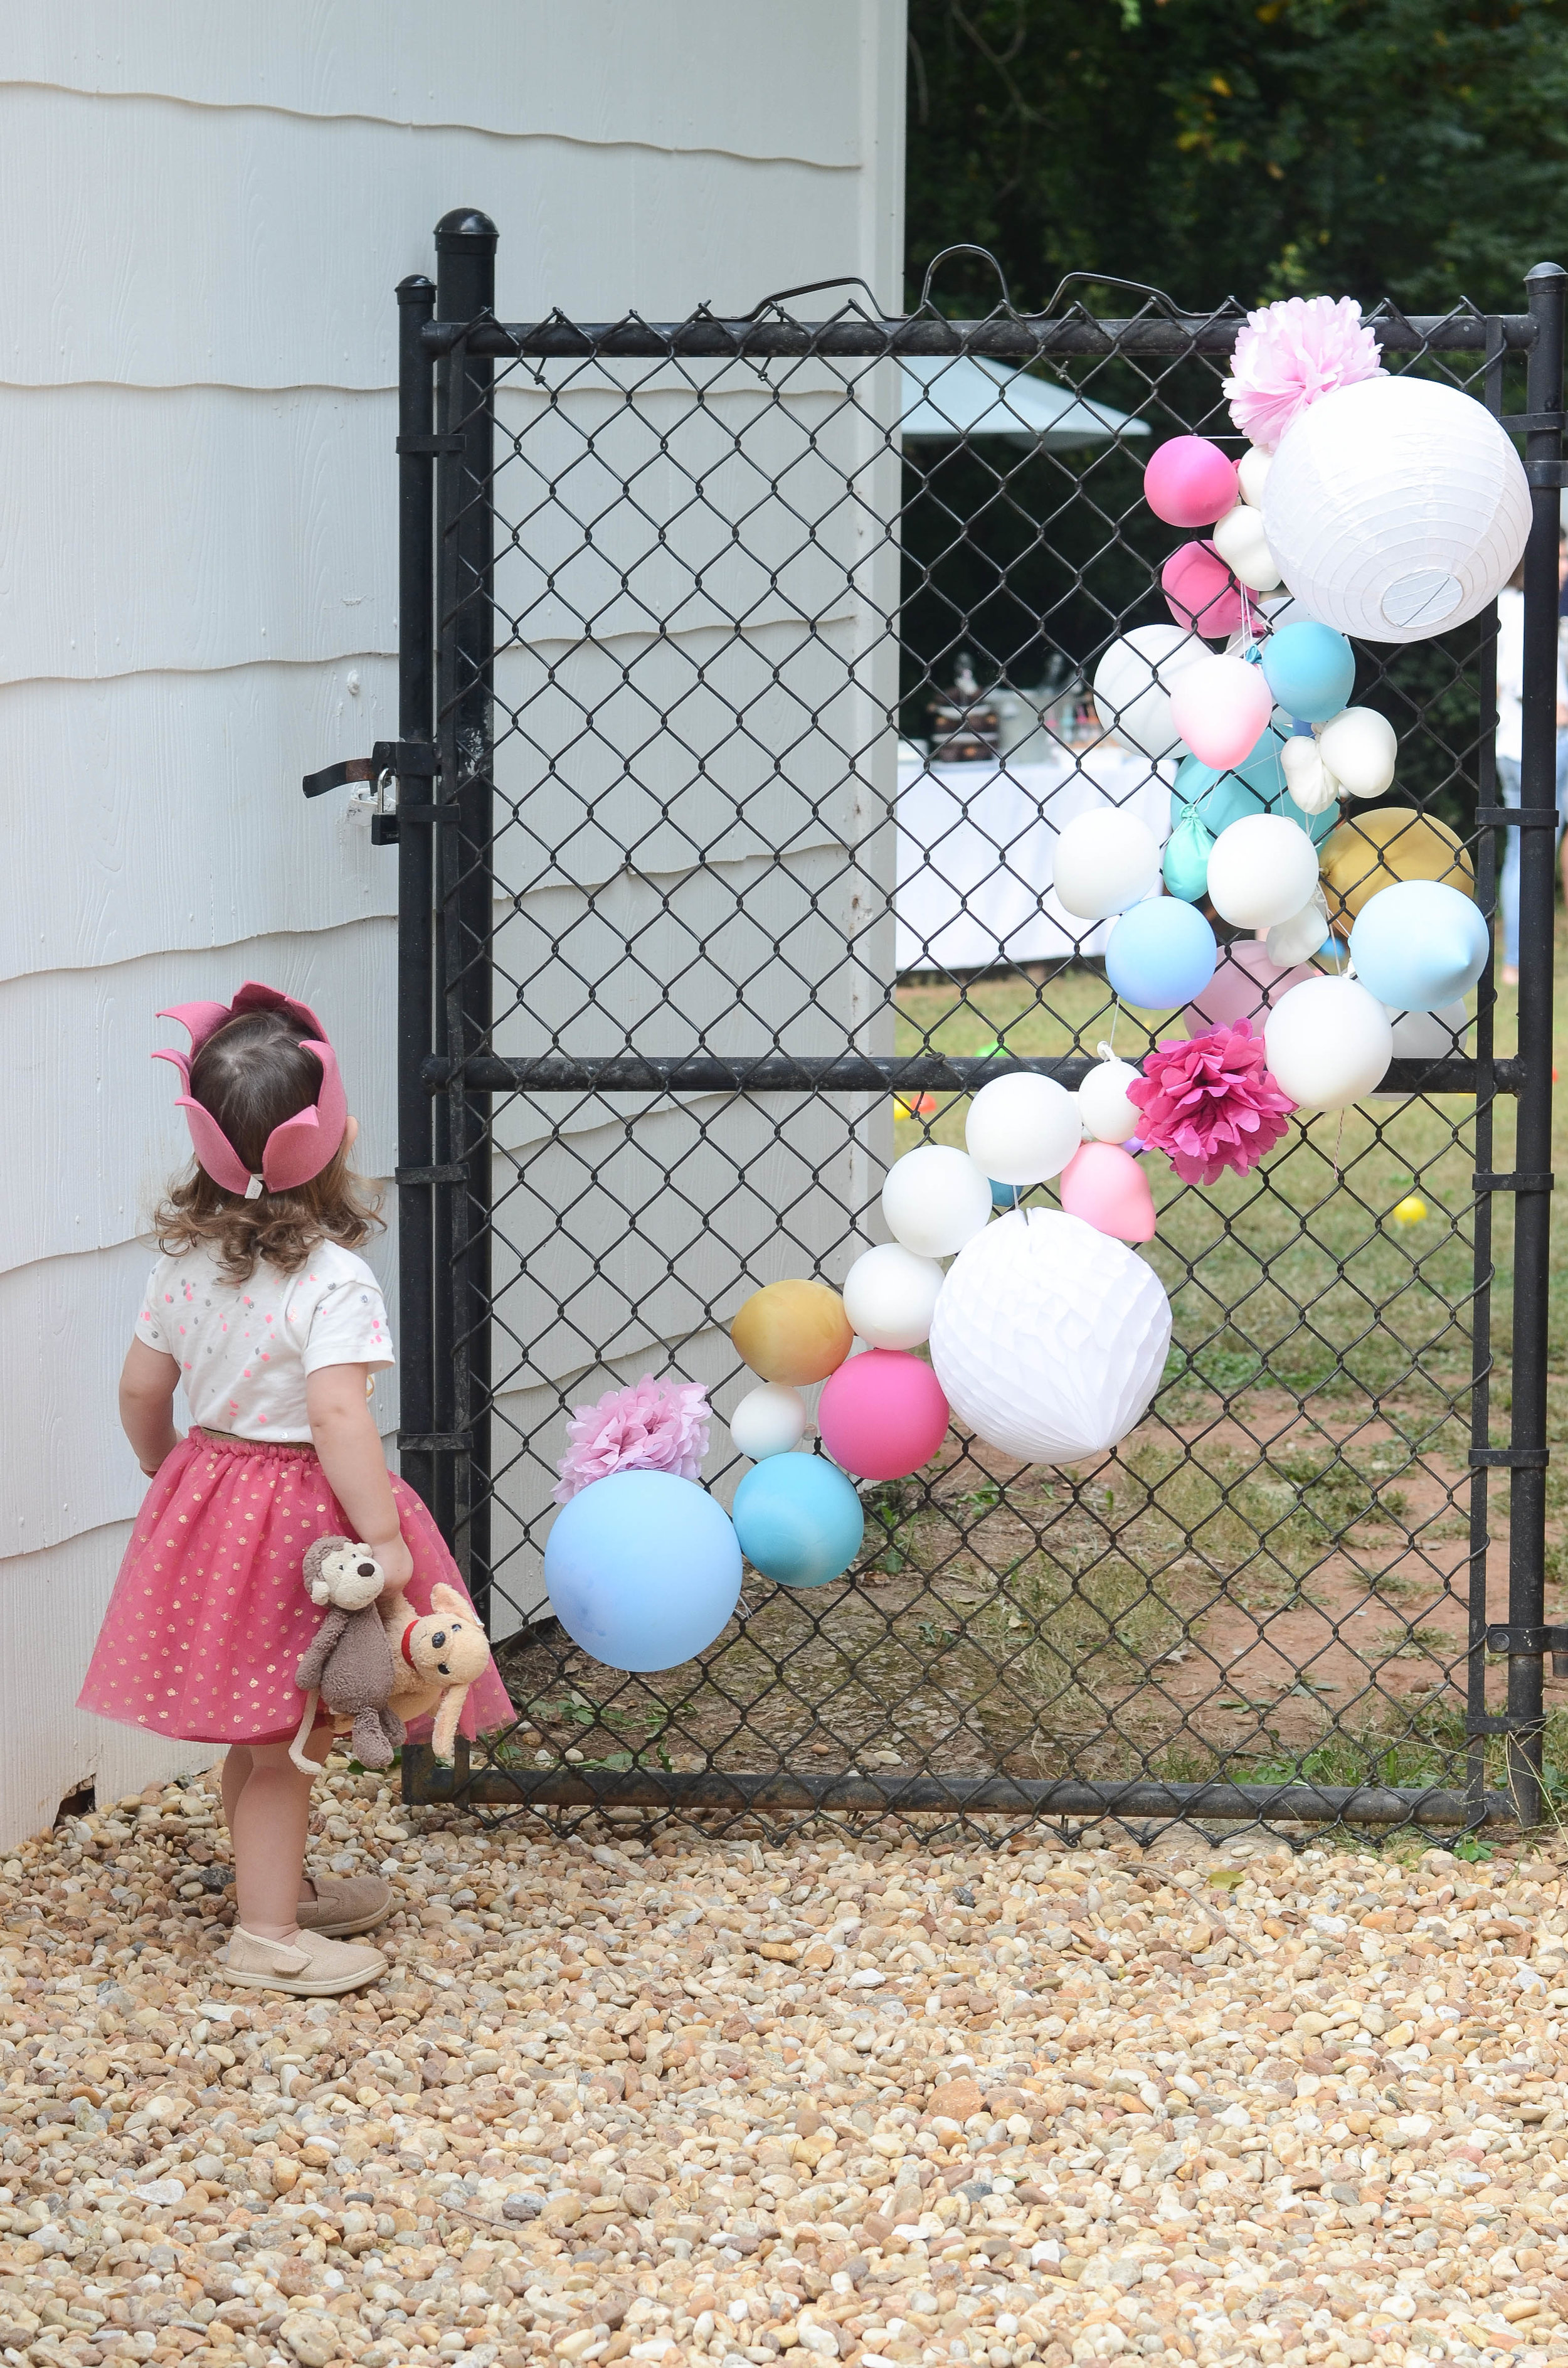
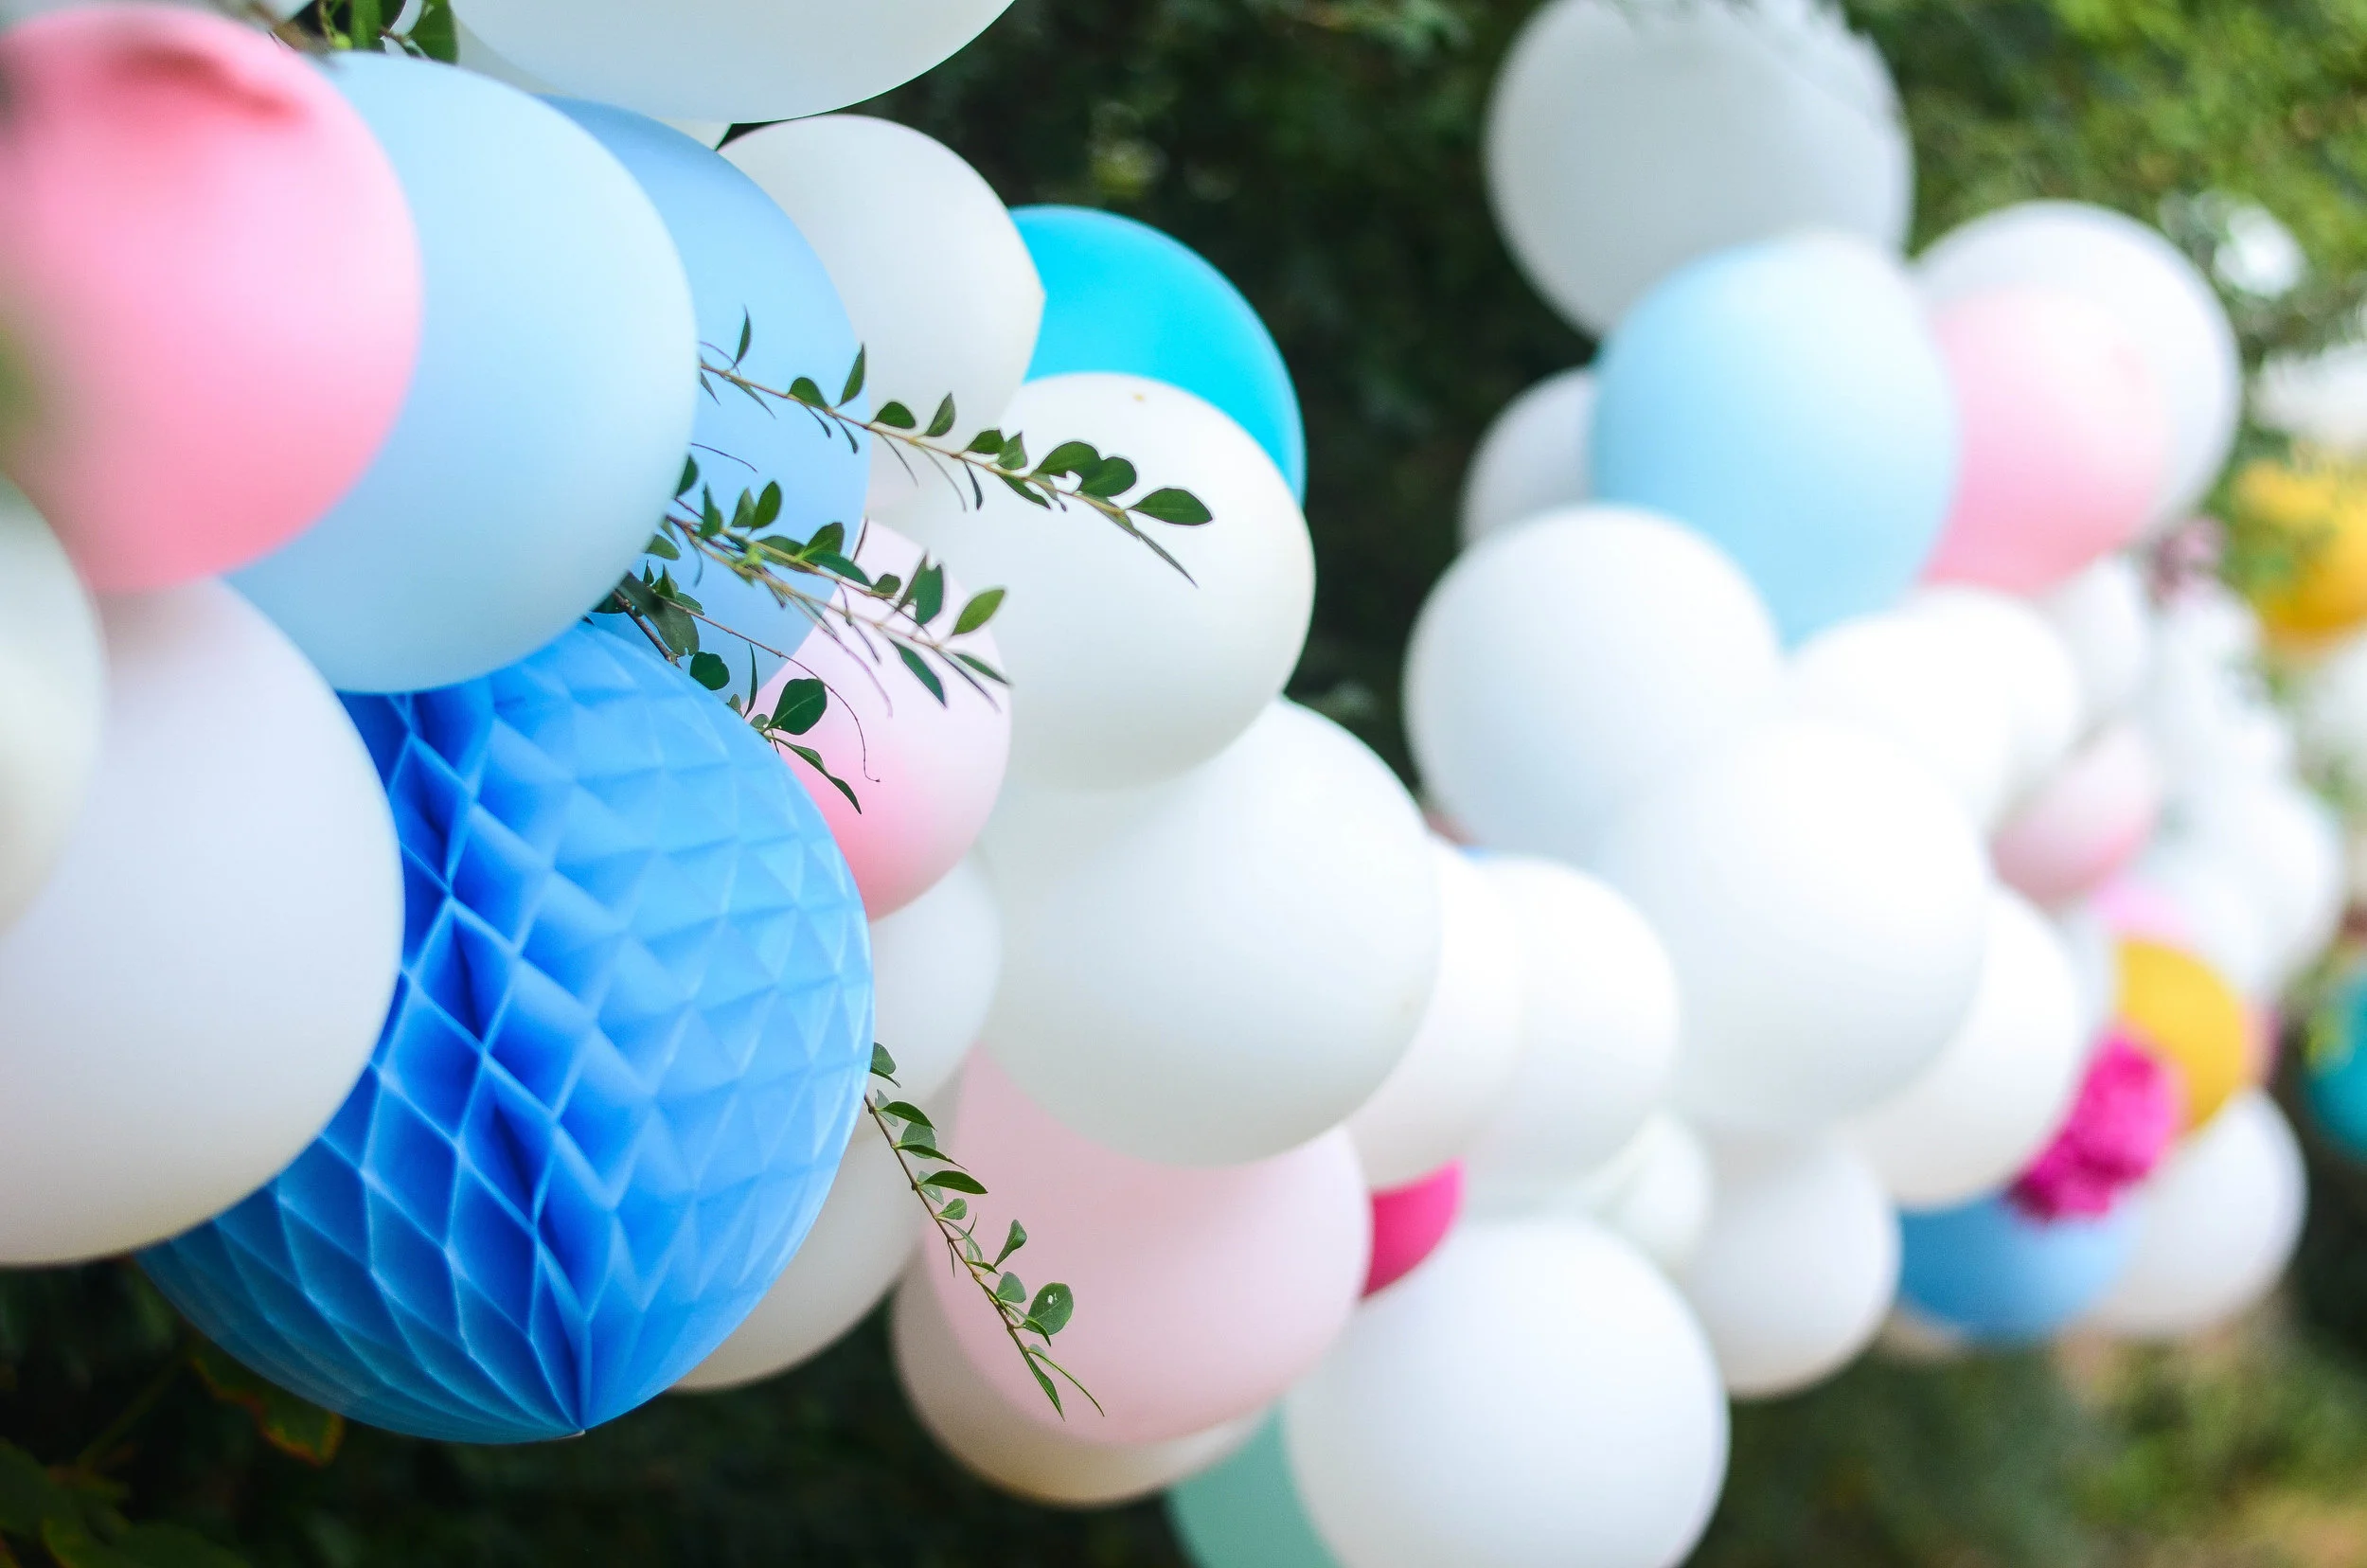
Balloons are an absolute favorite in our household, so I made a big point to make them a highlight. Using hues of pink, blue and white with a touch of gold. I made a HUGE garland of balloons that strung across the backyard (To Make: Blow up a bazillion balloons in all different sizes, then use embroidery thread and a thick needle to string them together. Accents of tissue paper flowers and chinese lanters add texture to. This all sounds harder than it truly is. Mainly just time consuming. We were lucky to have good weather, so I actually started a few days ahead, with only a few balloons popping before hand. Keep in mind they will deflate a bit if blown up extra early...fyi, these weren't helium). I also decorated the front fence and blew up plenty of helium ones for guests to take with them!
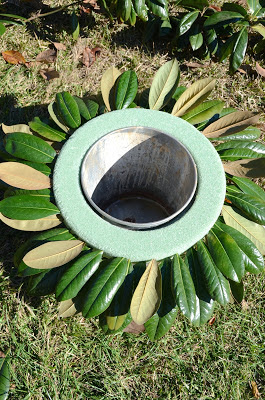
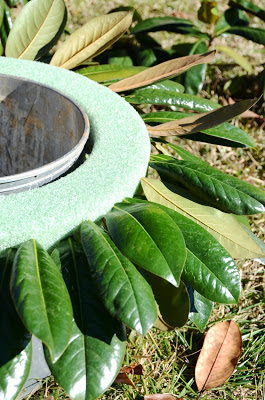
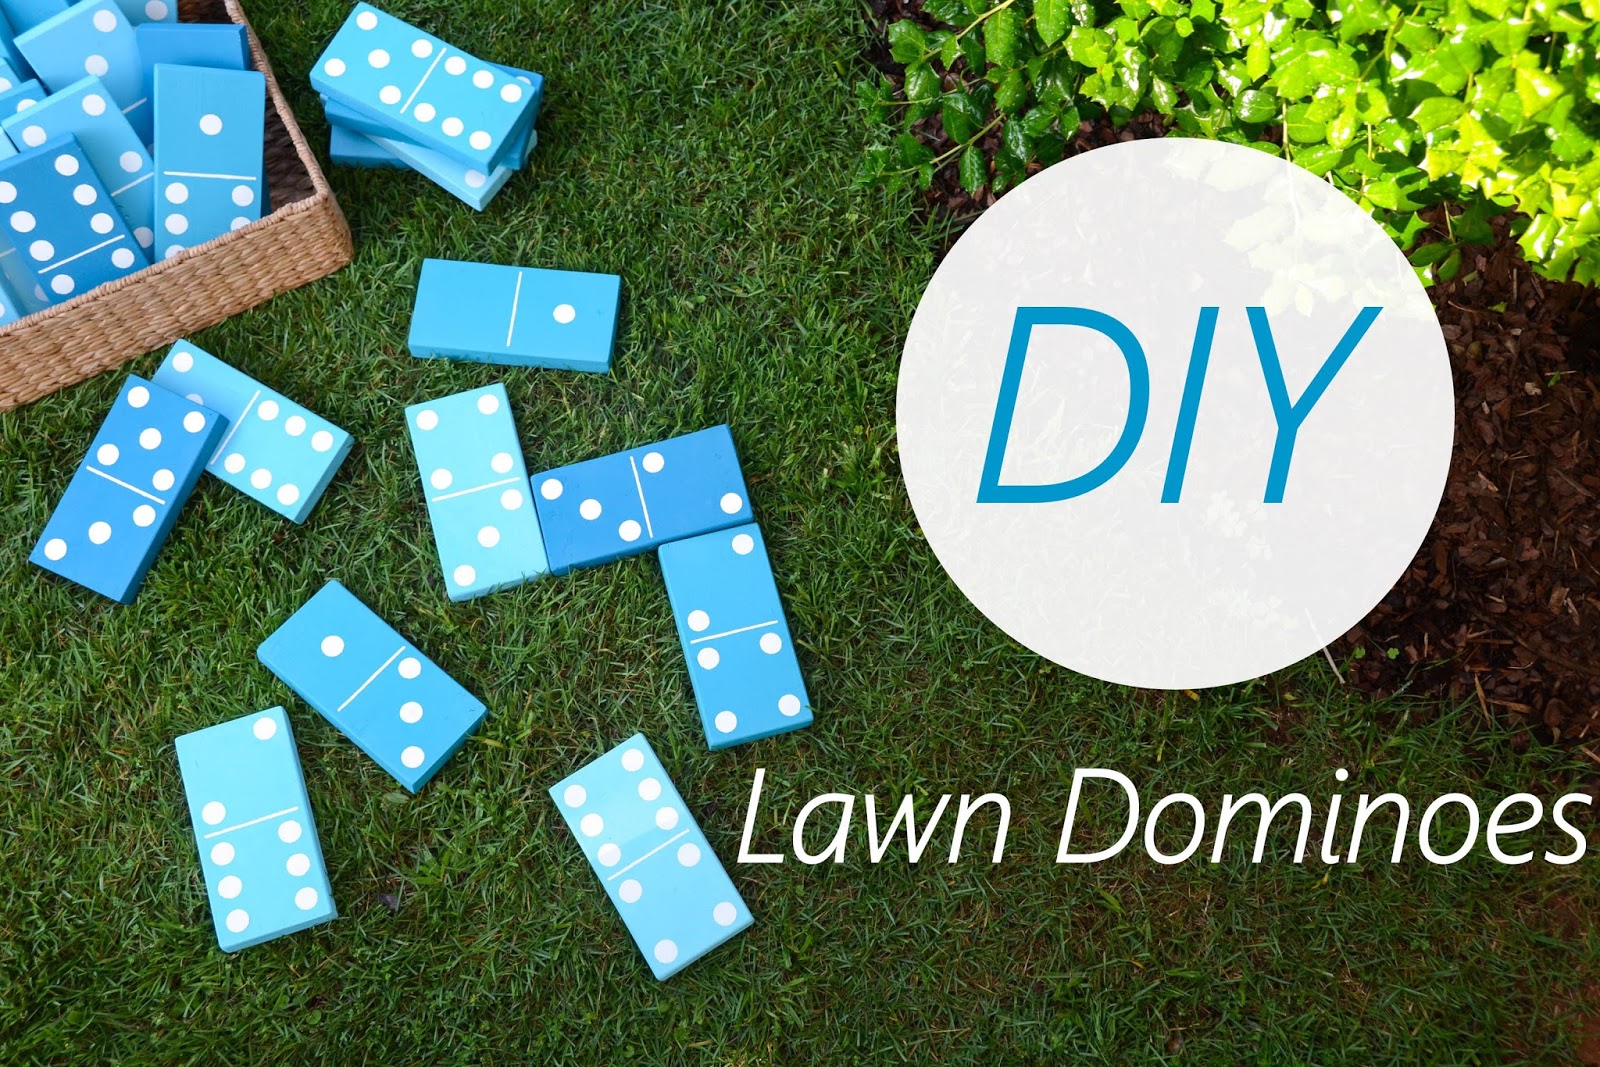
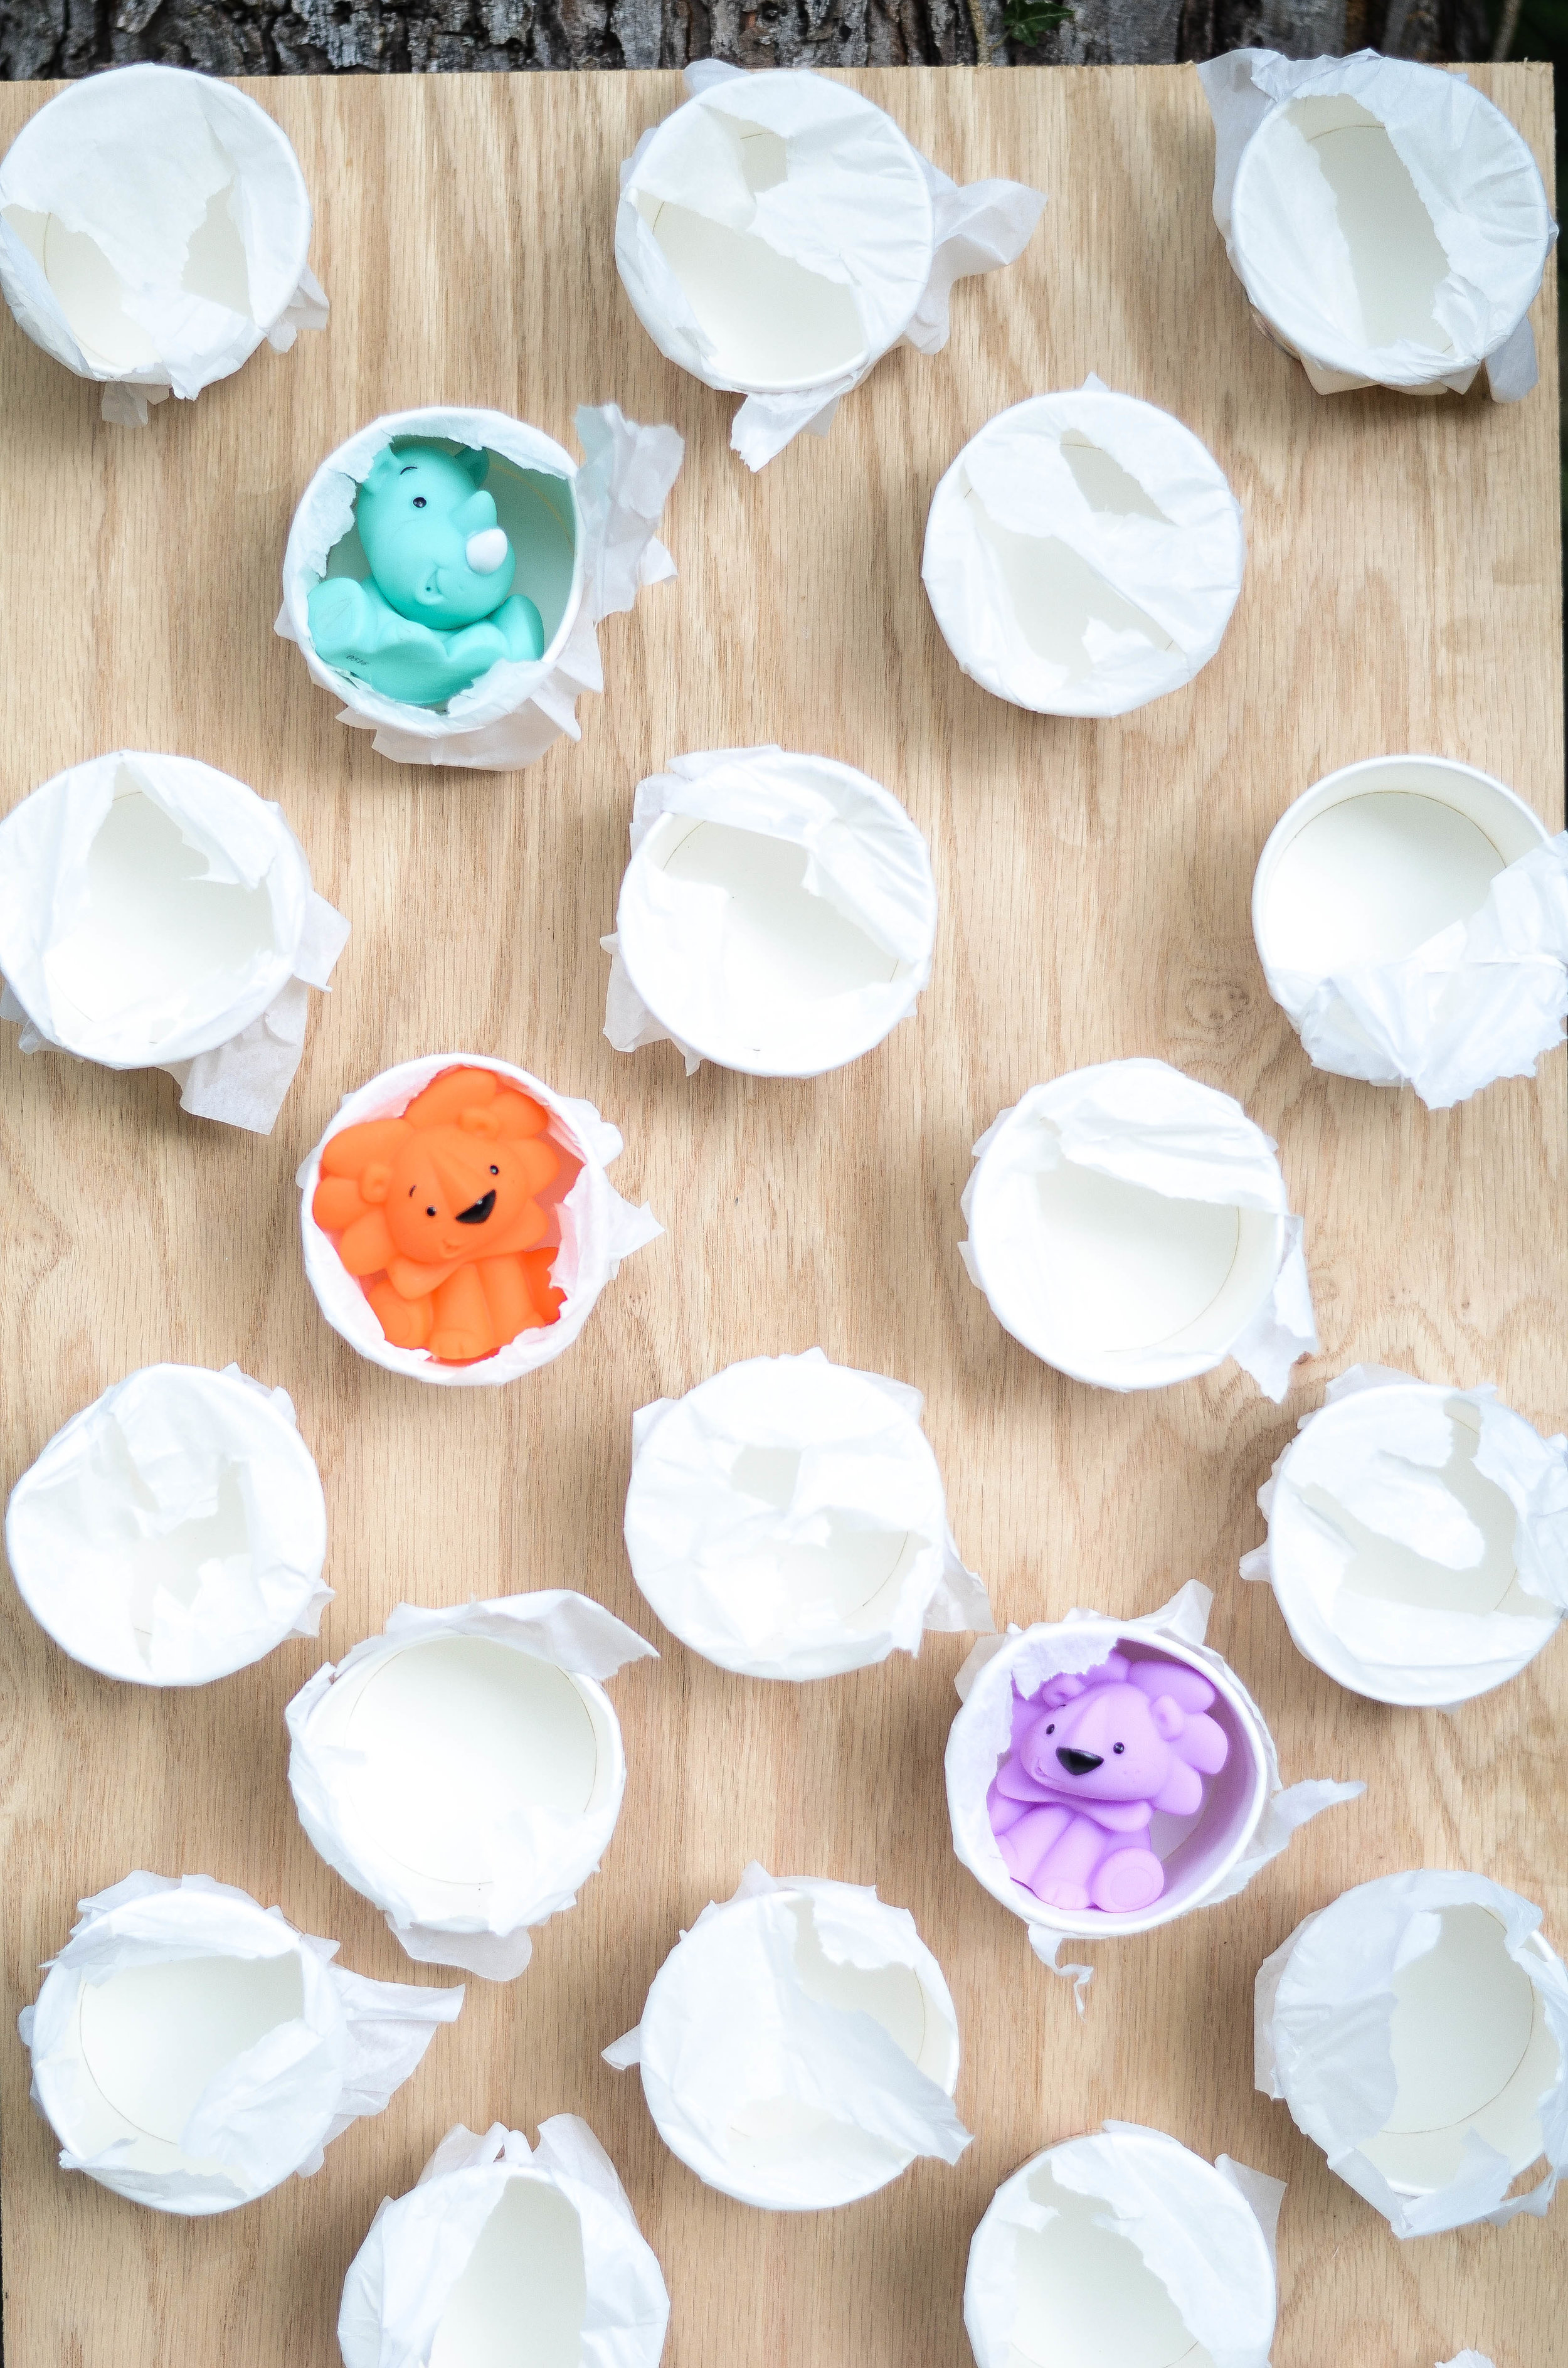
We also had plenty of festival games and crafts for our mini party goers. From gourd bowling to can toss to punch cup. You can see all our games, along with the how to, in this post here.


So grateful for my little peeps and the joy they bring into our home every.single.day! Looking forward to our many adventures ahead! We seem to have gone through our tantrum phase around 20 months, and with communication becoming easier and easier, I don't see anything terrible about turning 2! Happy Birthday P & K...can't wait to see what's ahead!