When it comes to gardening, so many of you have reached out with questions, interest or concern for not knowing where to start… so this series is designed for just that! A simple guide to get you well on your way to creating the home garden of your dreams, whether that be a small container garden or a large country plot…this series will highlight all the things I’ve learned along the way and break topics up into bite sized pieces! For me, gardening started as a place of refuge a few years back. We built our backyard greenhouse and I haven’t looked back! So, to kick start our series…the number one question I receive…How To Plant From Seeds! And lately my inbox in inundated with questions on “WHERE to find seeds online”…and yes, given the current circumstances…seeds are hard to get your hands on. Places like Amazon are prioritizing needed items (as they should) and even some of my favorite seed suppliers are having to put a pause on distribution at this time due to Coronavirus. So, WHERE can you get them…you’re in luck, because as of right now, my favorite Seeds are still available, and currently still shipping out ~ you can browse the entire selection here! So, if you’re hoping to plant a Spring/Summer garden, I wouldn’t wait to place an order :)

Get Your Container
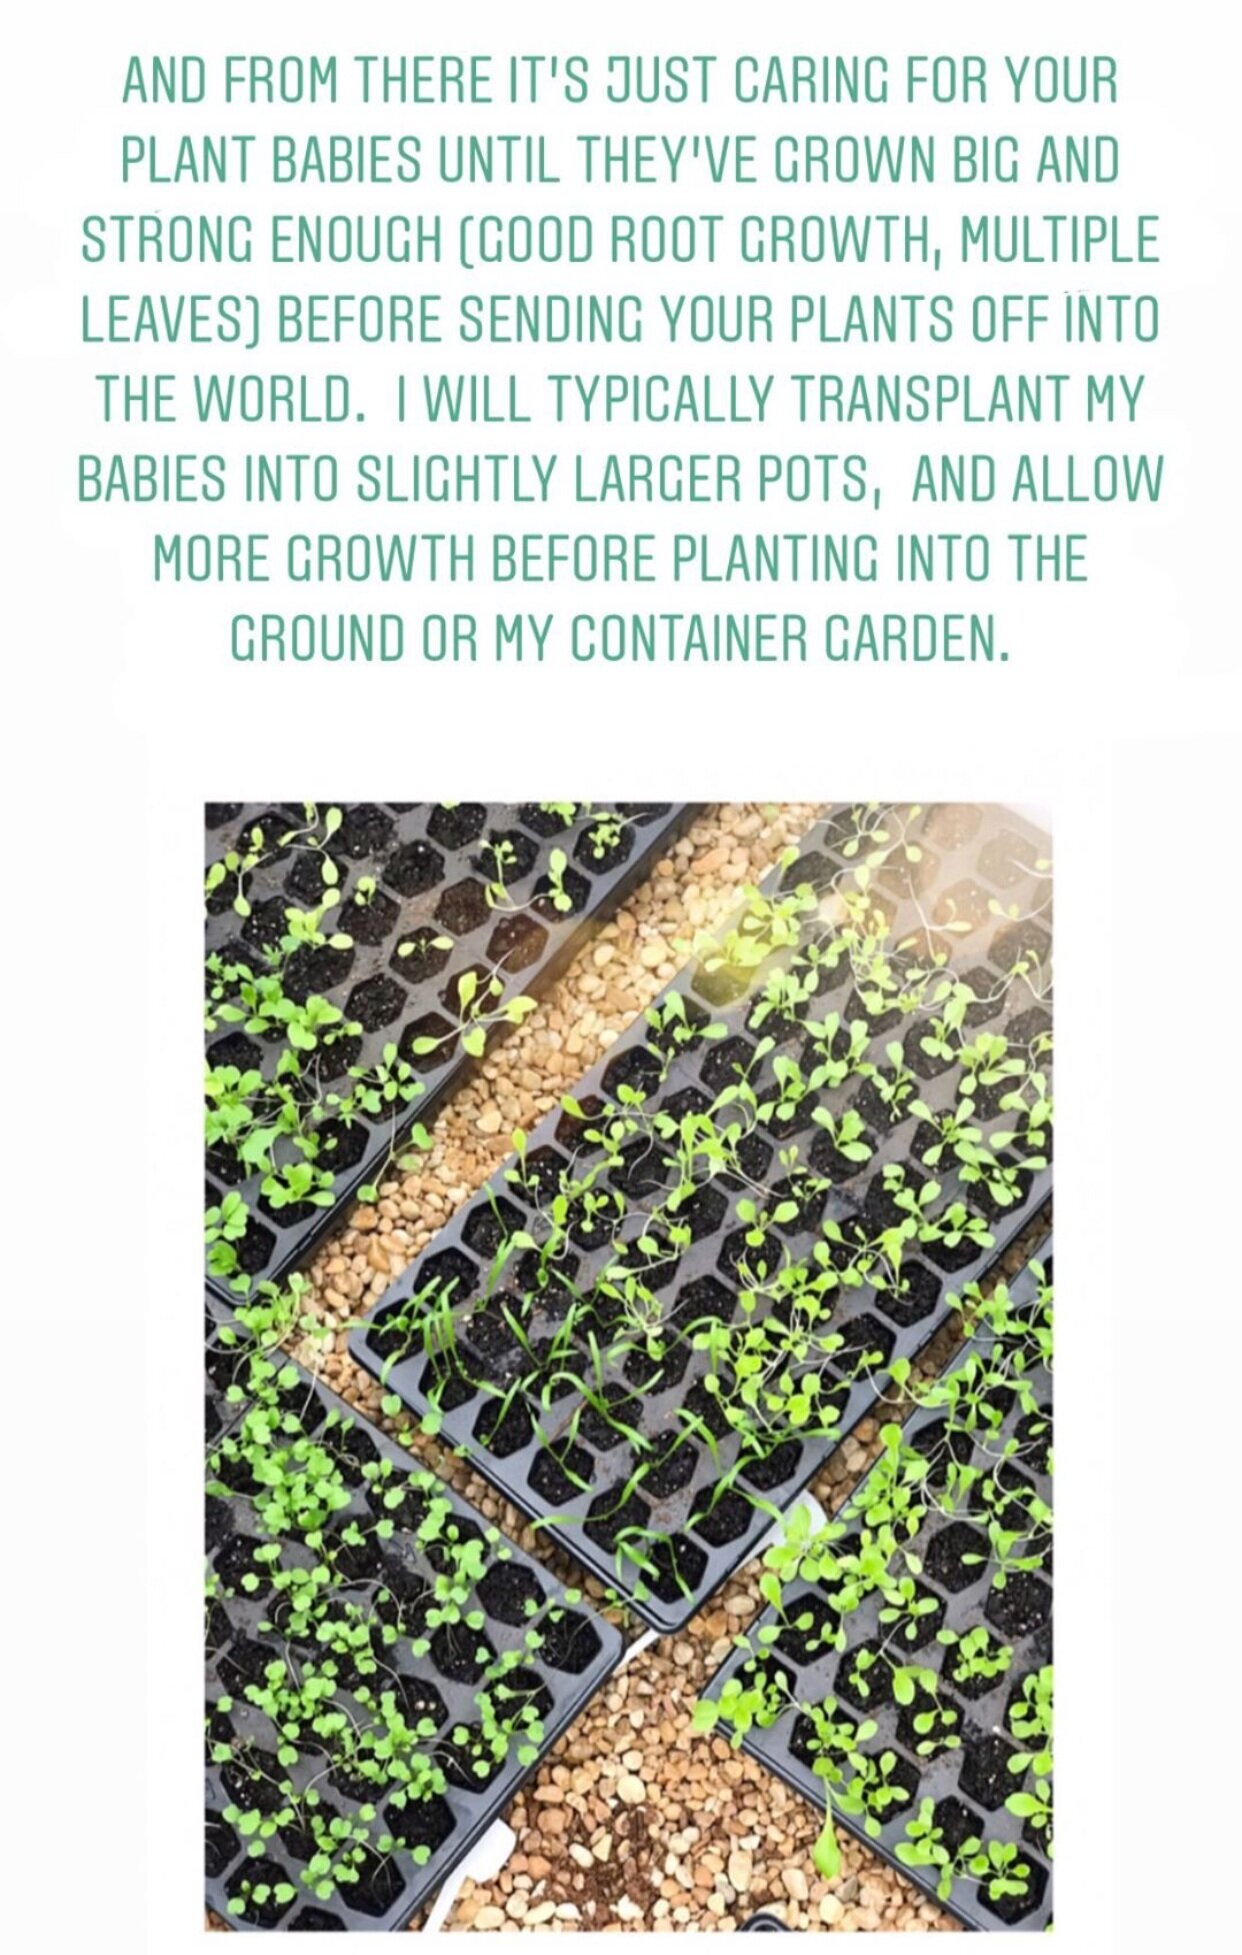
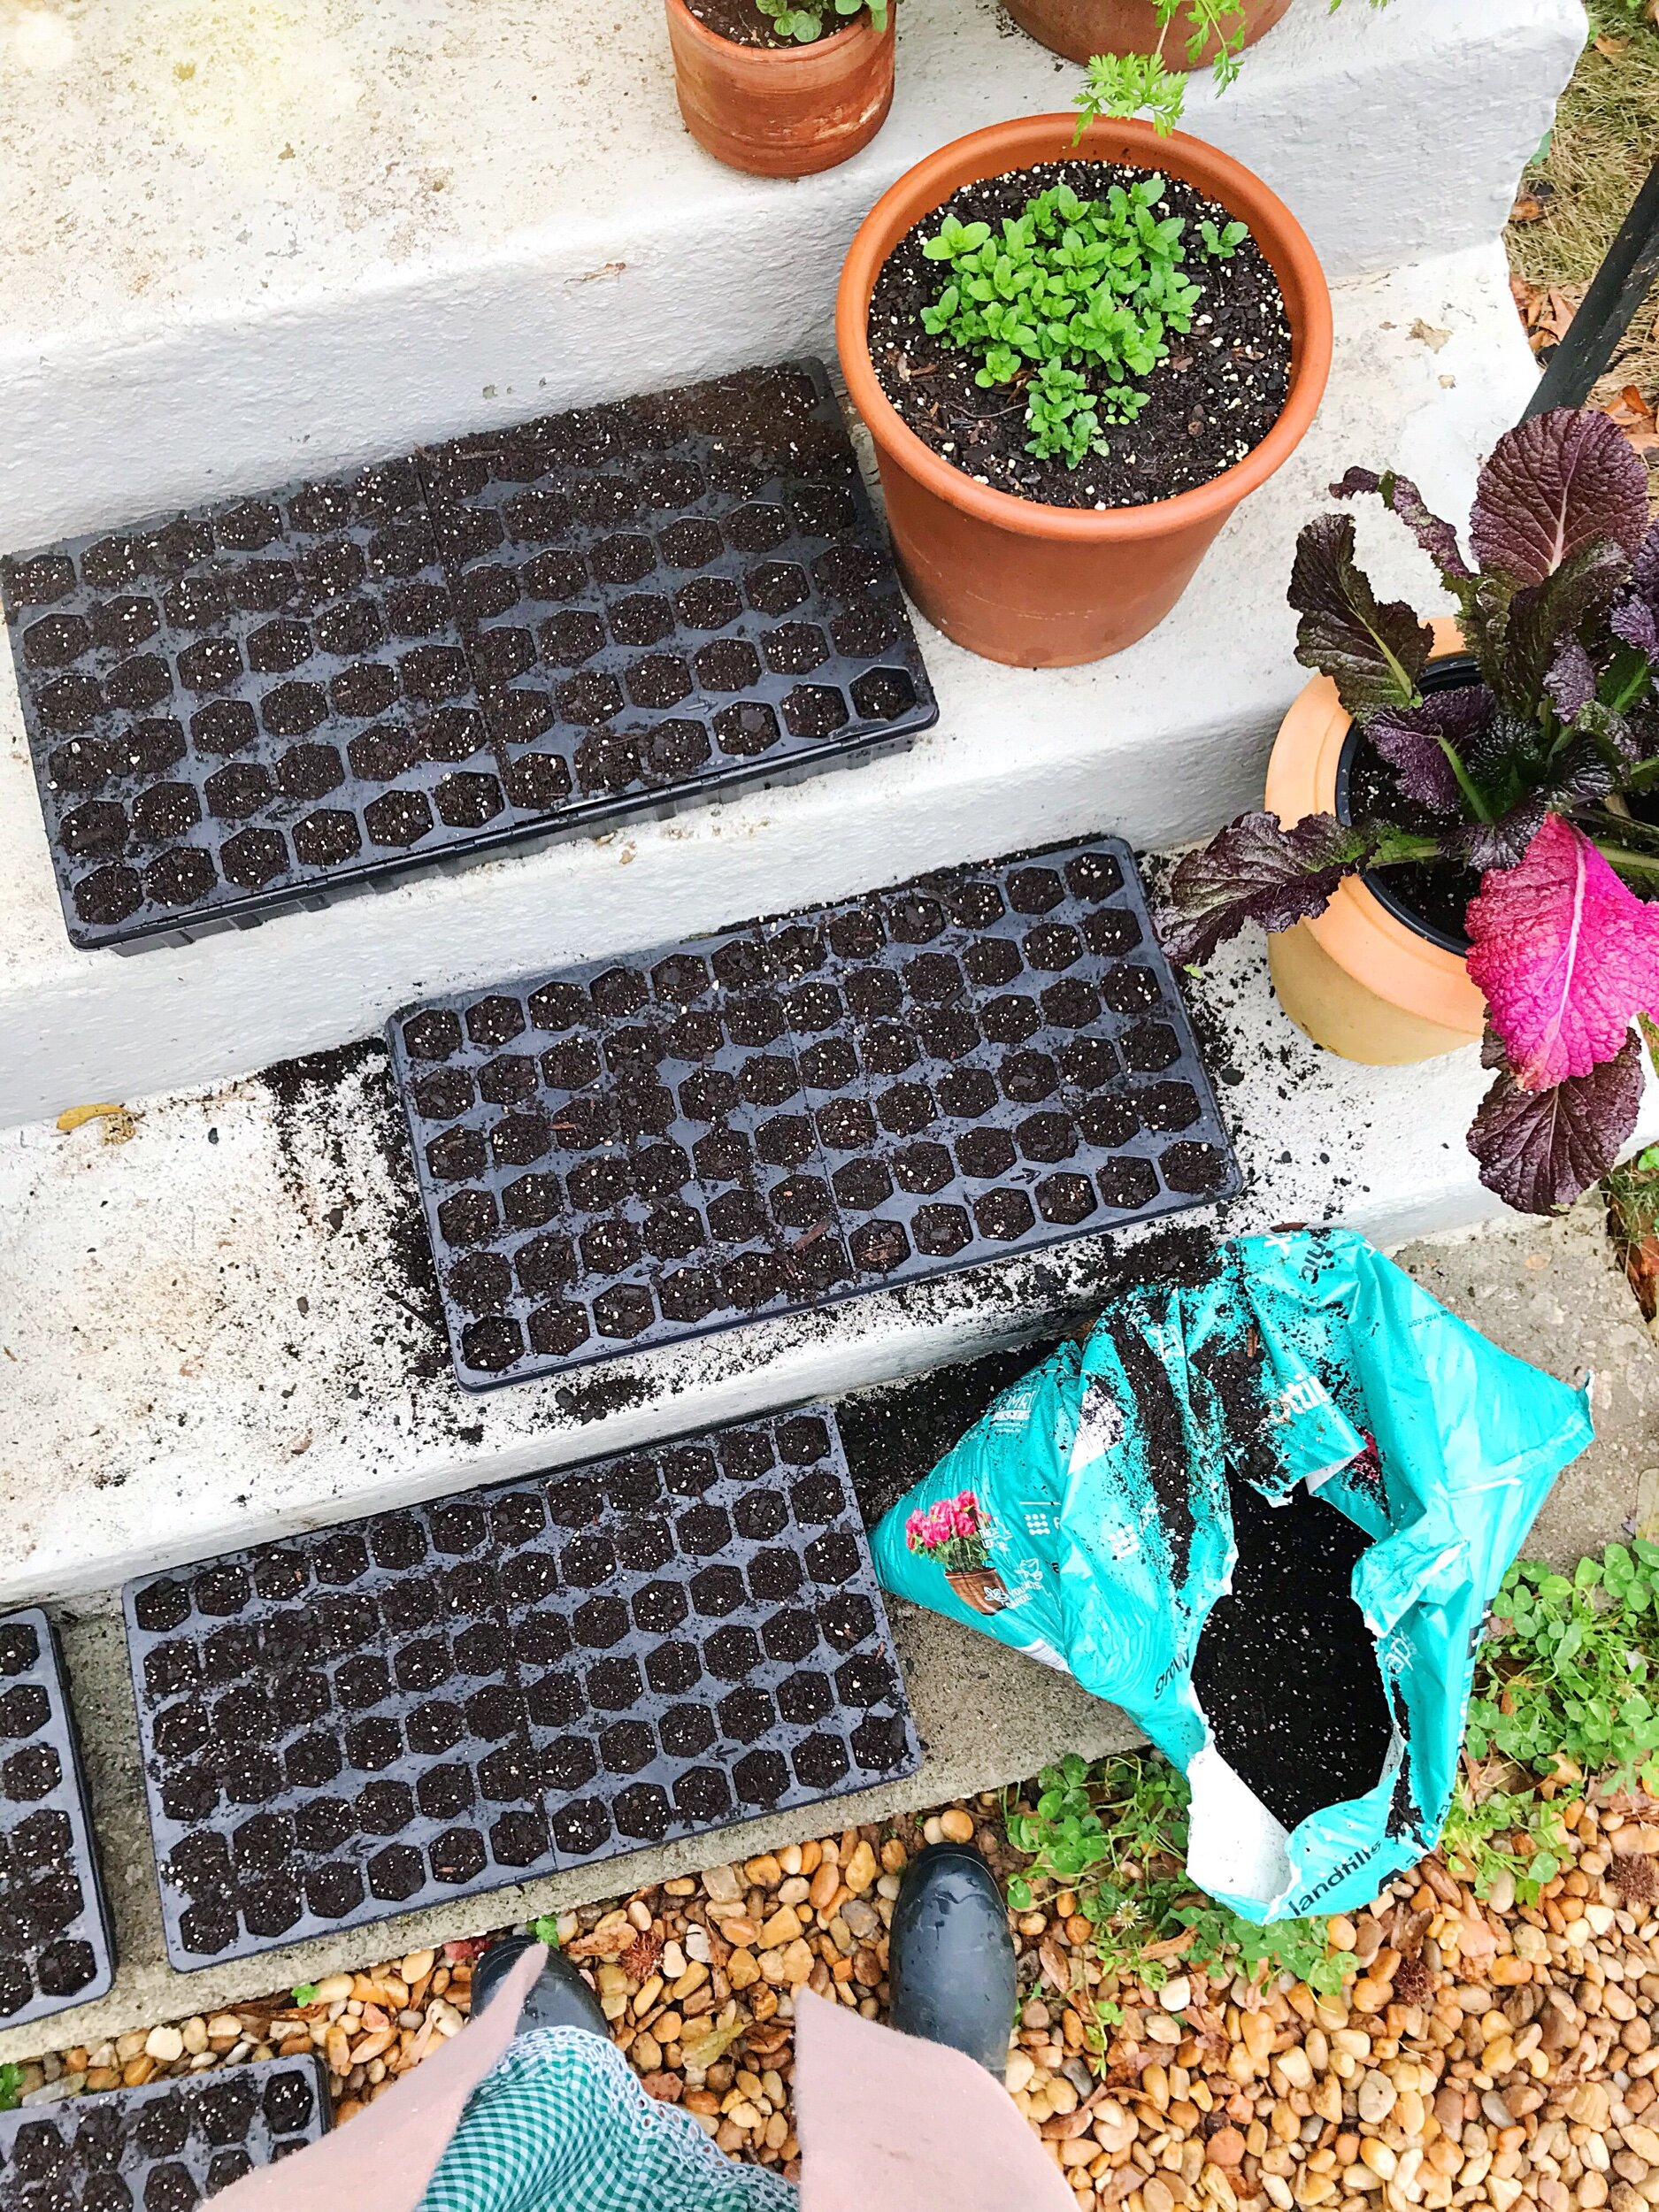
I prefer these 72 Cell Trays. They’re reusable, have a hexagon design that encourages root growth downward (which you want for a strong healthy plant) and they come with a watering tray and clear plastic top to create their own little greenhouse!


2. Soil
When it comes to gardening the most important thing is the soil! For seeds a good potting mix is key ~ something that’s loose and crumbly with good organic material…the organic material is the food for the plant! My all time favorite potting mix is this one.

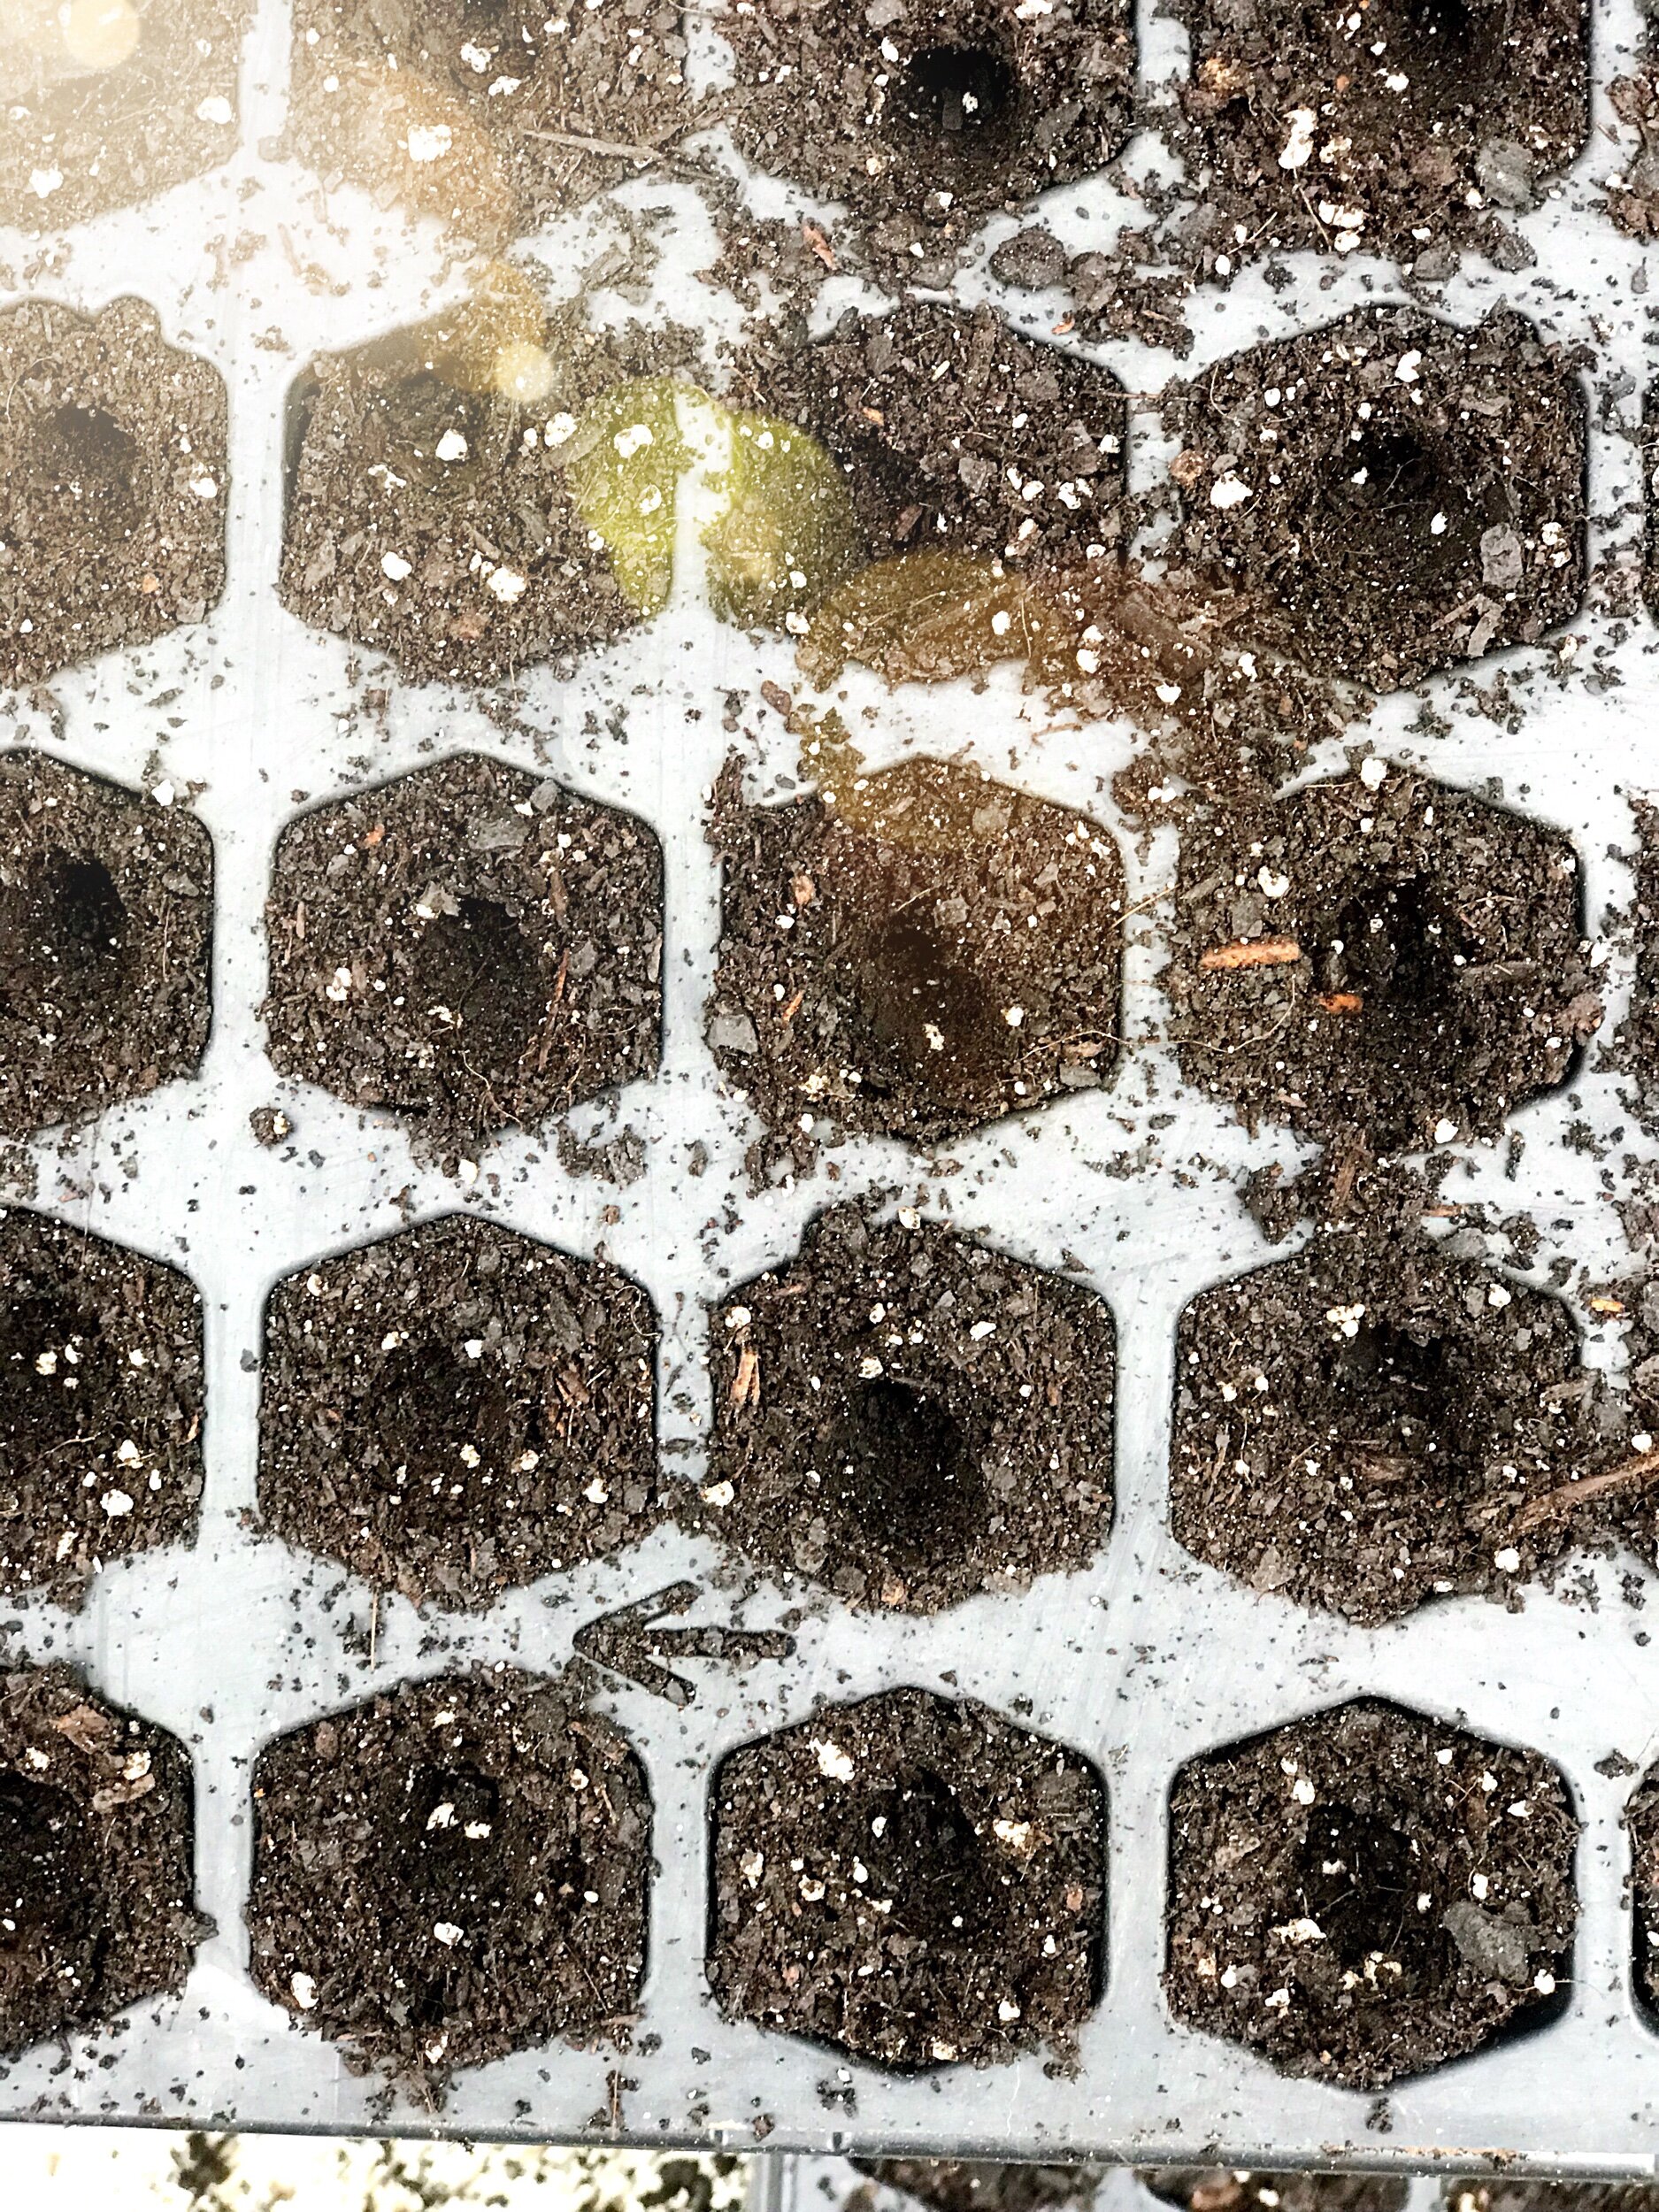
3. Put An Indentation Into The Soil
Getting real technical here (ha!)…using your pinky finger put an indentation into each cell. This is where you’ll drop your seed, and on the back of the seed pack it will tell you how deep (1/4 inch…1 inch, etc). Truth be told I never really stress about depth, just make a little dip for the seeds to sit in, a nice cozy home if you will!

4. Drop In Your Seeds
Again, the back of the seed pack will give you all kinds of suggestions…how far to plant apart, etc. Of course you could put just one seed in a cell (I typically aim for 1-3 per), but for me, I’ve got little kiddos helping and sometimes 10+ seeds get dropped in or some seeds are super tiny. I don’t stress out about this! I’m not growing for profit so I’m ok if we thin some seedlings out later should too many be growing on top of each other.

5. Loosely Cover Your Seeds With Soil

6. Water
Again, the reasons I love these cells…you water from below! I initially fill the trays about 1/2 way with water. Tehn occasionally water and refill about 1/3 of the way when needed…cooler temps you’ll do this less frequently, maybe every other week…and in warmer temps once a week to every few days.

7. Put A Lid On It!
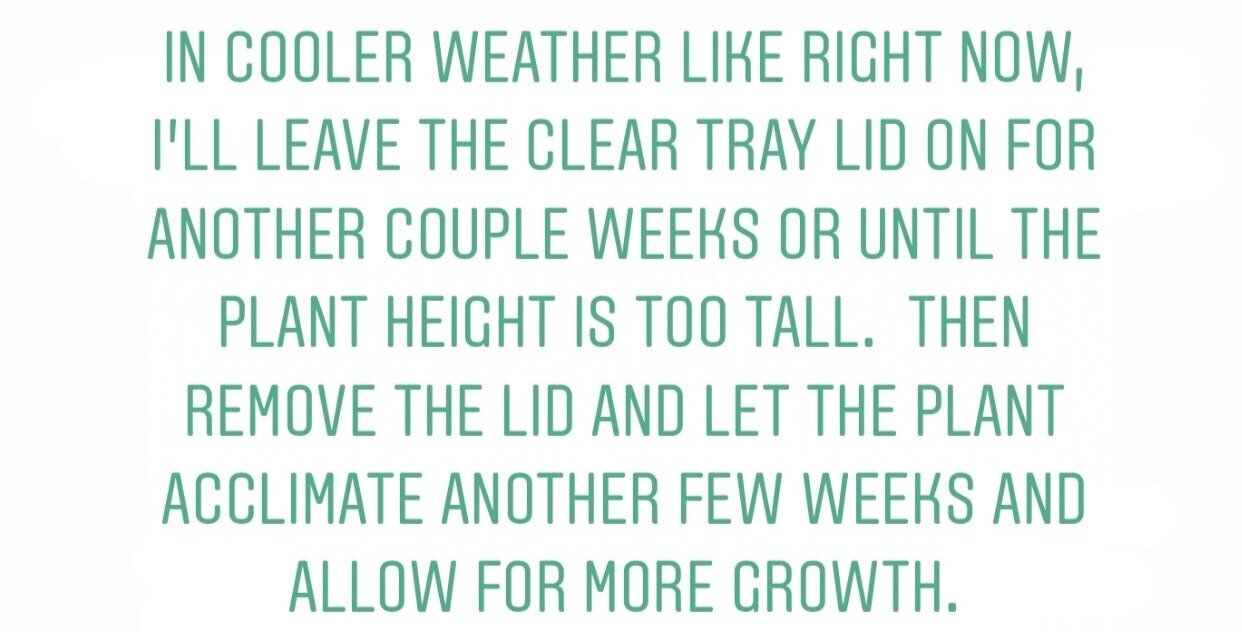
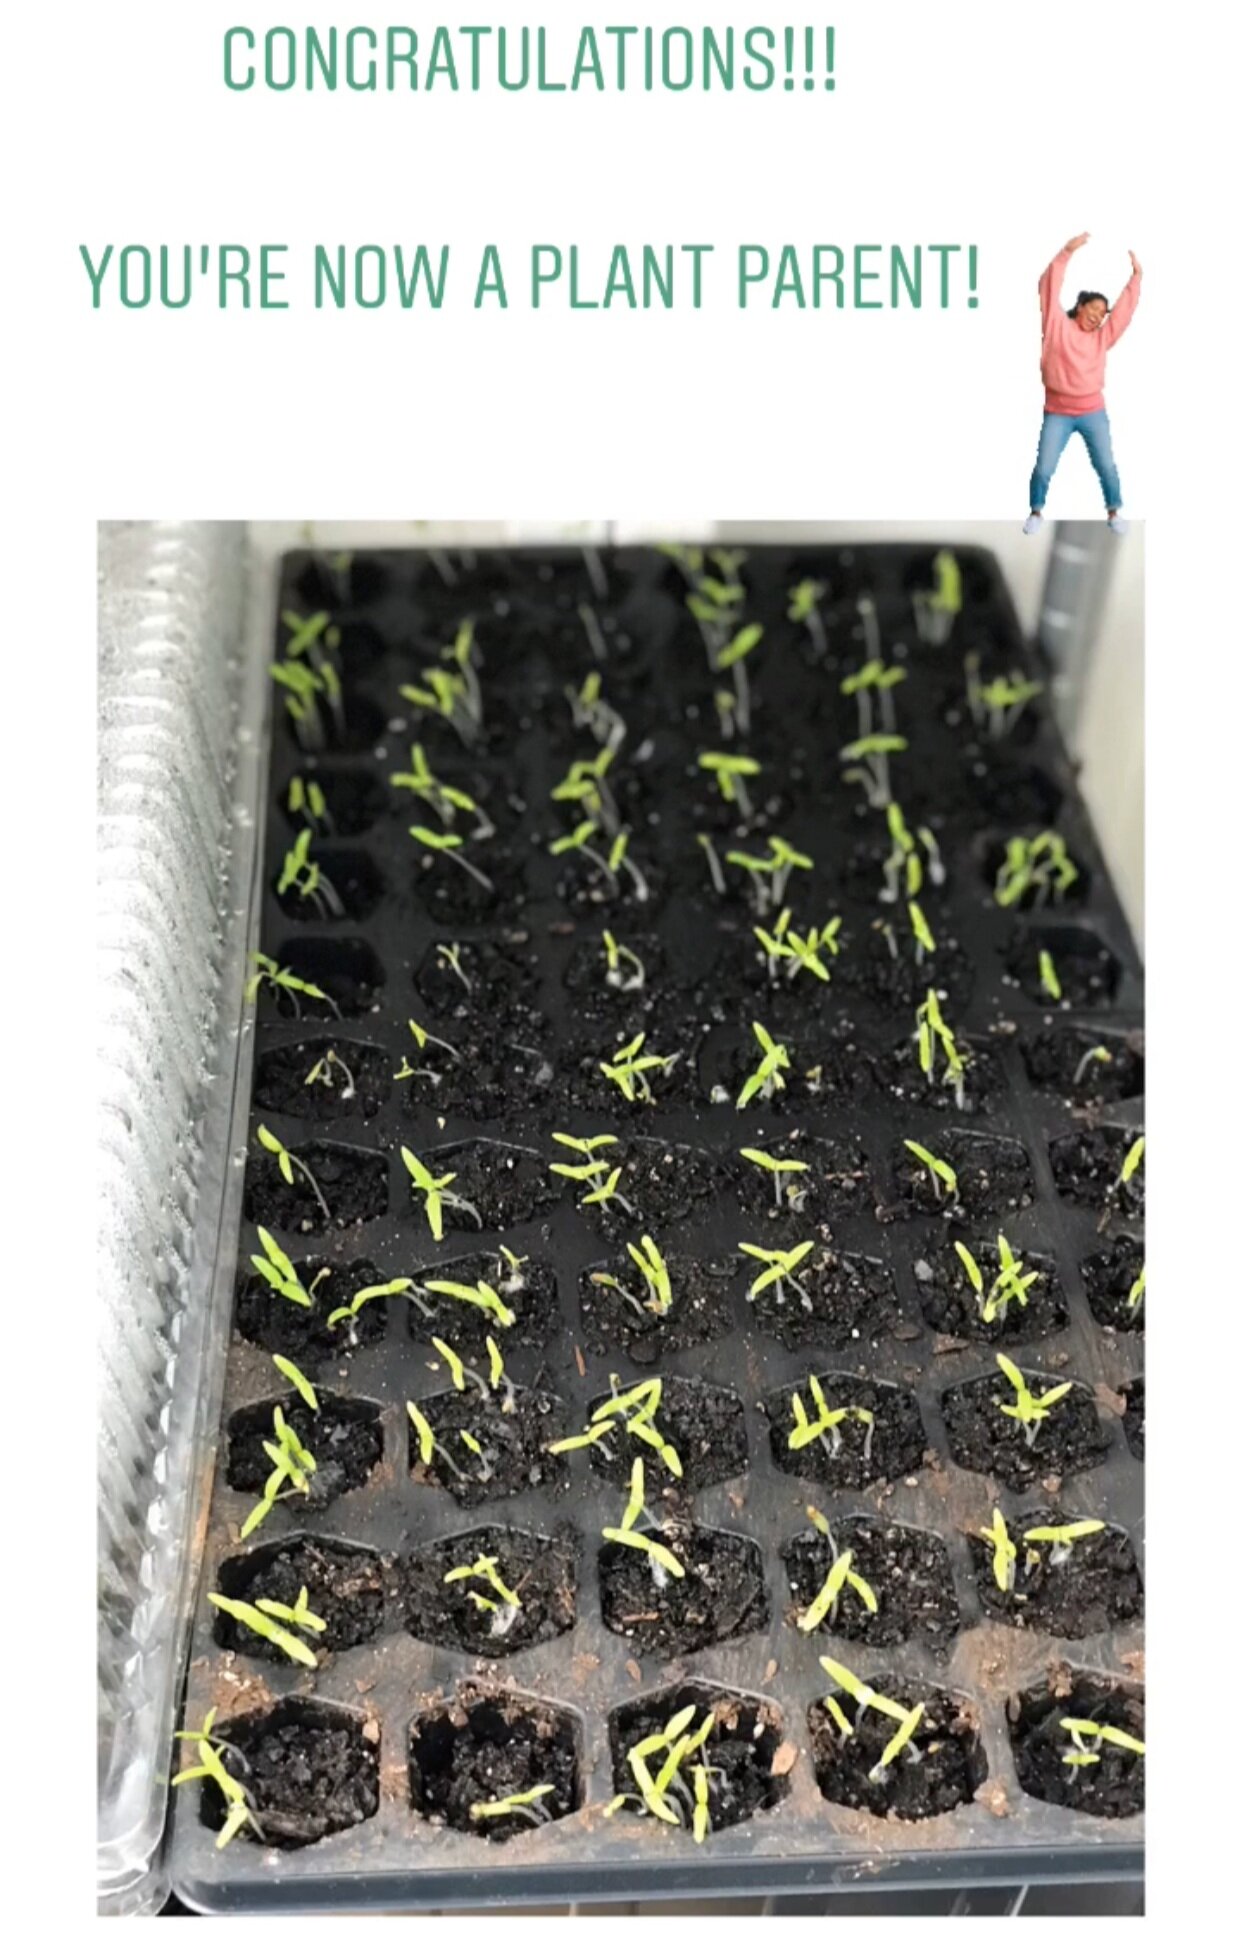
A clear lid or a piece of plastic (the cell trays I show, include this lid), creates a mini greenhouse. Keeps heat and humidity in, which your soon to be seedlings (baby plants) need in order to thrive!

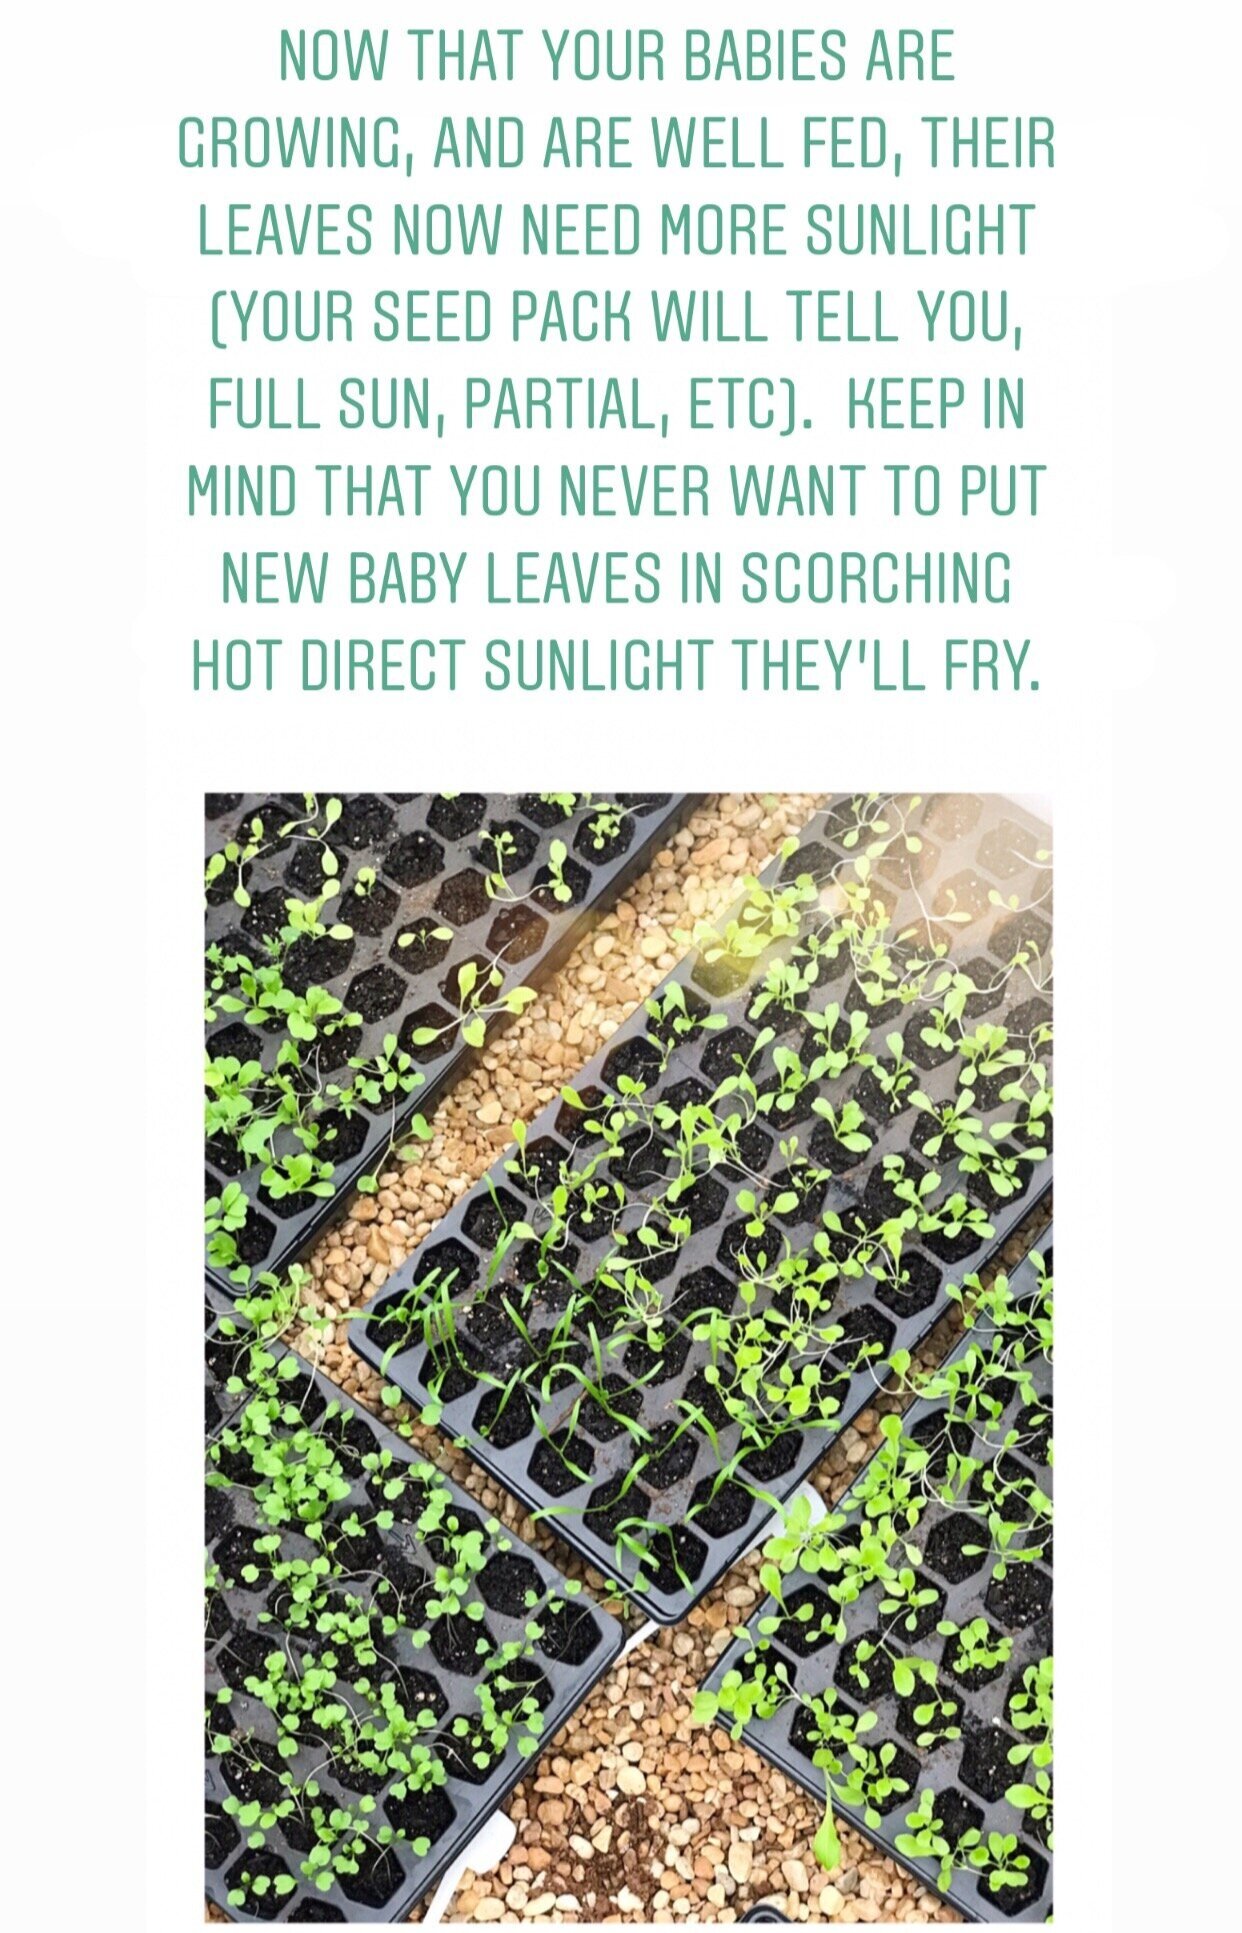
8. Place Tray In A Safe Spot Out of Direct Sunlight
Now to store your trays. Most do best in a dry spot out of direct sunlight (some seeds prefer darkness and your seed pack will tell you this). A garage is a good place or indoors or outside (given no chance of frost) covered from the elements and direct sunlight. Then forget about them for awhile…checking for water, etc…

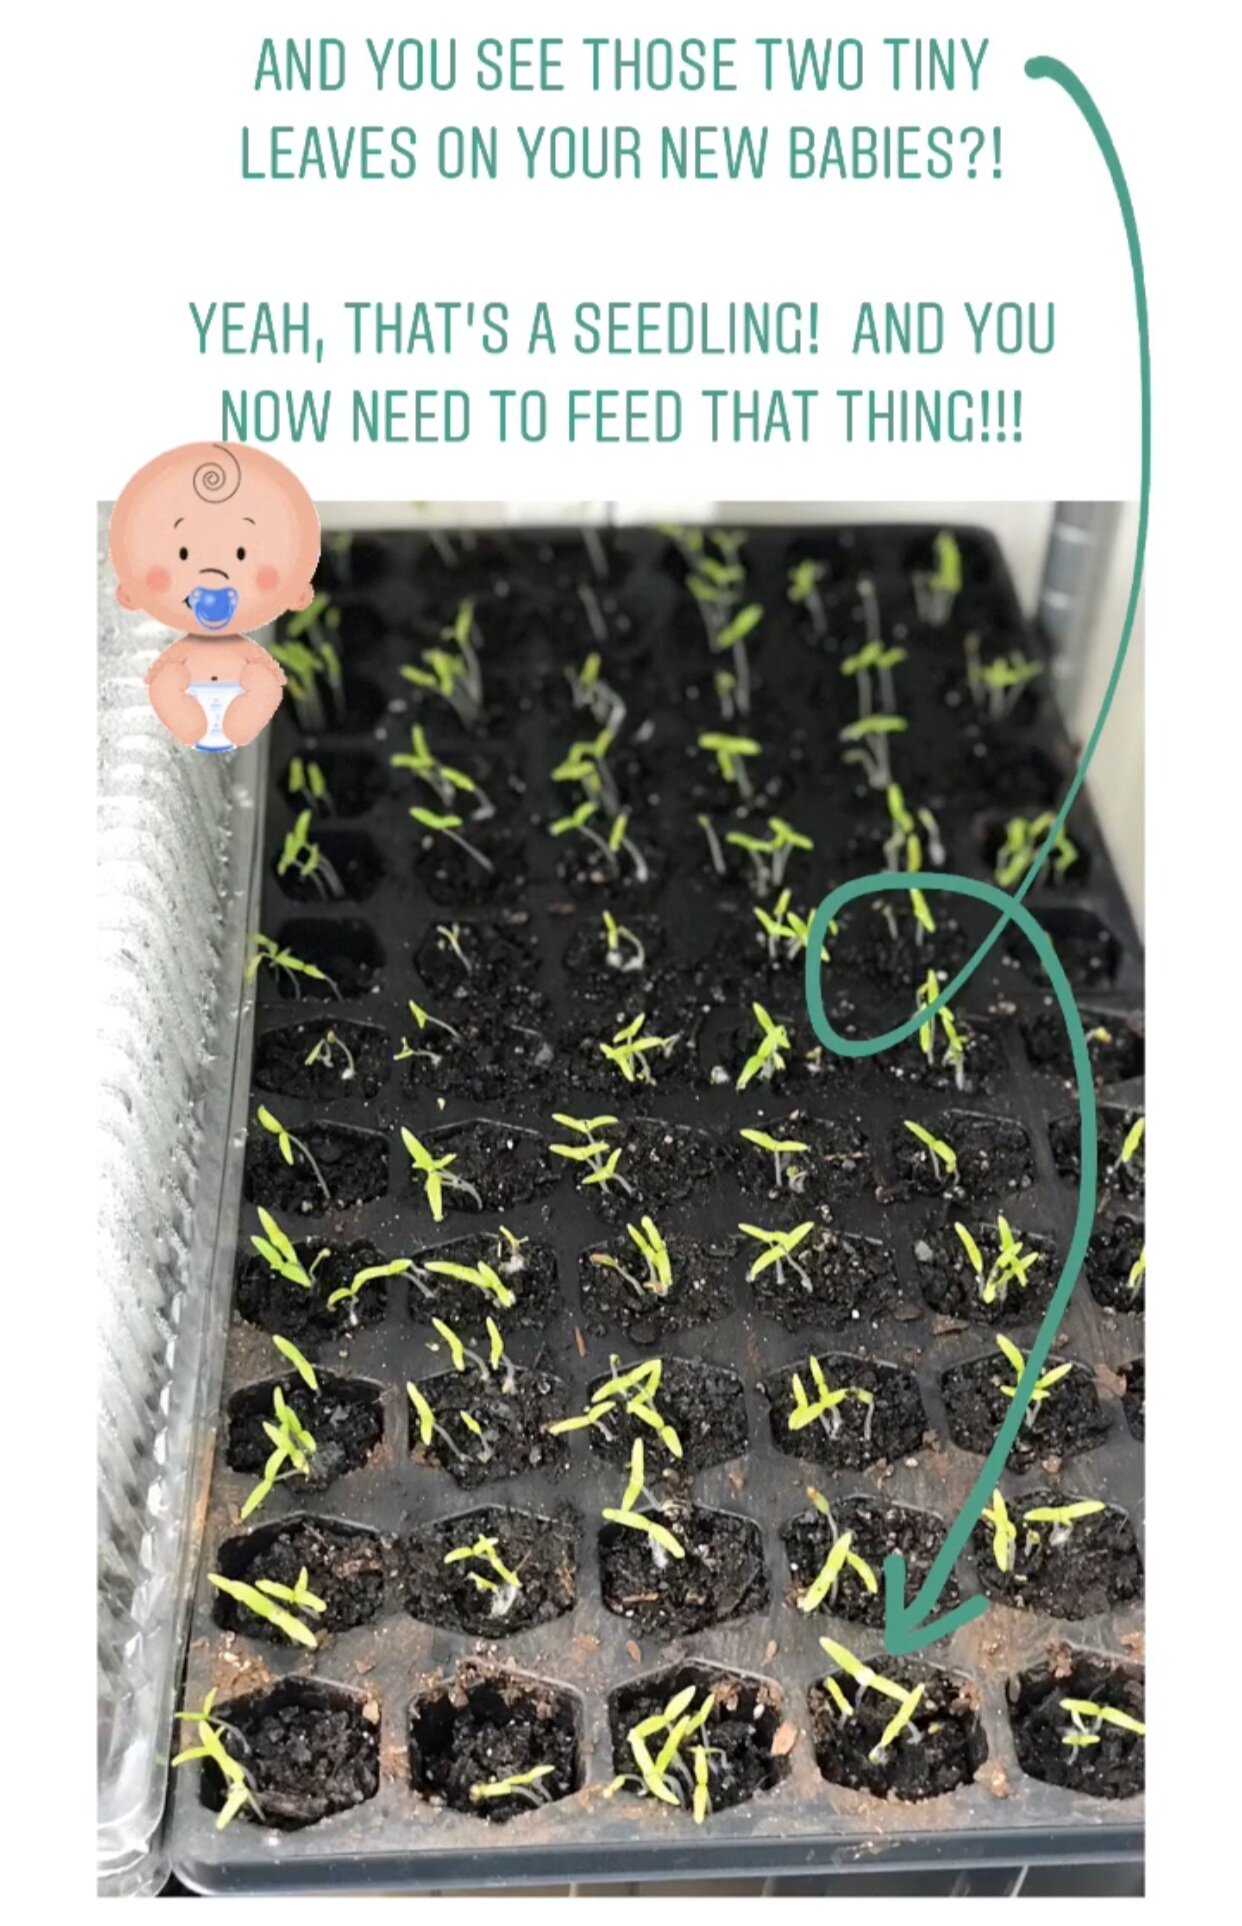

And my favorite thing to feed my plants with is this Organic fish fertilizer…

There’s also fish and seaweed fertilizers that work. All you do is dilute this stuff in water (the bottle gives specific ratios). I put a capful in my small watering can and “feed” my babies once a week with it until they’re mature. Even my mature plants benefit from this!